Android 🤖
How to get started Demo Account Creation Link:
- Please create an account on this link for setup: https://cms.wilyersignage.com/signup
- Download Wilyer Application file: Wilyer Android Latest App v3.8.0: https://files.wilyer.com/apks/cloud/wilyer-signage-v3.8.0-sep-16-2024-c80-official-release.apk
- Once Downloaded the Dashboard can be used to access the account and pair new screens.
Demo Walkthrough video of how to get started with Digital Signage Screens Management:
1. Installation Guide: Wilyer Digital Signage Player Application on Android TV
Step-by-Step Instructions
1. Connect the Android TV to the Internet
- Power on your Android TV.
- Ensure it is connected to the internet via
LANorWiFi.
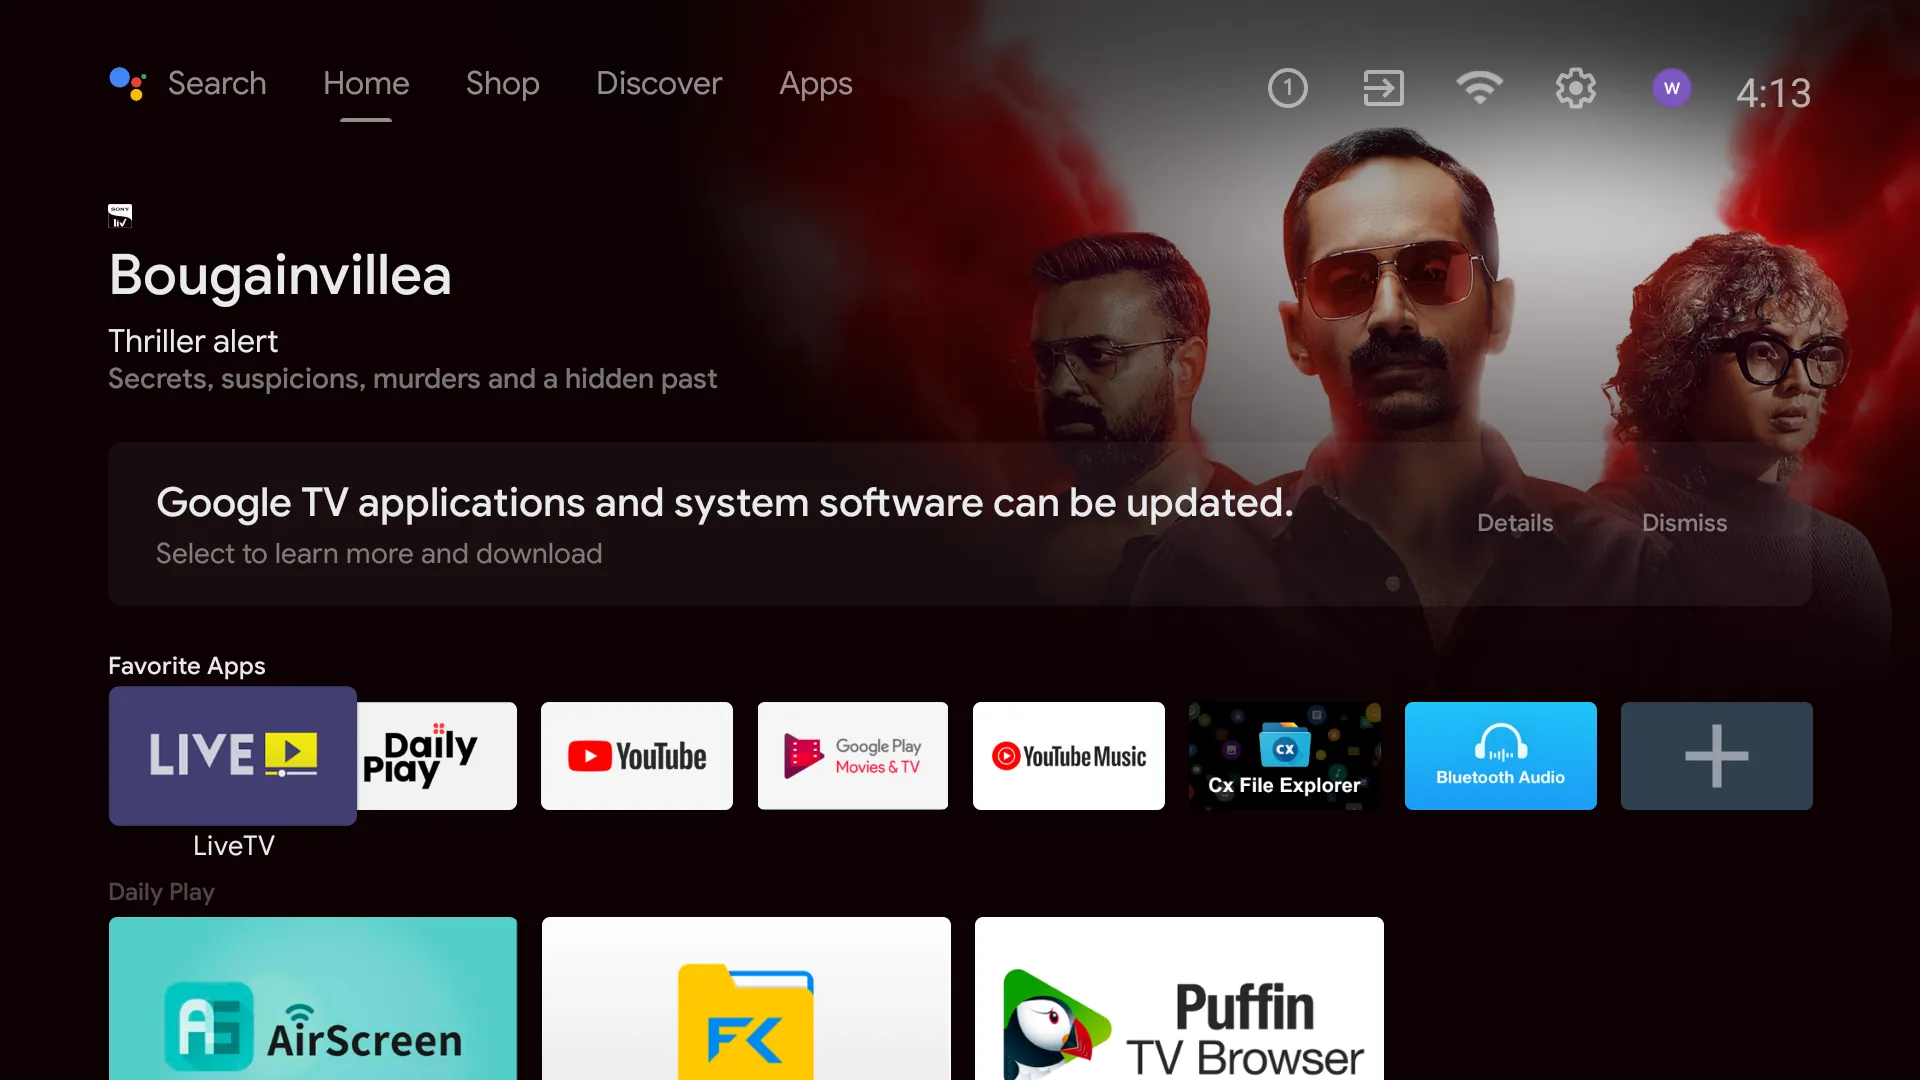
2. Navigate to the App Section
- Using your remote, go to the
Appssection on your Android TV’s main menu.
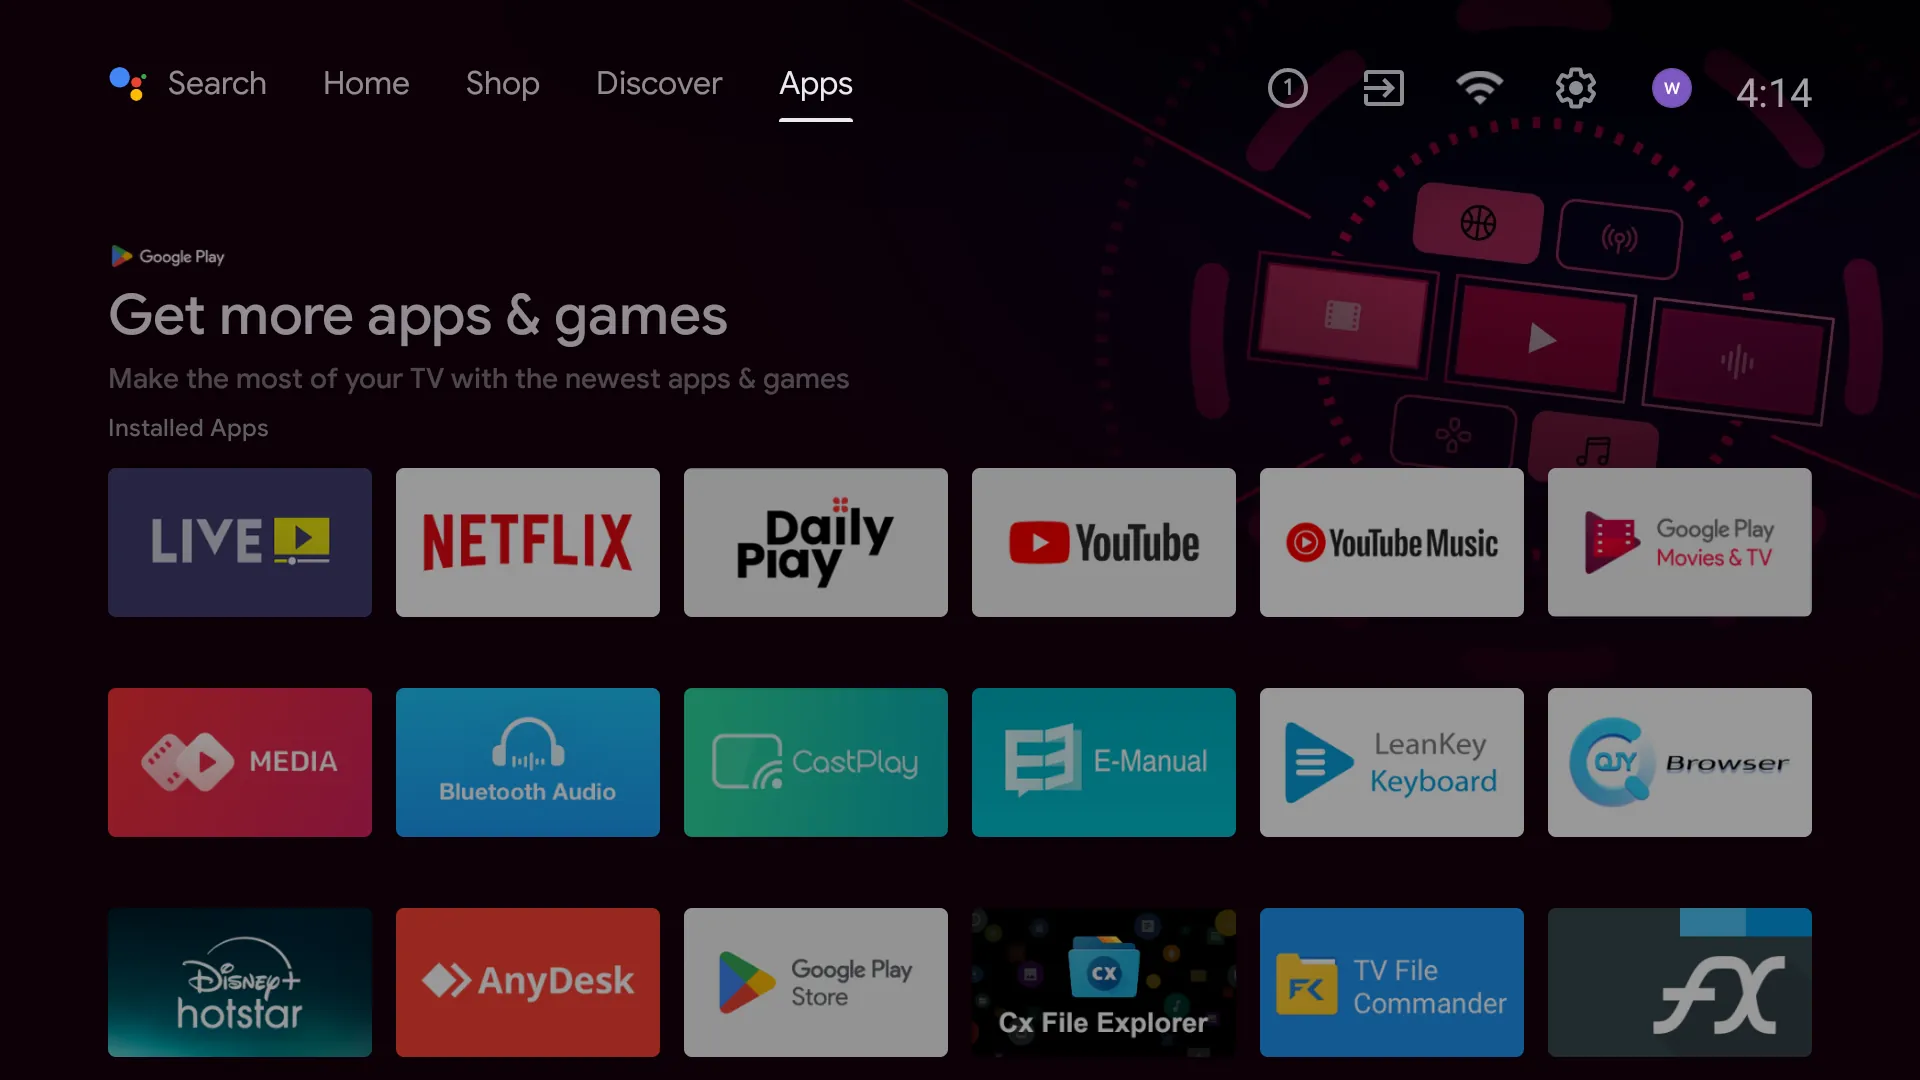
3. Open the Google Play Store
- Locate the
Play Storeapplication from the list of apps.
Alternatively, look for a “Go to Play Store” button in the Apps section.

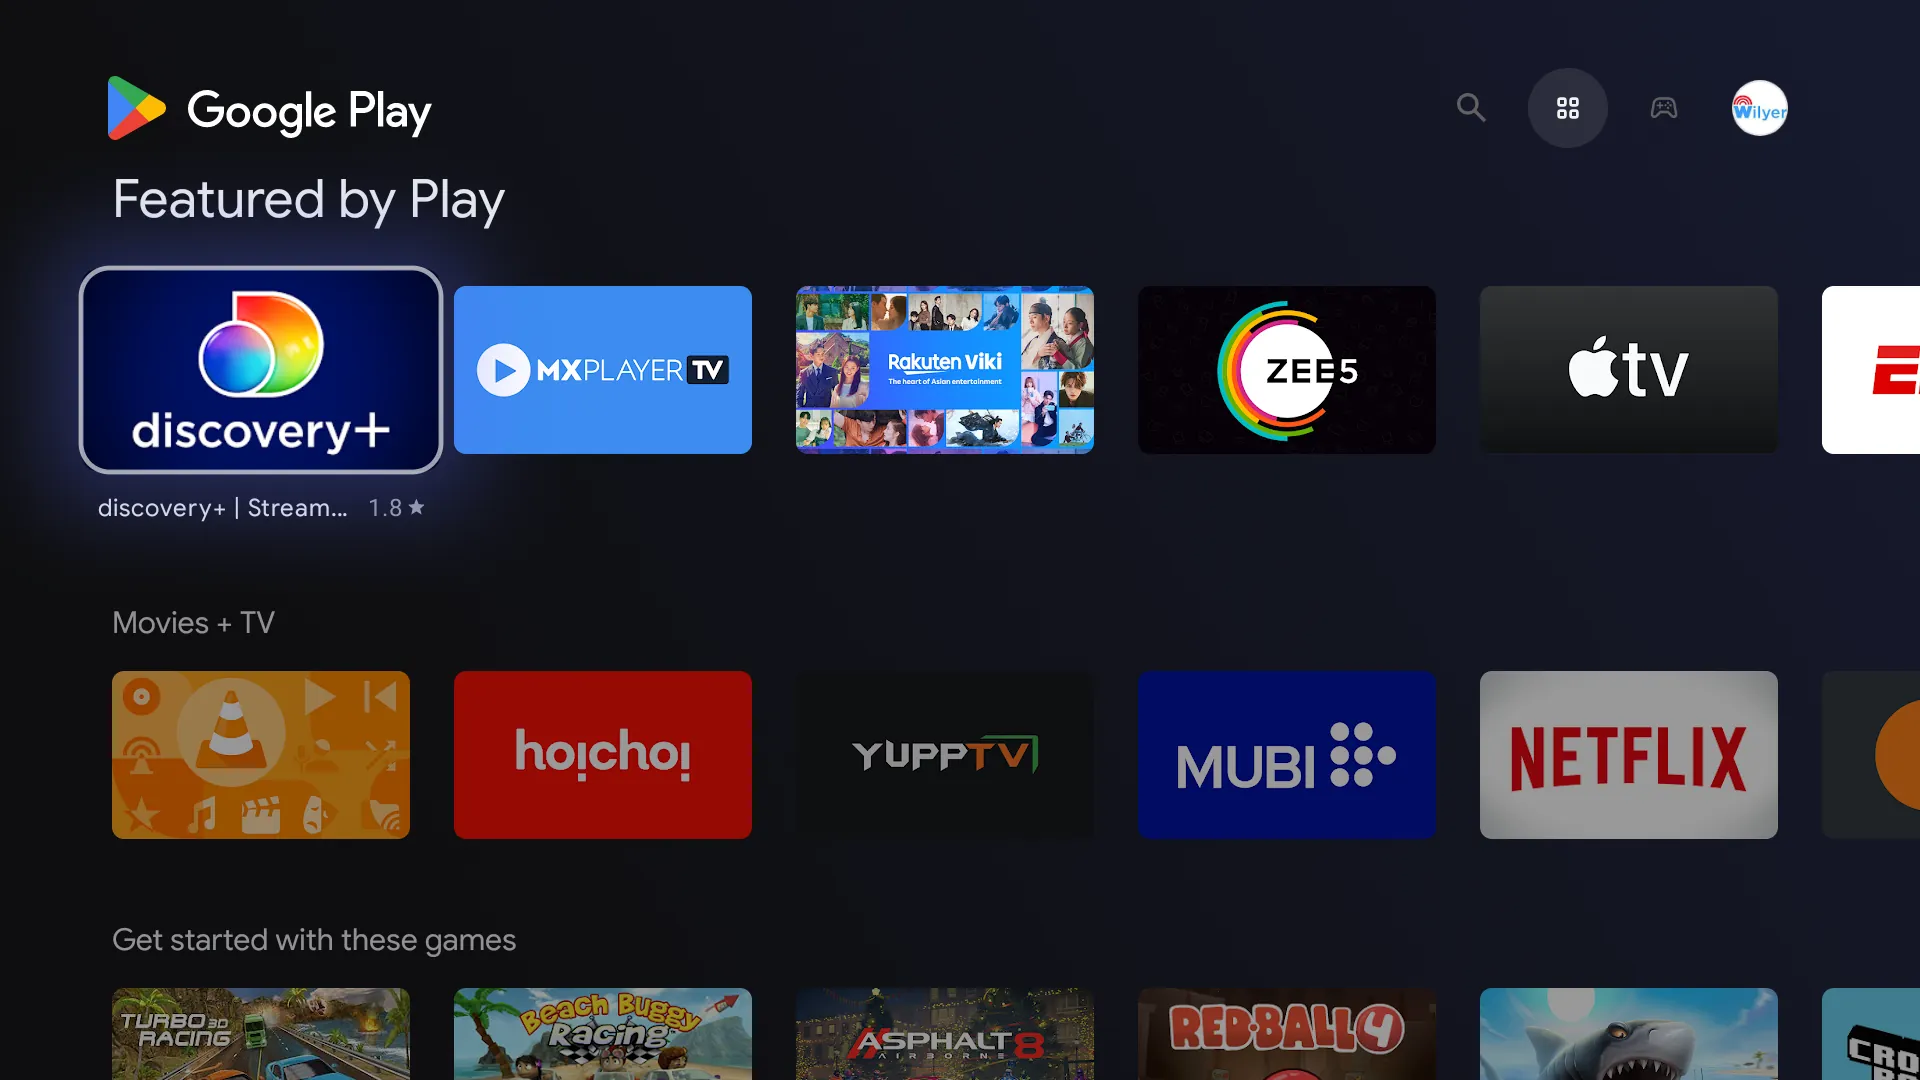
4. Use the Search Feature in Play Store
- Inside the Play Store, navigate to the
Searchoption. - Select it to start searching for apps.
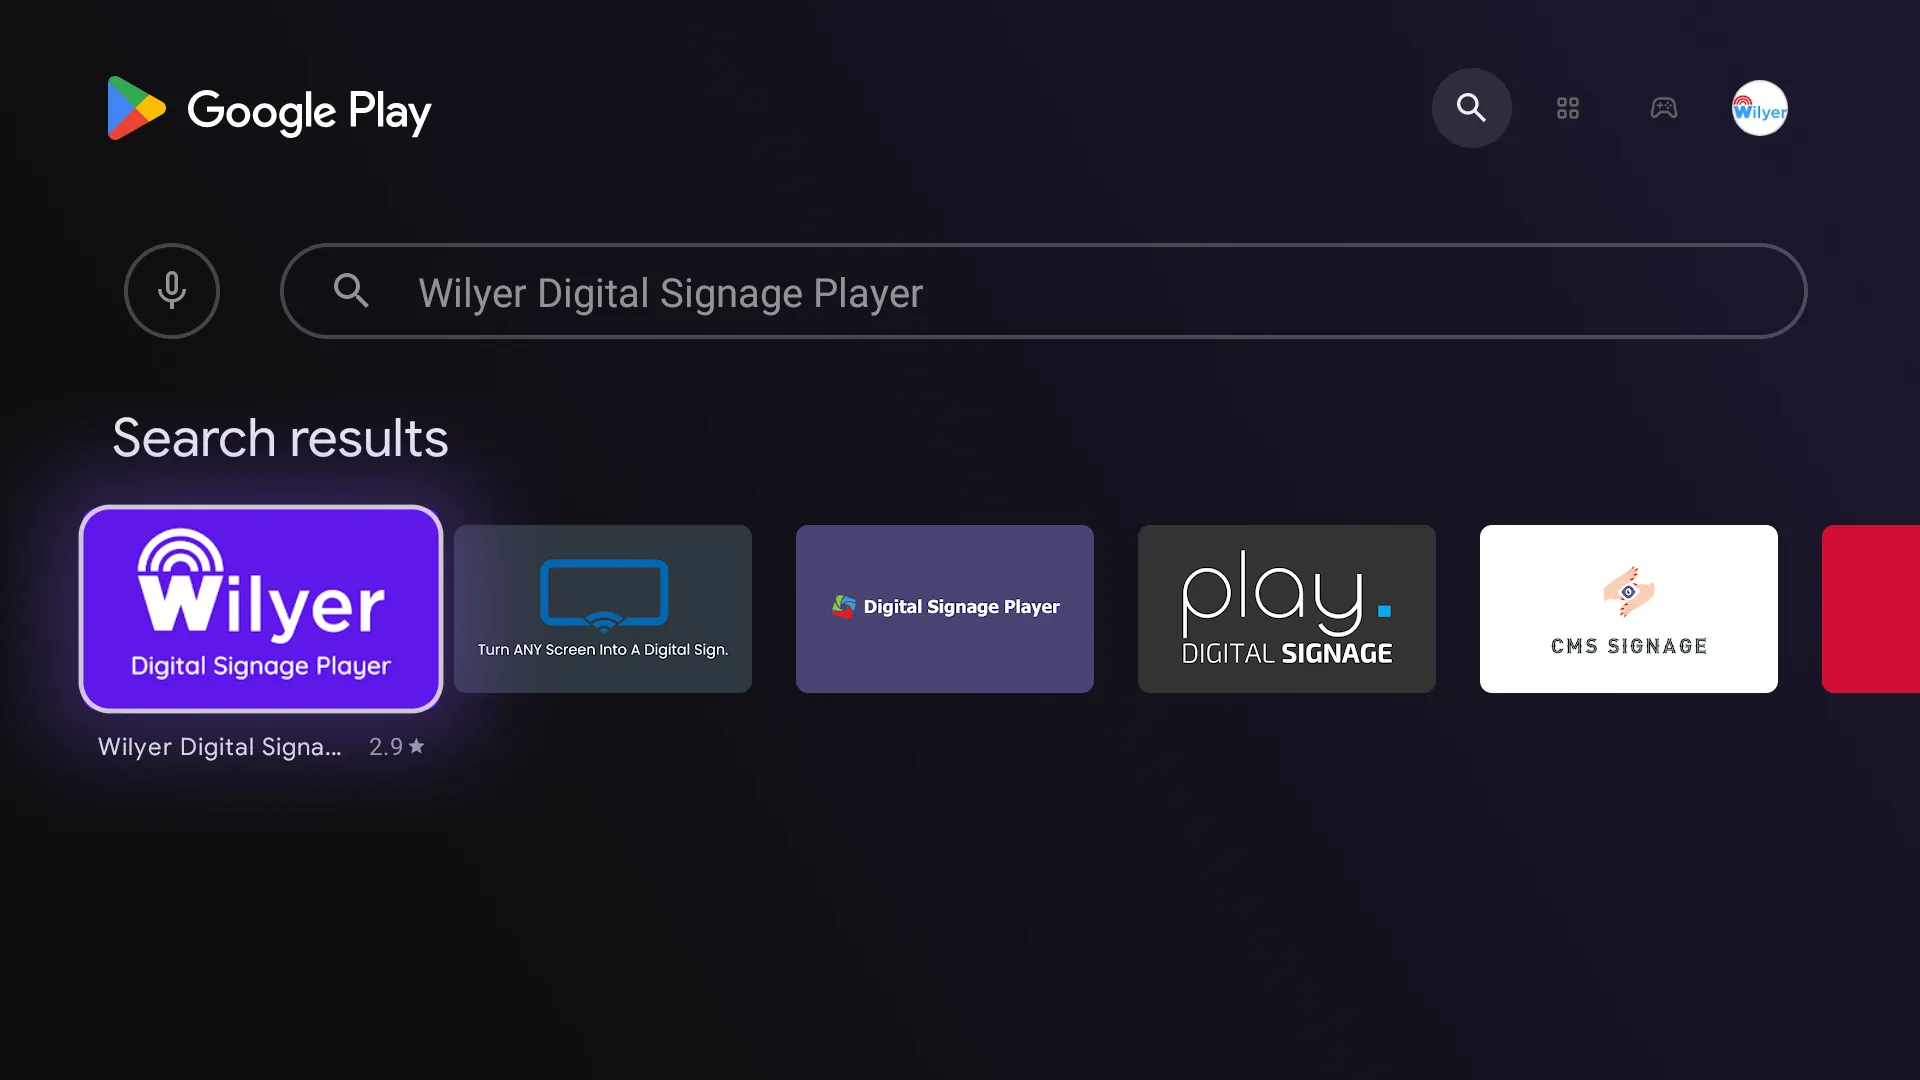
5. Search for “Wilyer Digital Signage Player”
- Type
"Wilyer Digital Signage Player"using the on-screen keyboard or a connected external keyboard. - Press
OKon your remote to search.
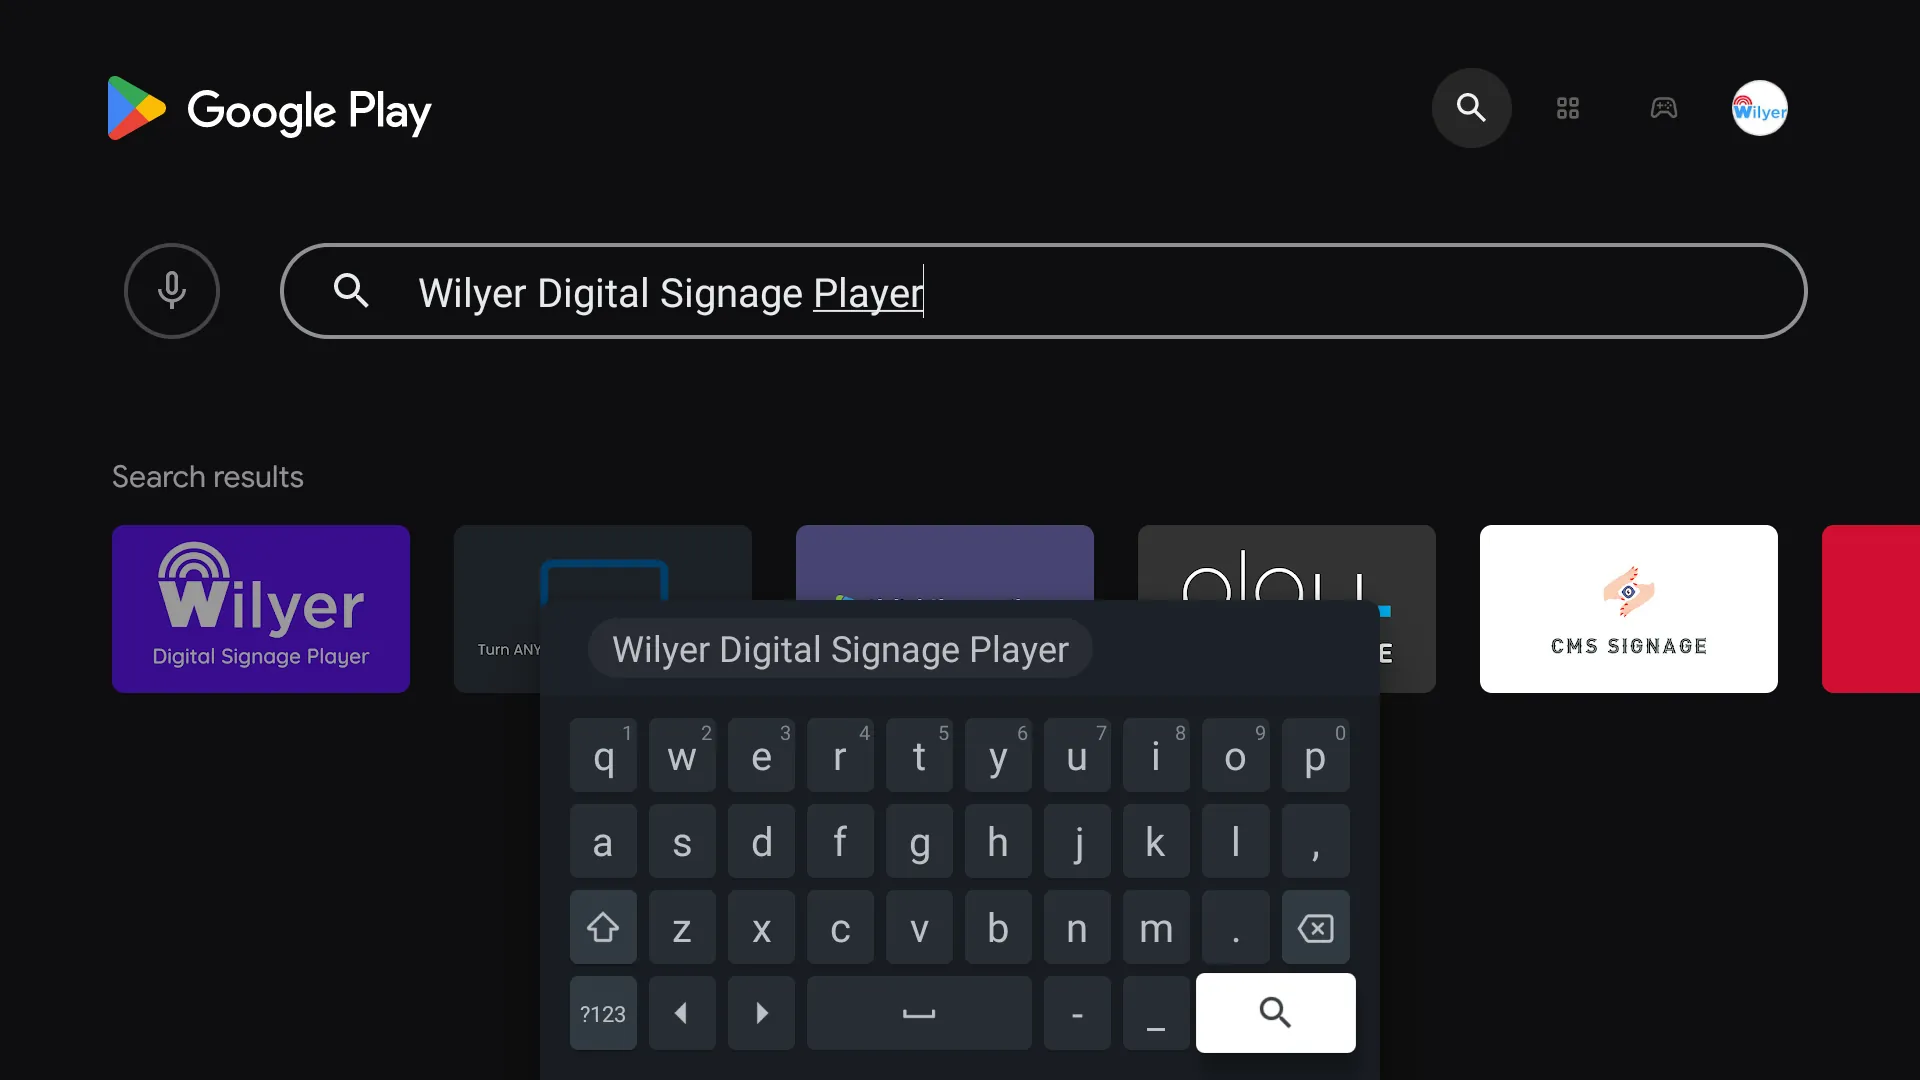
6. Locate the Wilyer Application in Search Results
- Browse the search results to find the
Wilyer Digital Signage Playerapplication.
7. Select the Wilyer Application
- Highlight and select the
Wilyer Digital Signage Playerapp.

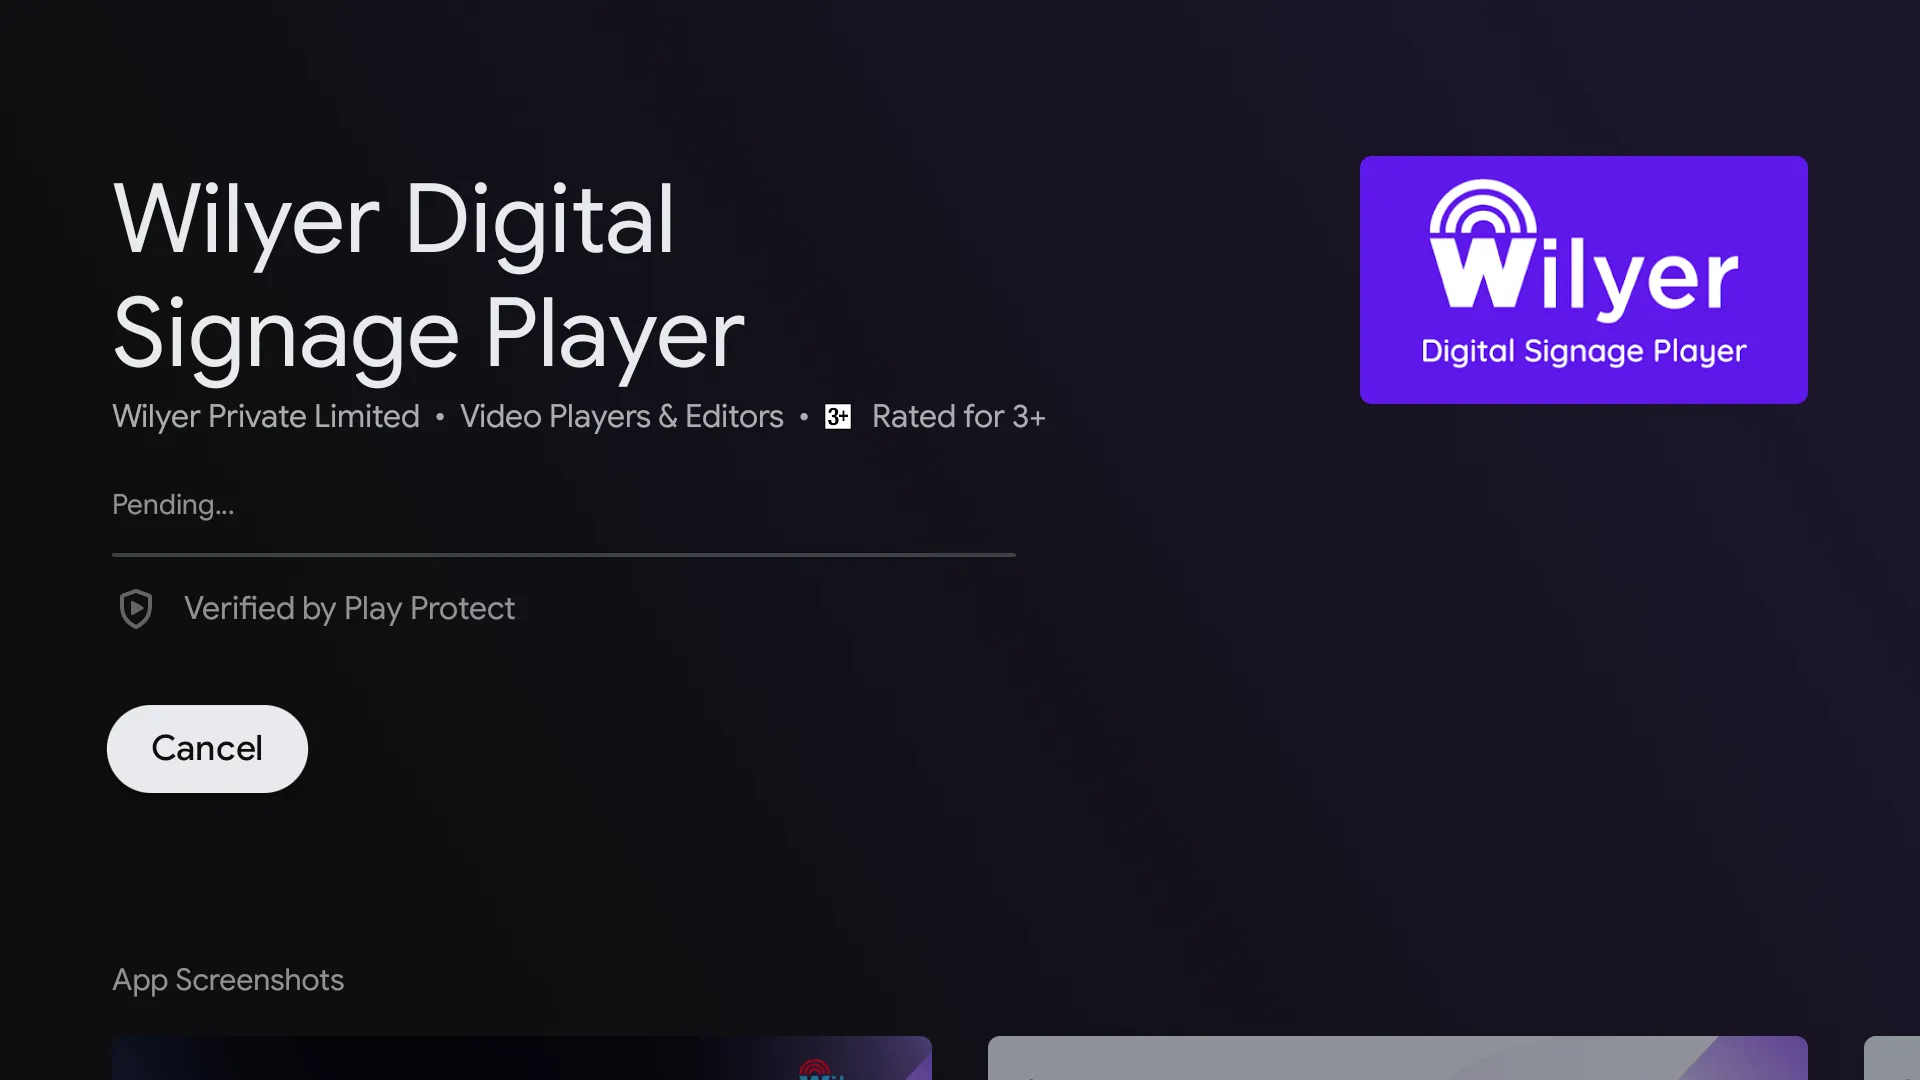
8. Install the Application
- On the app’s page, click the
Installbutton. - Wait for the installation process to complete.
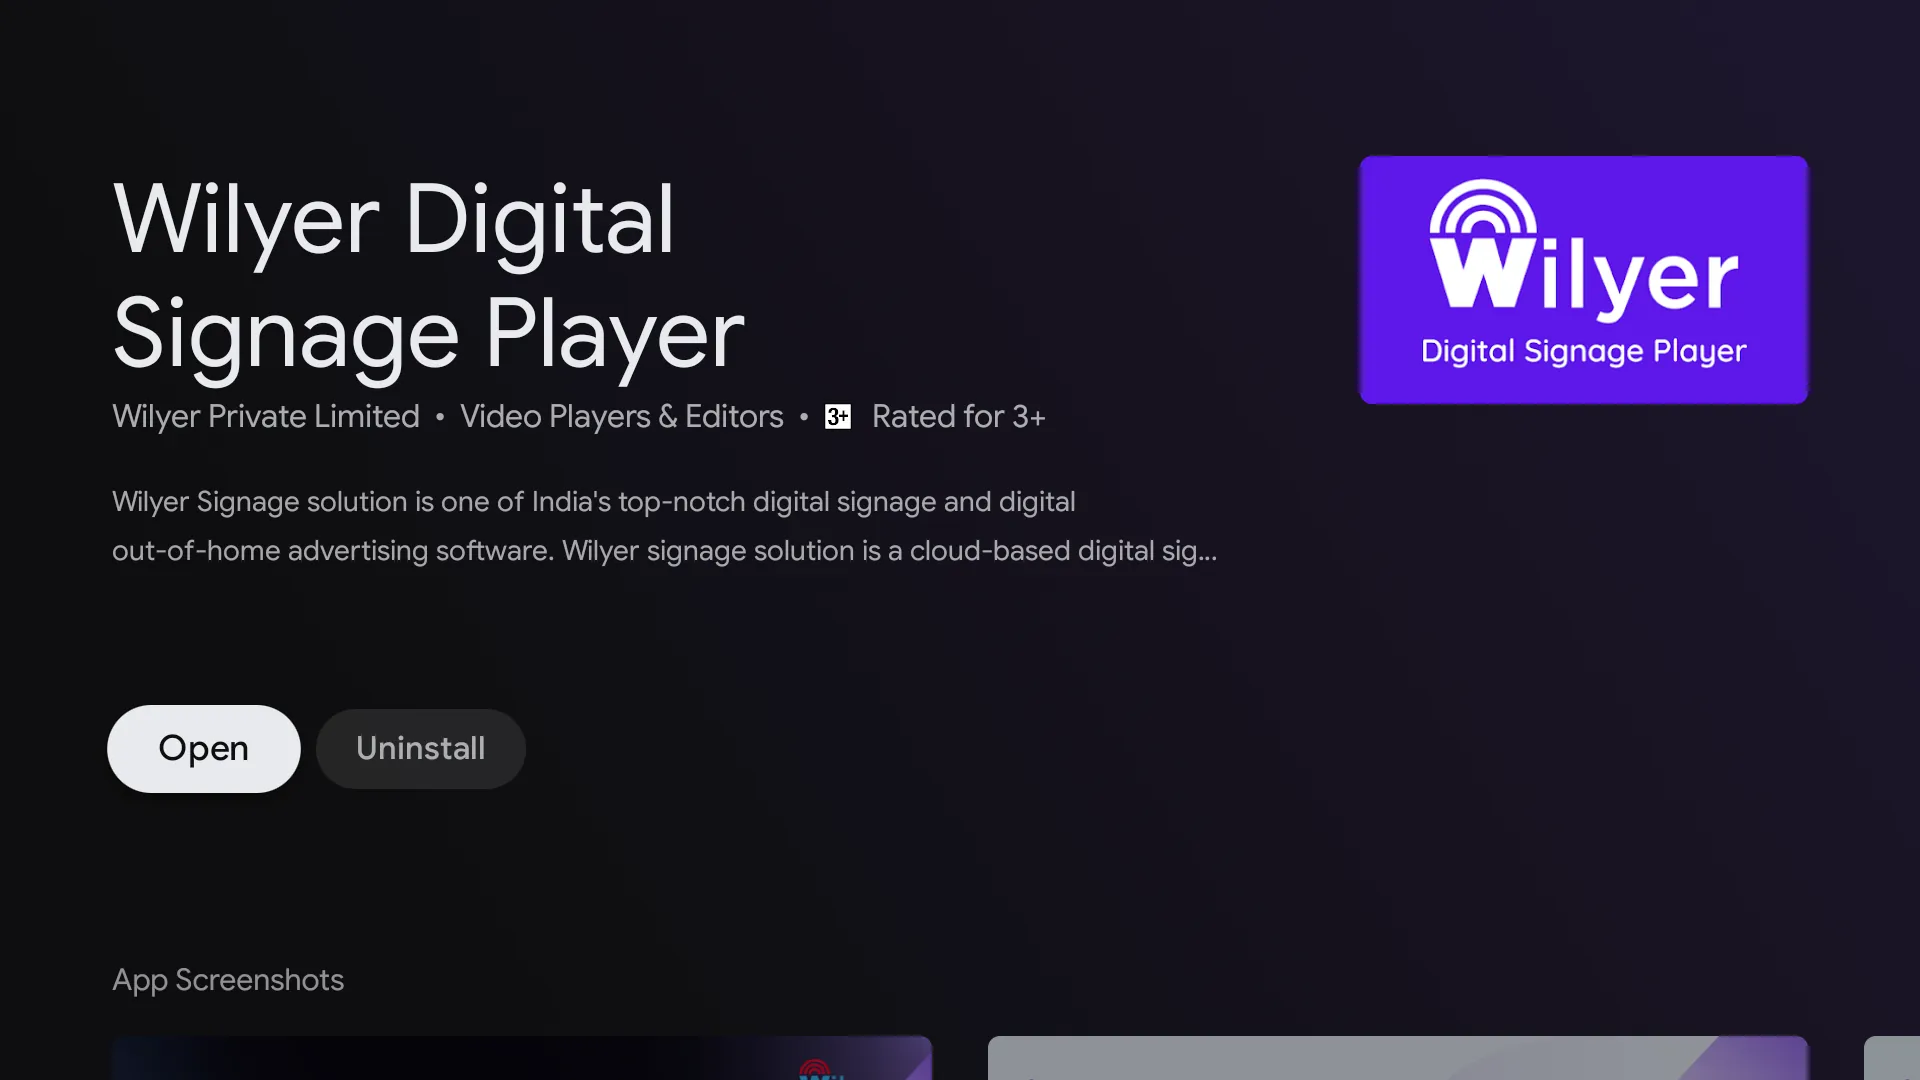
9. Open the Application
- Once the installation is complete, click the
Openbutton. - This will launch the
Wilyer Digital Signage Playerapplication.
Important Notes
- Ensure your Android TV has sufficient storage space before installation.
- If you encounter any issues, check your internet connection or contact Wilyer Support for assistance.
2: How to Setup Wilyer Digital Signage for Initial Setup
Step-by-Step Instructions
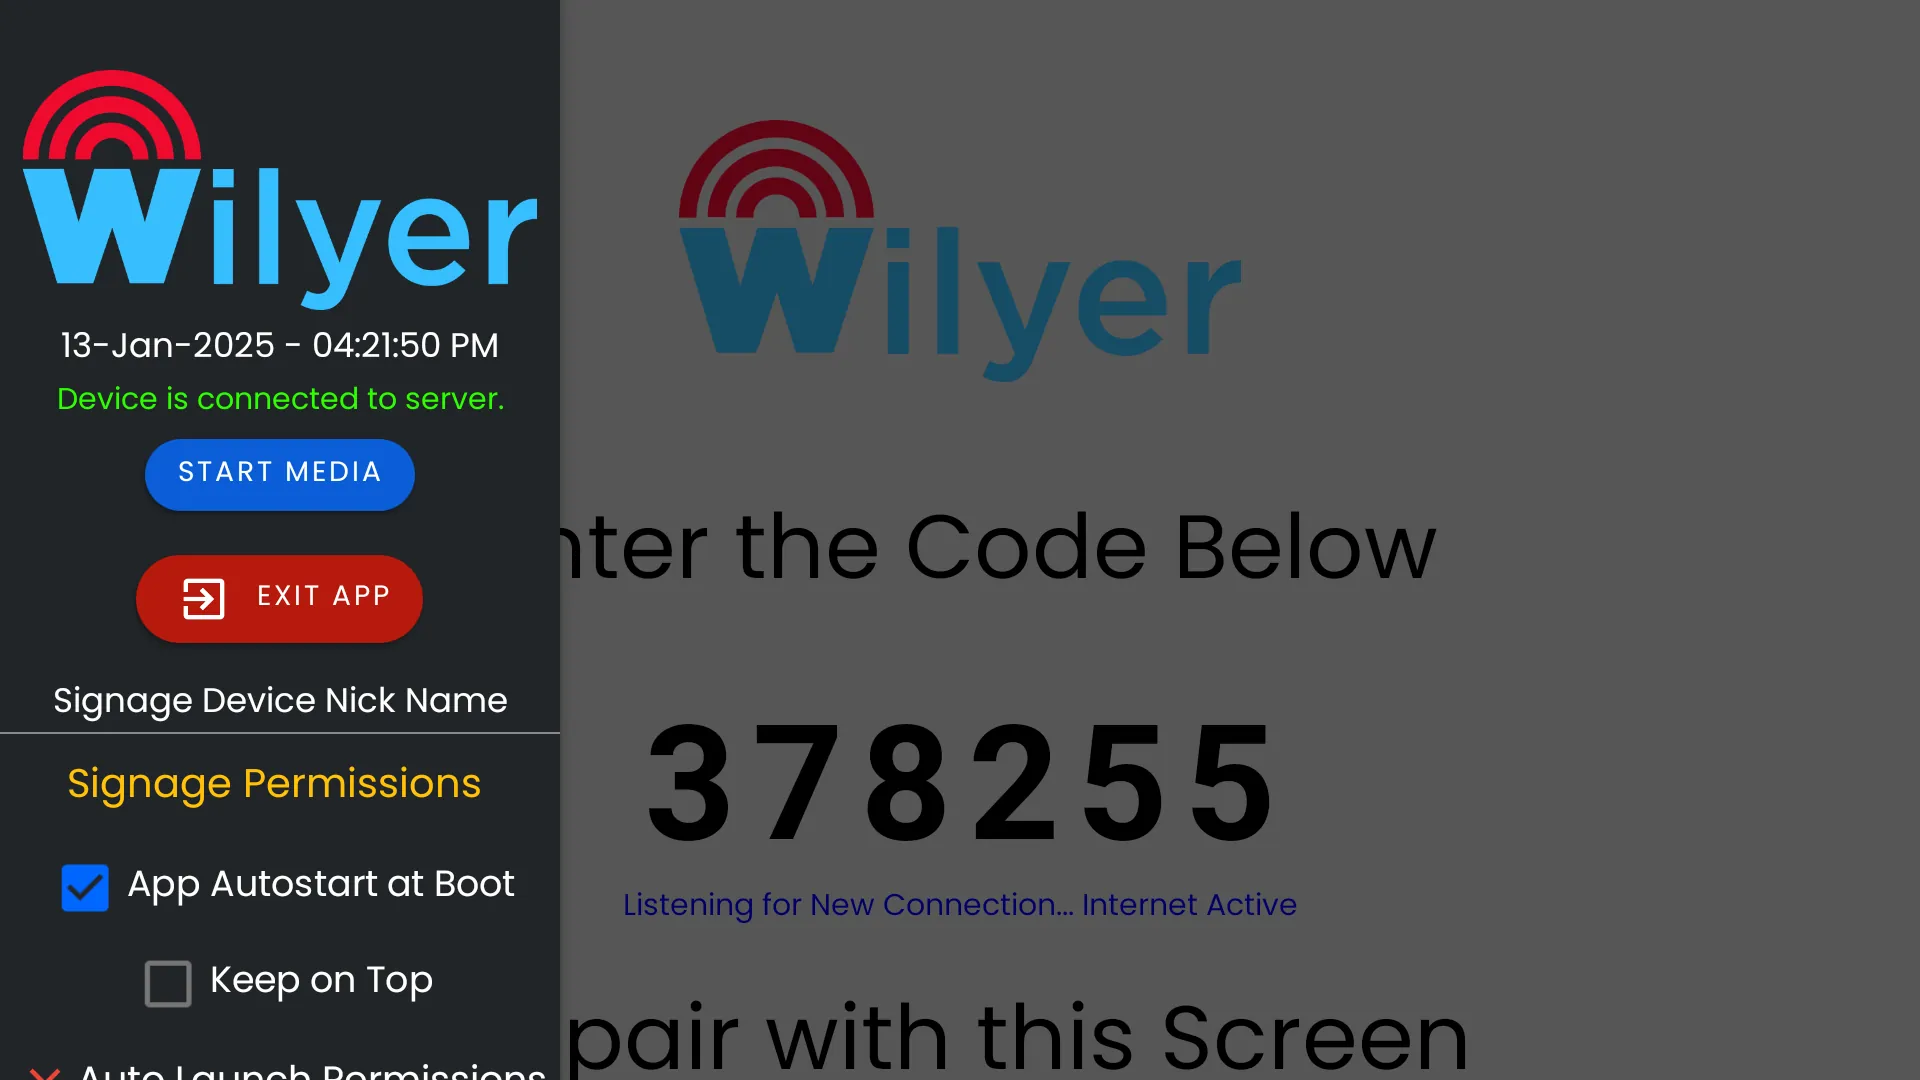
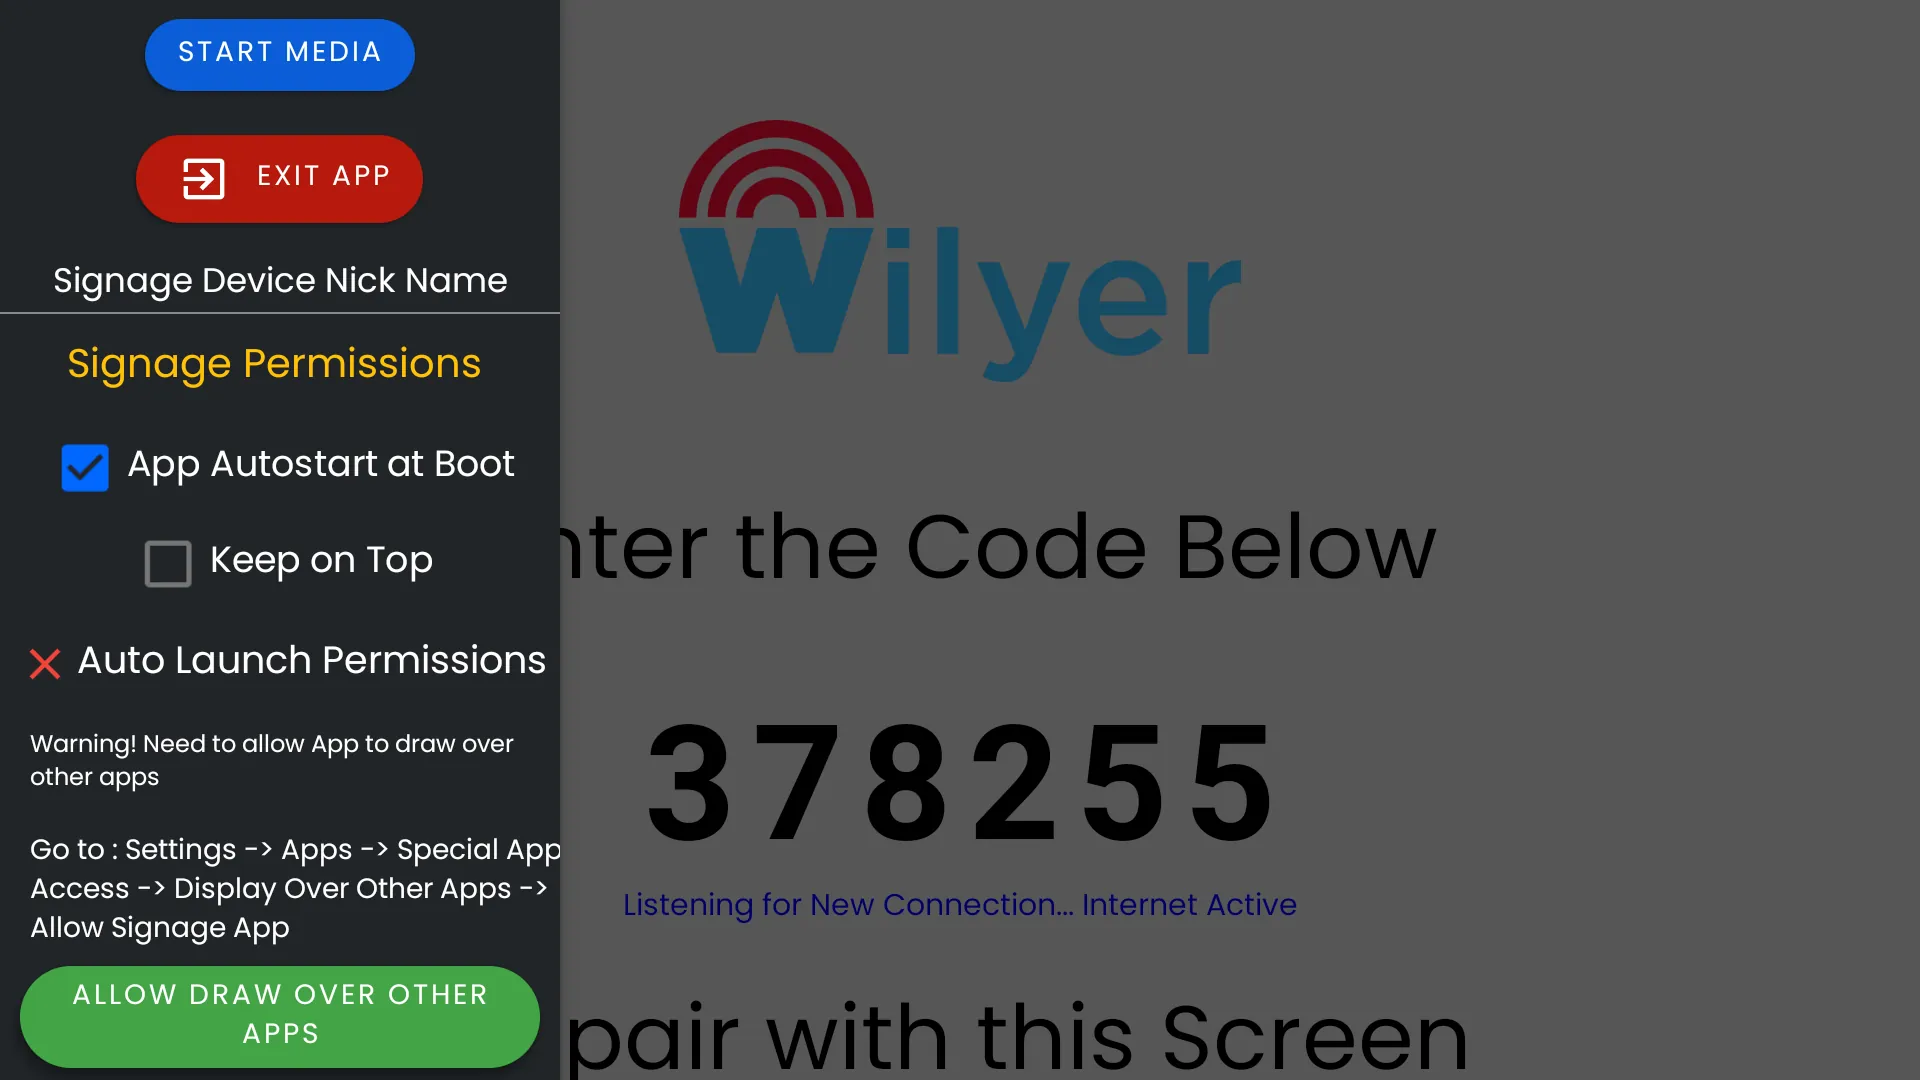
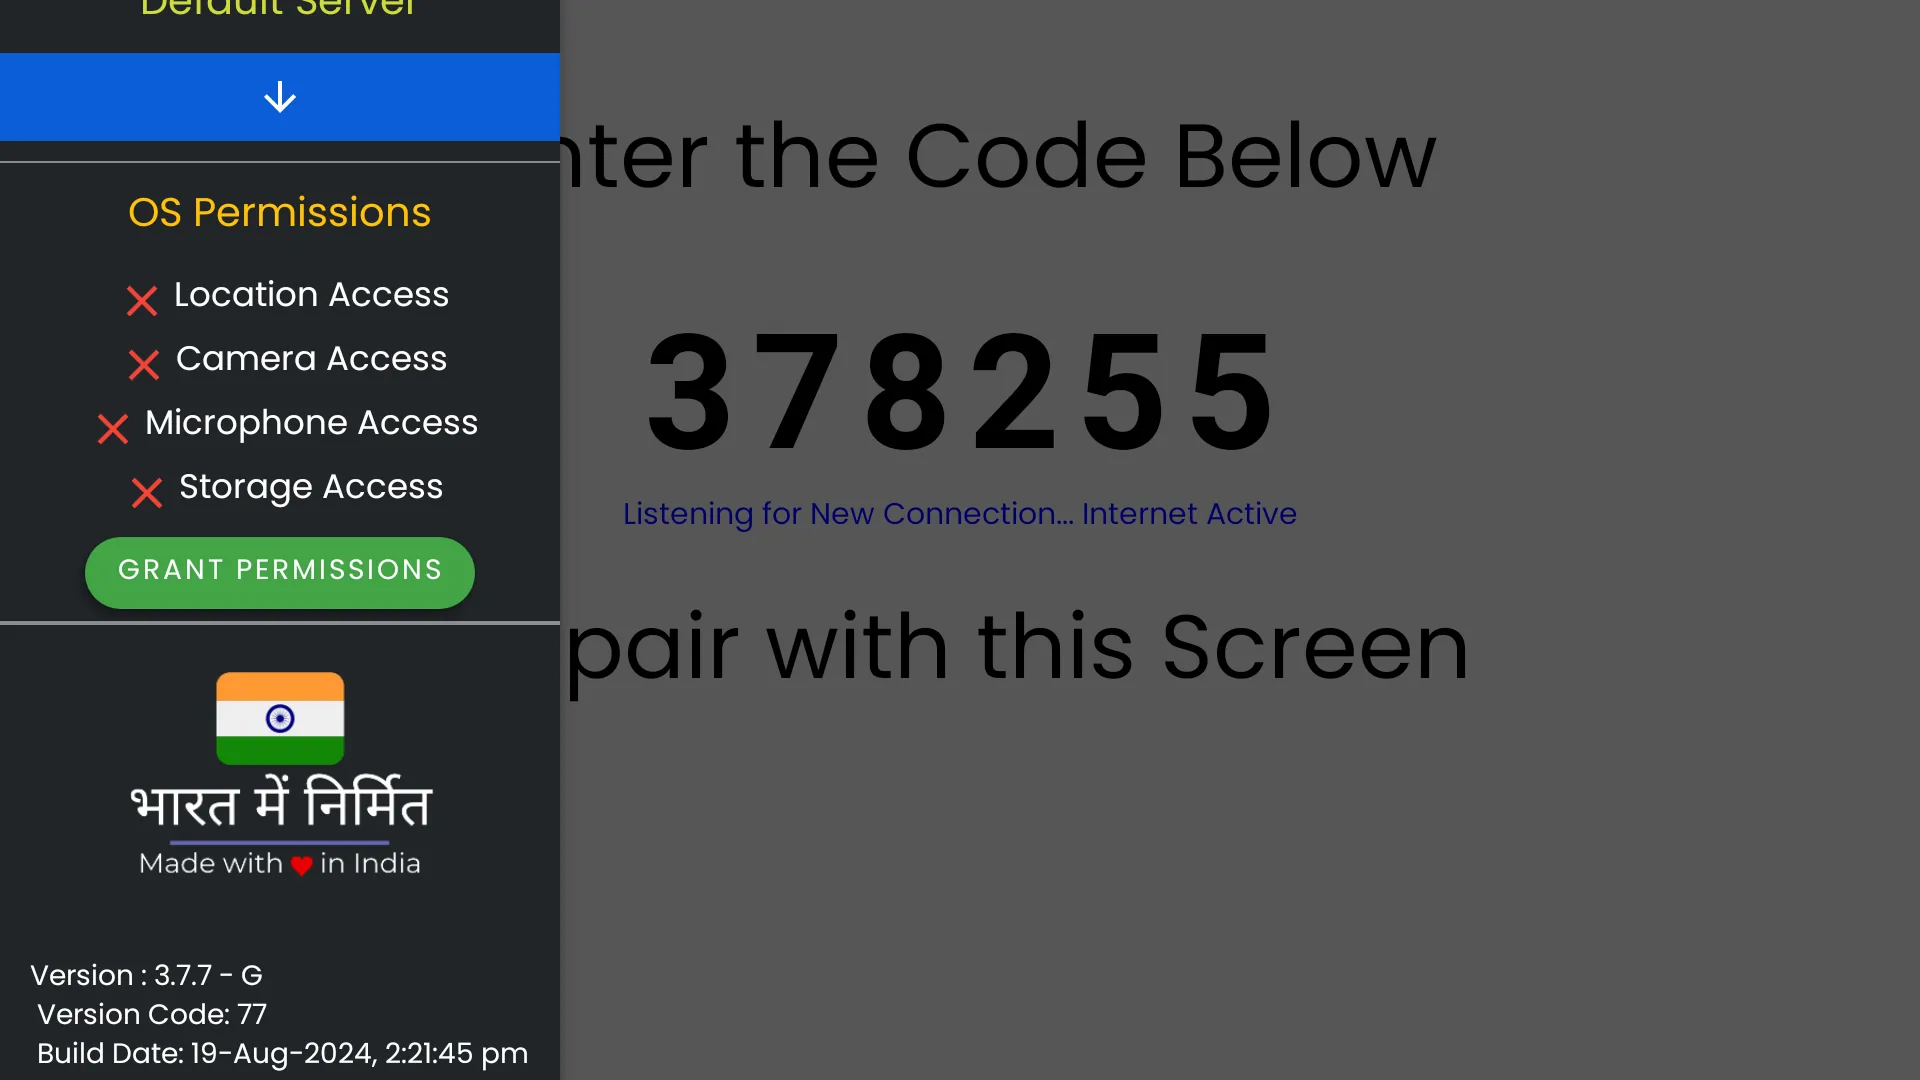
1. Pairing the Screen with the CMS Account
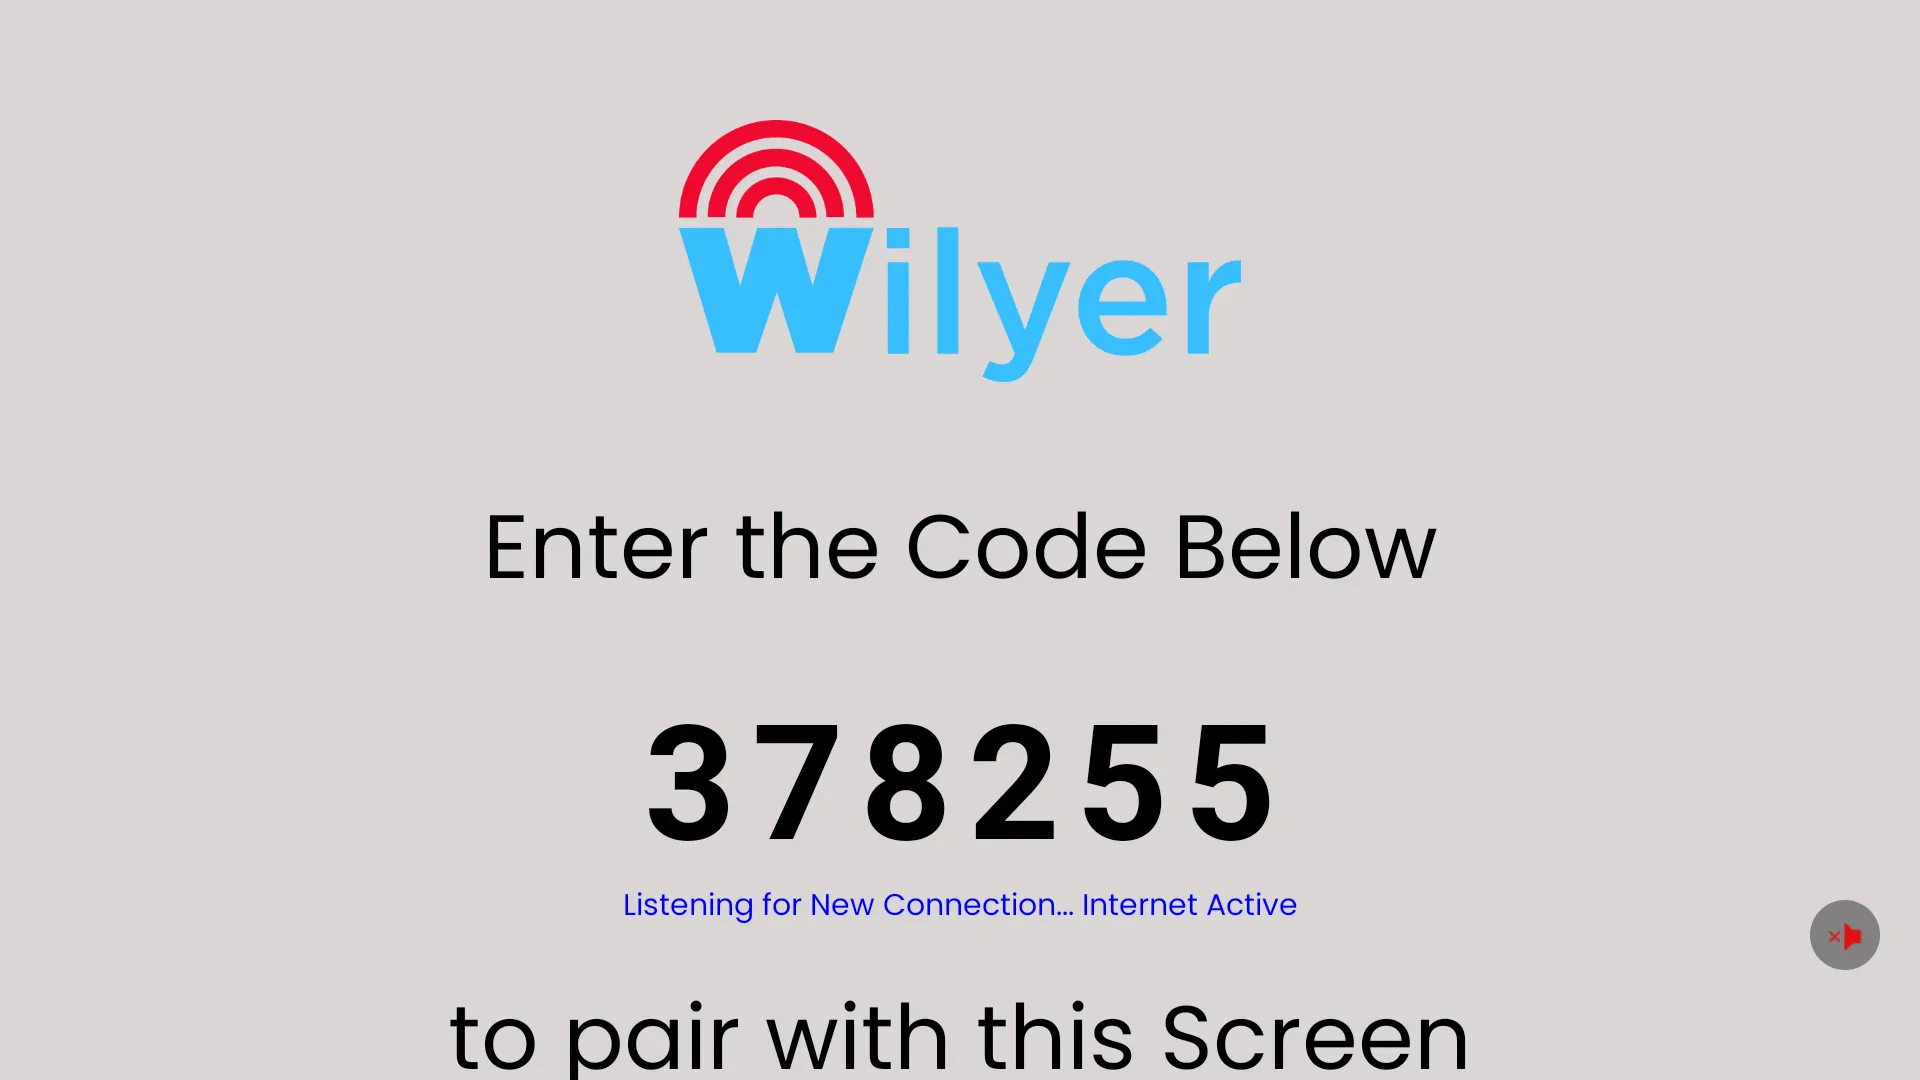
- Upon the first launch of the
Wilyer Digital Signageapplication, you will see aPairing Codescreen. - This code is used to connect the screen with a new CMS account.

2. Granting “Display Over Other Apps” Permission
- For Android 11 and above,
special permissionsare required for the digital signage app to relaunch automatically after a restart. - To enable this:
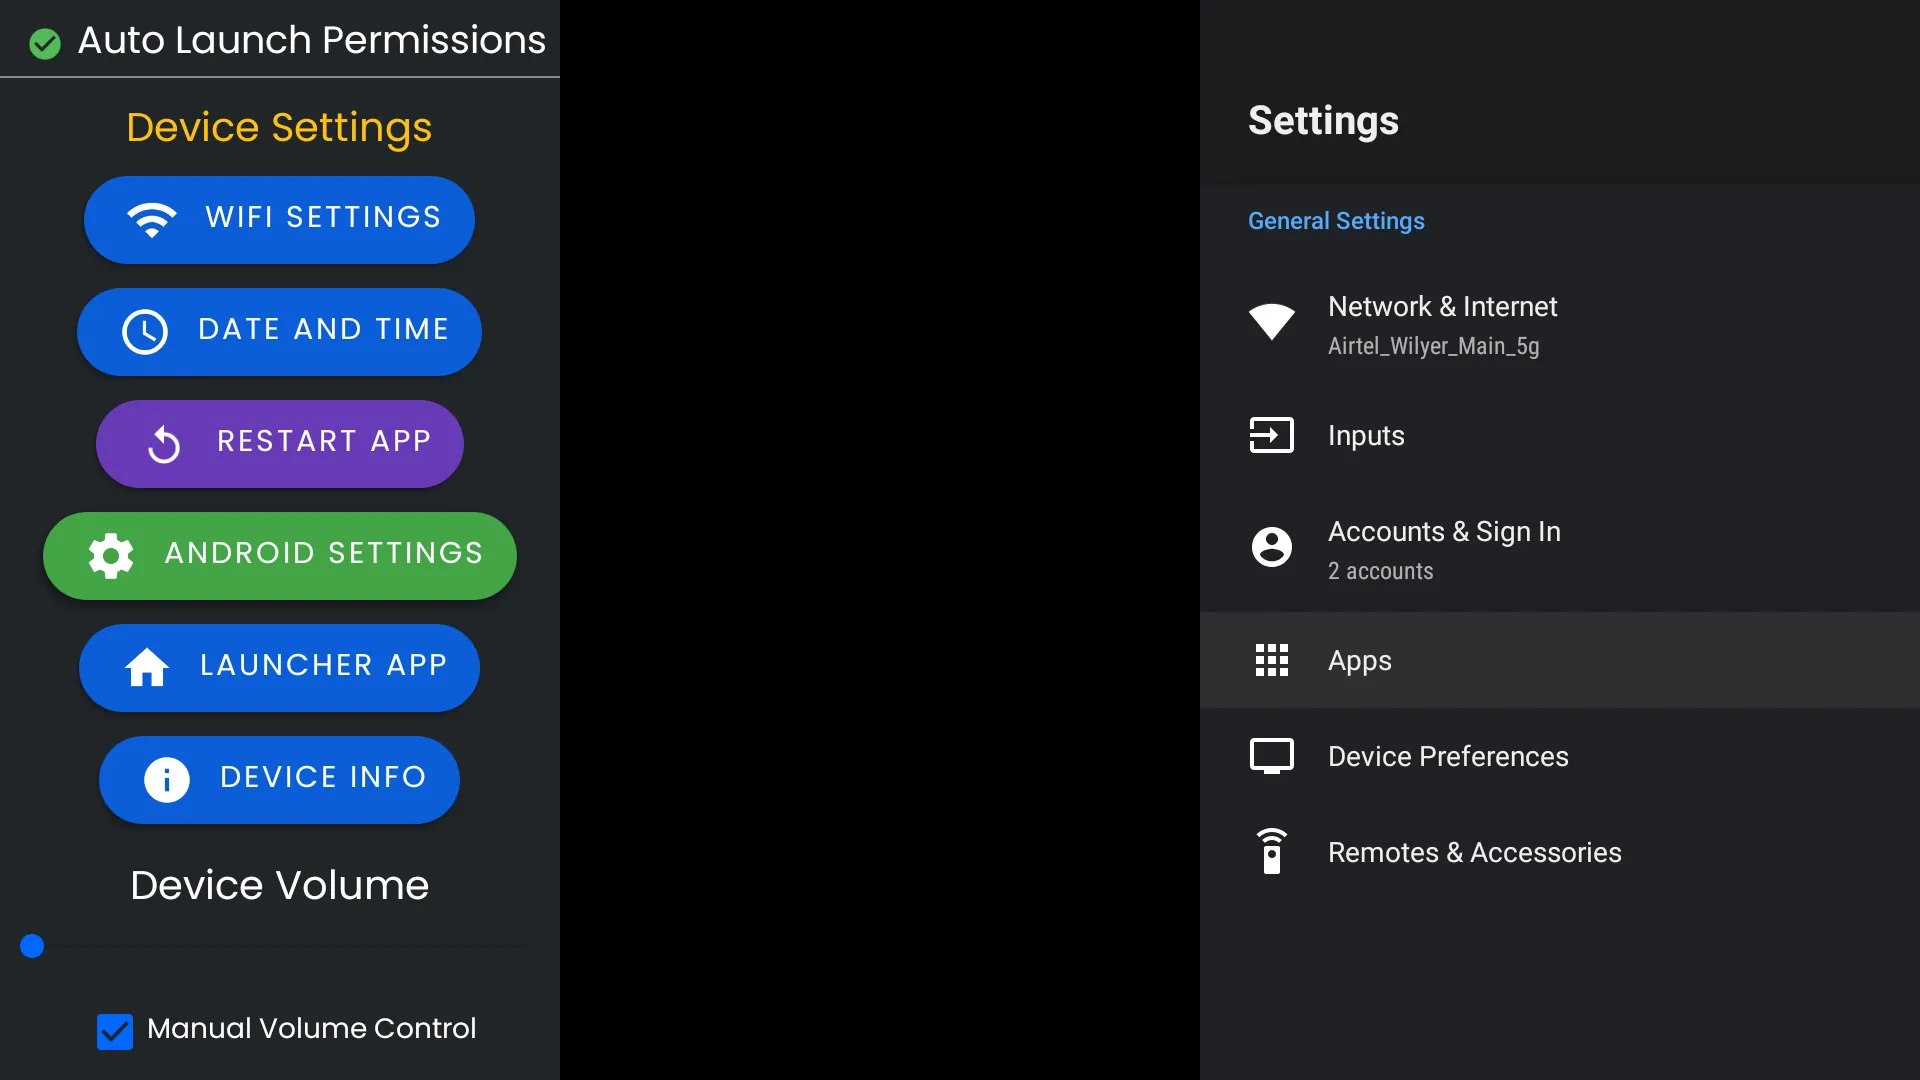
- Right-click on the screen (if using a mouse) or press the
Back buttonon the remote. - This opens the
Signage App Settings Menuon the left-hand side.
- Right-click on the screen (if using a mouse) or press the
3. Enable Auto Launch Permission
- Use the
Down Arrow buttonon the remote to scroll down to the menu option forAuto Launch Permission. - If there is no warning for the
Auto Launch Permission, you can skip this step.
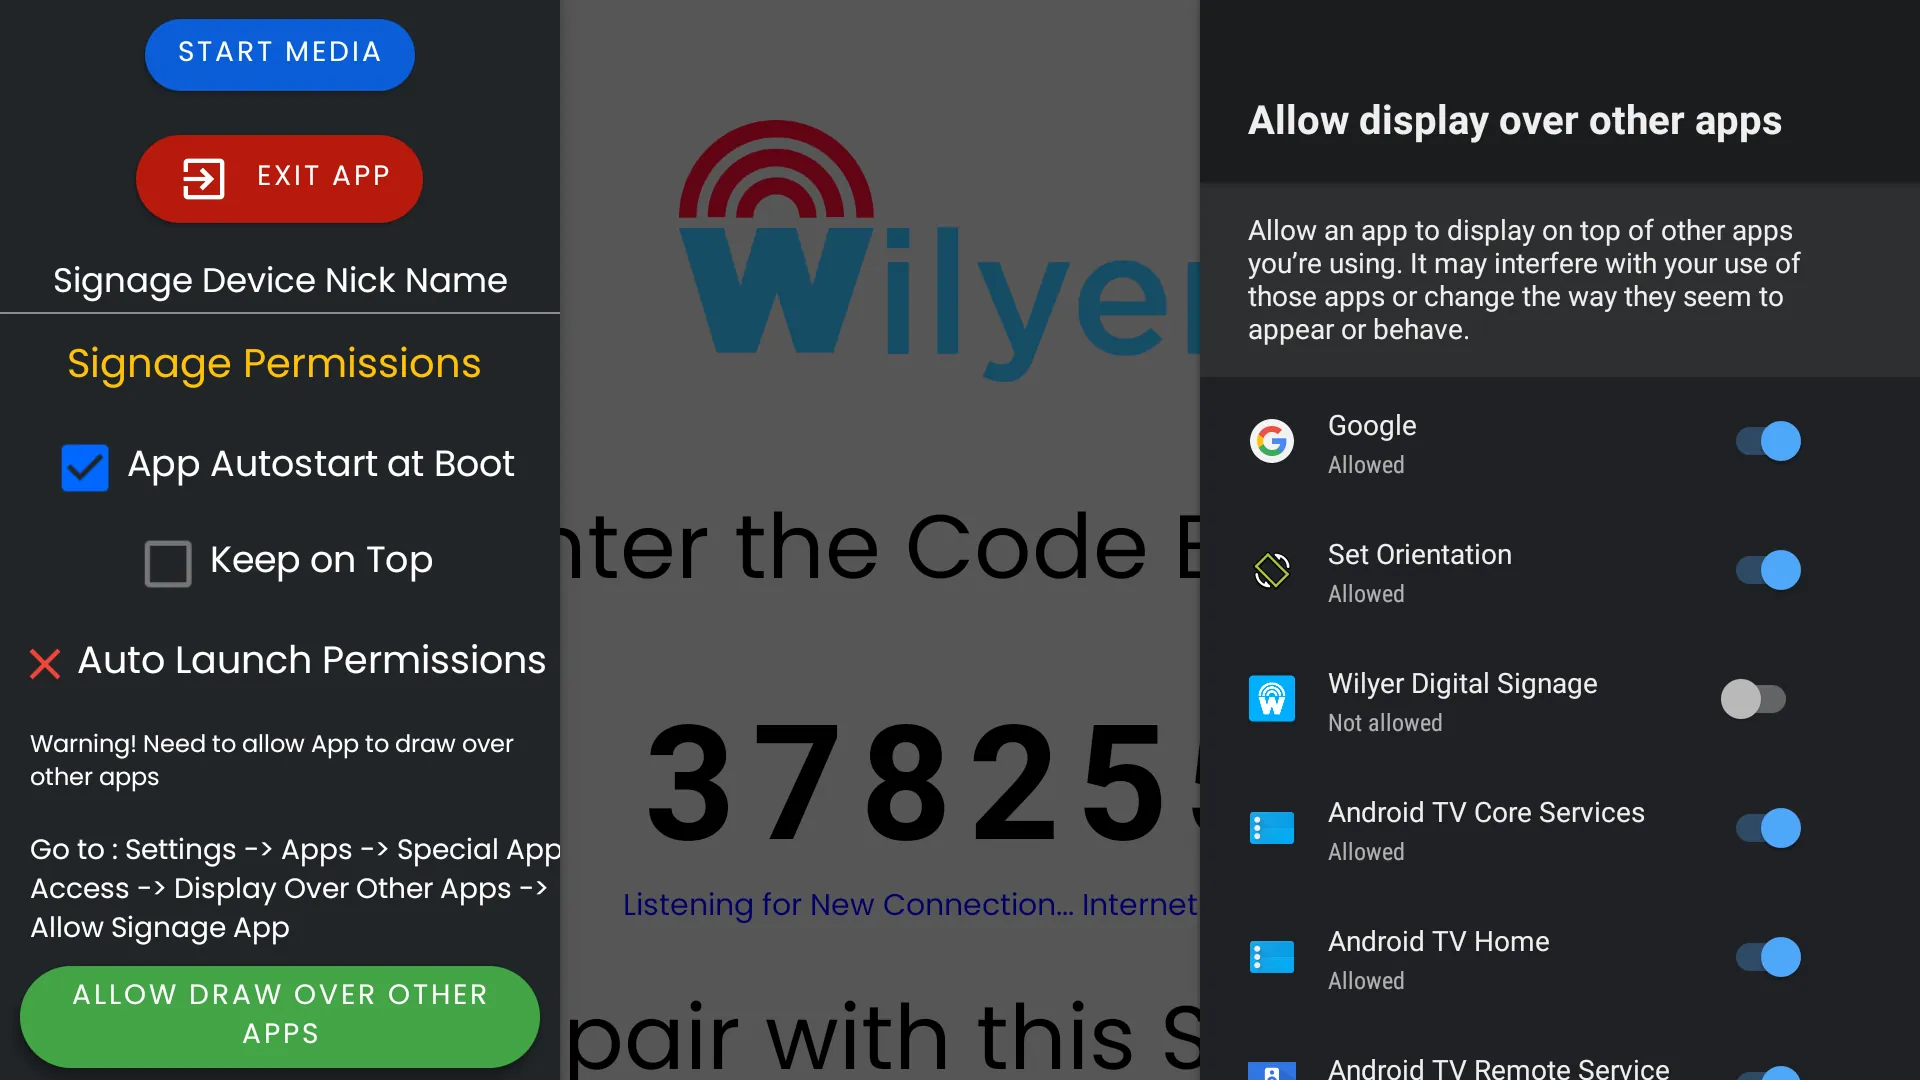
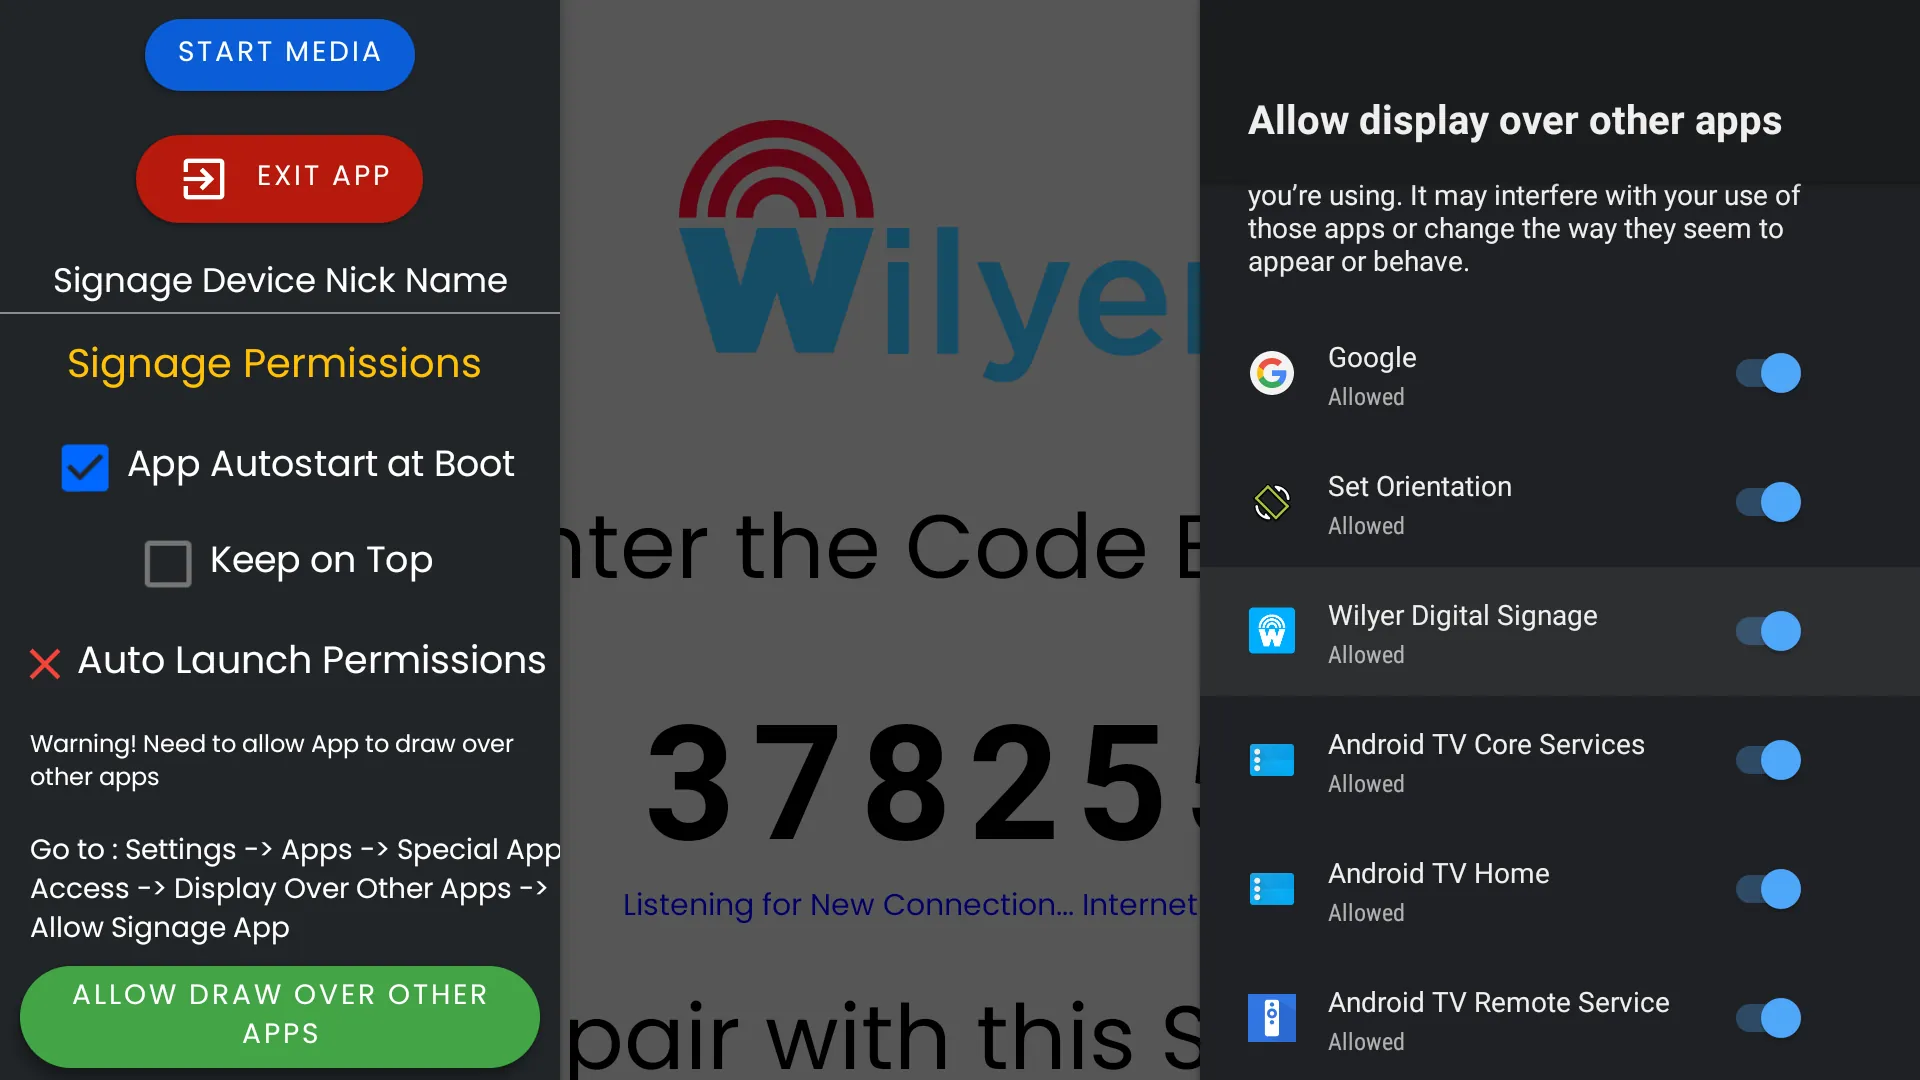
4. Enable “Display Over Other Apps”
- The
Display Over Other Appslist will open, allowing you to find theWilyer Signage Application. - Enable the switch for the
Wilyer Signage Playerapp to allow it to launch at bootup.
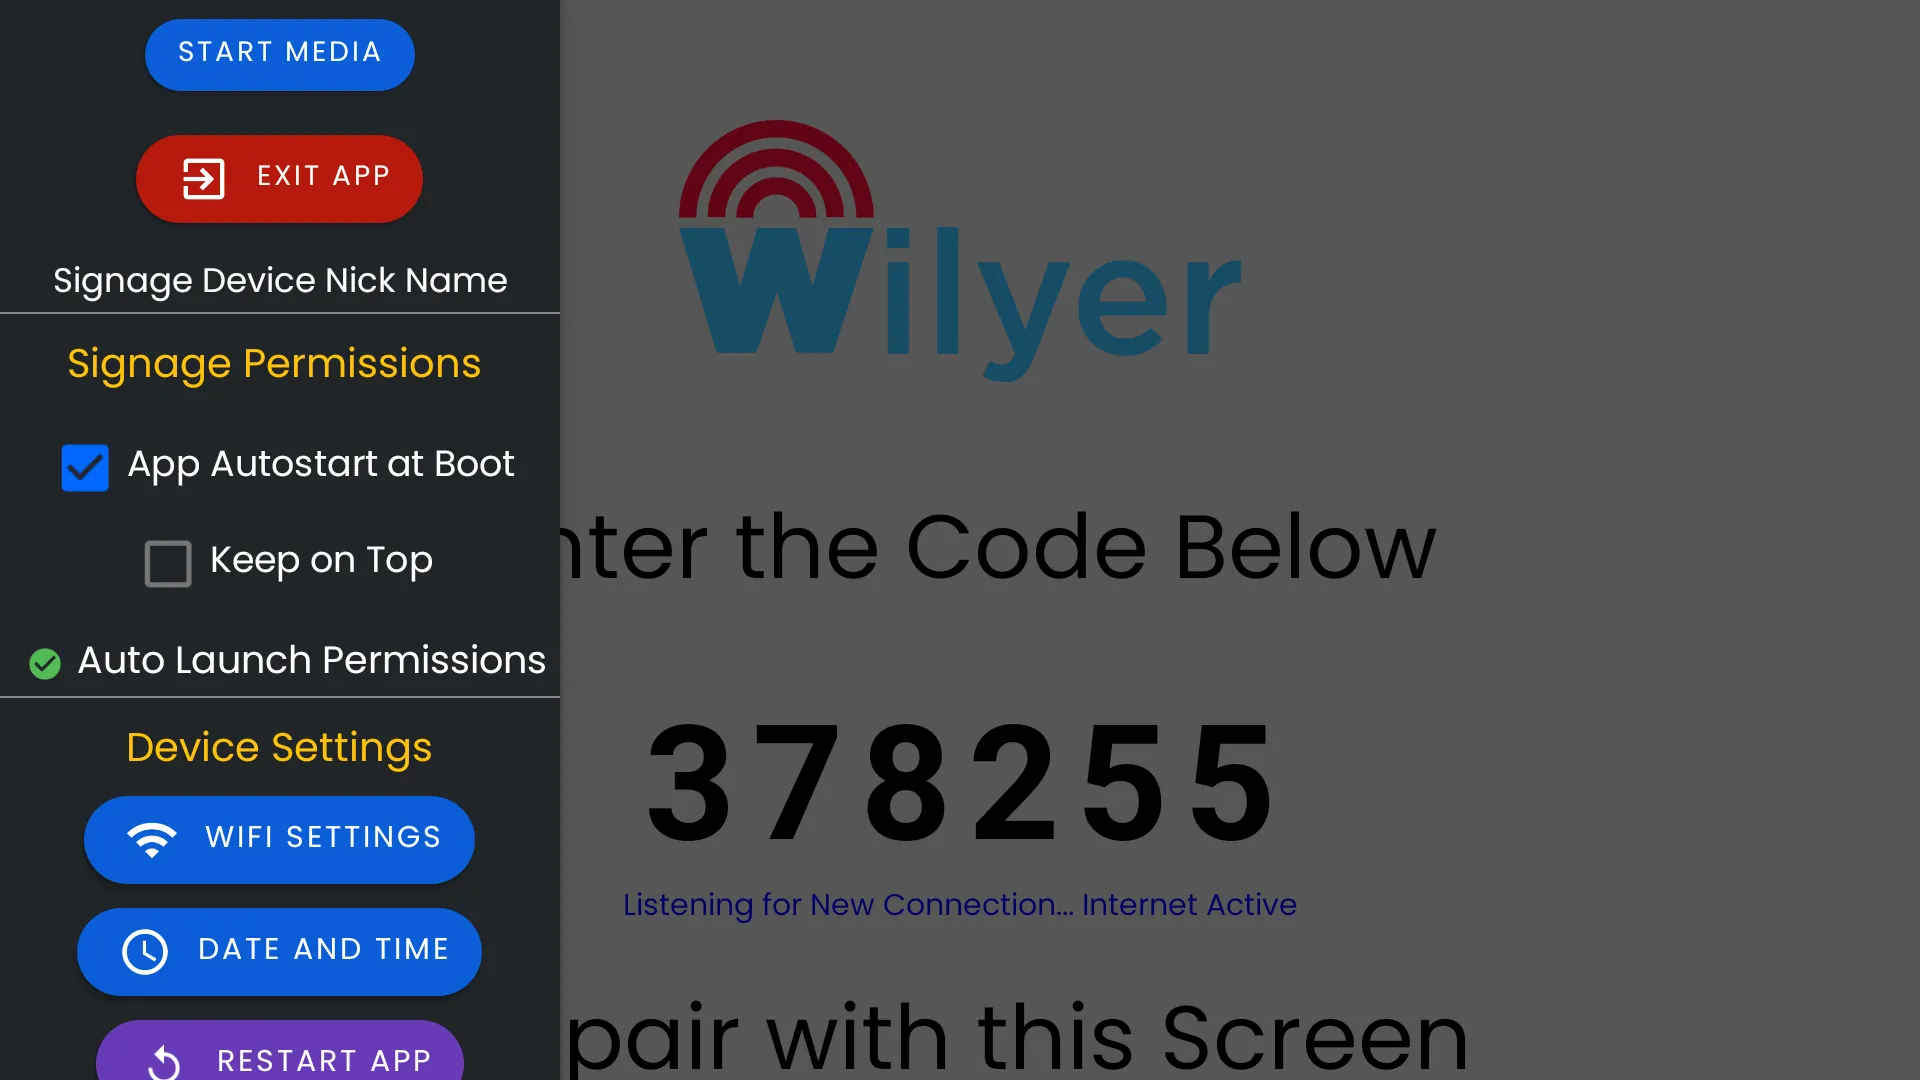
5. Confirm Setup and Auto-Launch
- Once enabled, press the
Back buttonon the remote or right-click using a mouse to return to the Wilyer app. - You will see a success message confirming that warnings for
"Display Over Other Apps"permissions are resolved. - Ensure the
Auto Start at Bootupcheckbox is enabled.
6. Restart Verification
- On the next restart, the Wilyer Signage application will open automatically.
- It typically takes
20–40 secondson regular Android TVs.
3: Pairing the Screen and Running Content for the First Time
Step-by-Step Instructions
1. Login to the Dashboard
- Visit dashboard.wilyersignage.com.
- Login or create an account and create a new screen.
2. Enter the Pairing Code
- Enter the pairing code displayed on your screen.
- A success message will appear, and the screen will display a black screen with red dots, indicating that the screen is connected but no content is published yet.

3. Publish Content
- Use the dashboard to publish content to the screen.
- Once published, the screen will start playing the content immediately.

4. Offline Playback
- Content will continue playing even if the device goes offline.
4: Additional Android TV Setup and Operation Tips
1. Access Device Settings
- Use the left-hand sidebar to access various options like WiFi Settings or Android App Settings.
2. Clear Signage App Storage Data and Cache
-
Navigate to the
App Listvia Android Settings.
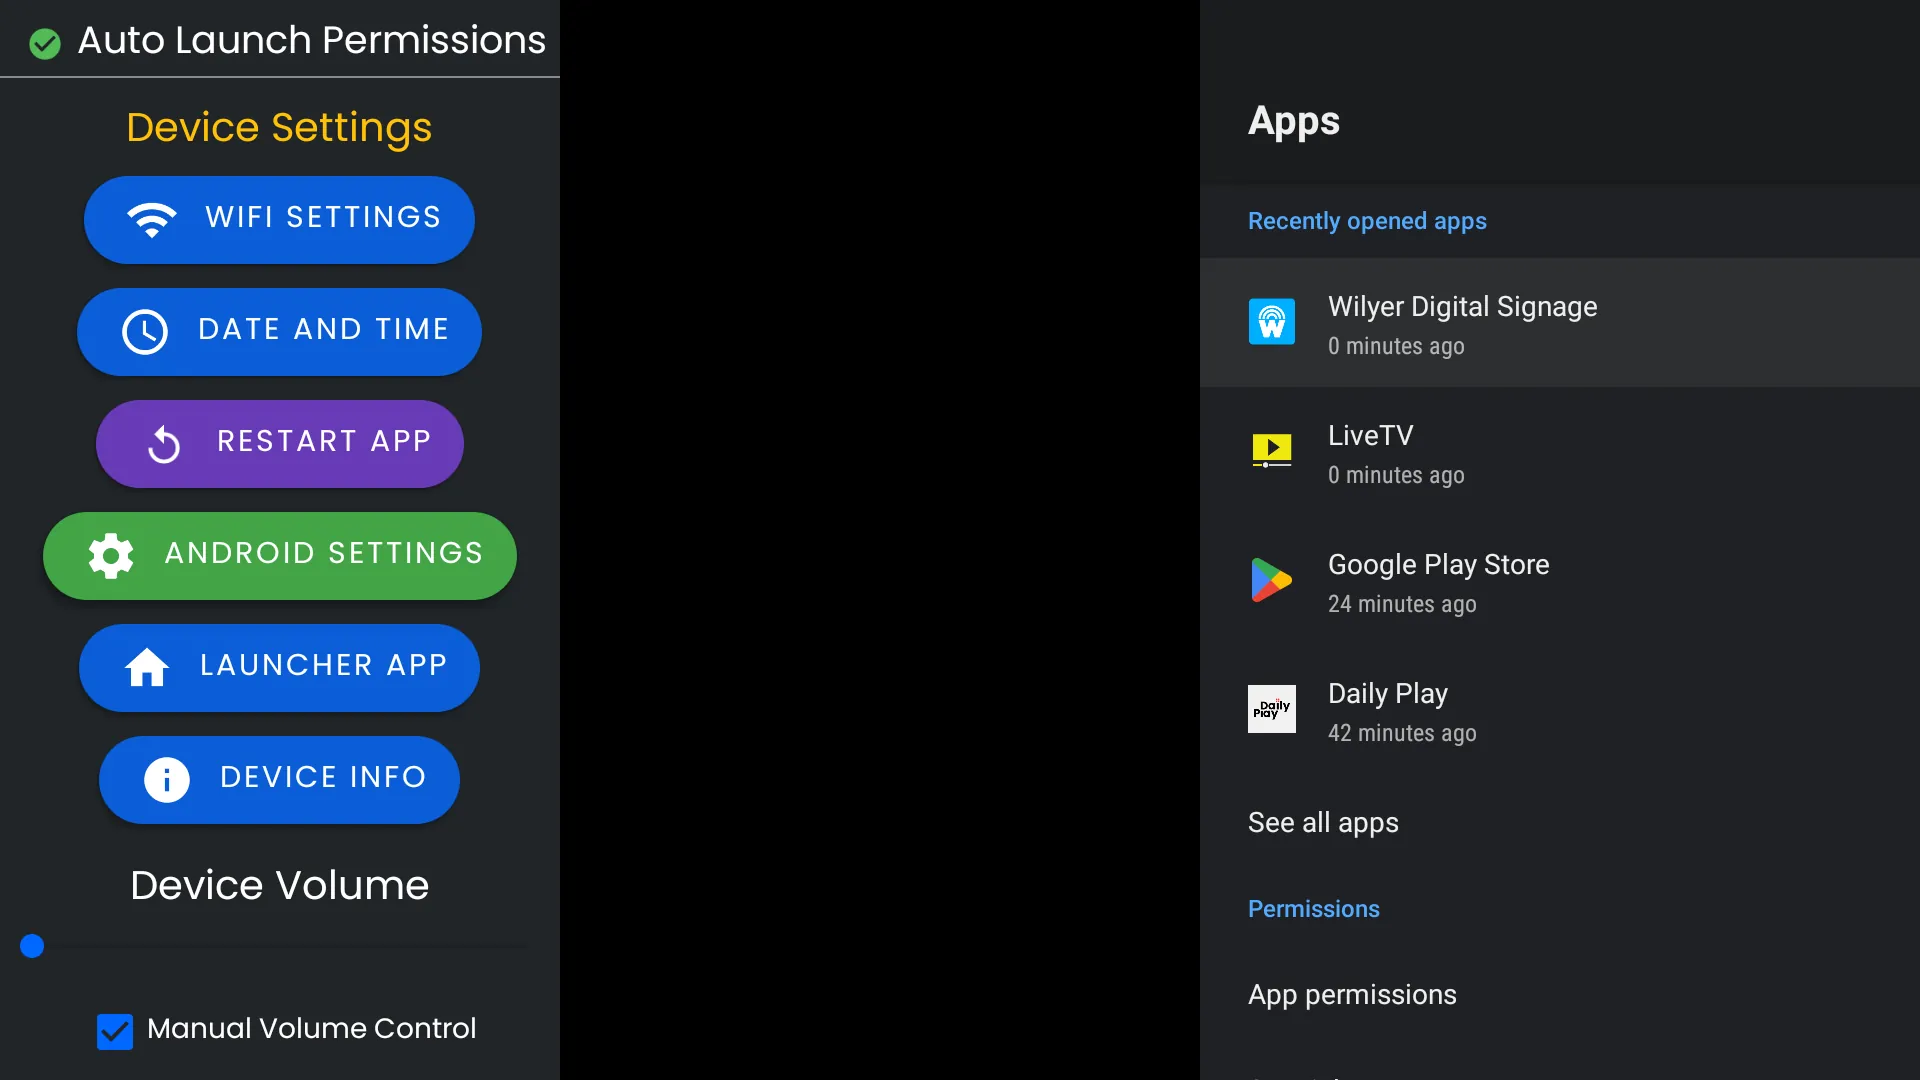
-
Find the Wilyer Signage Application and select Clear Data or Clear Cache.
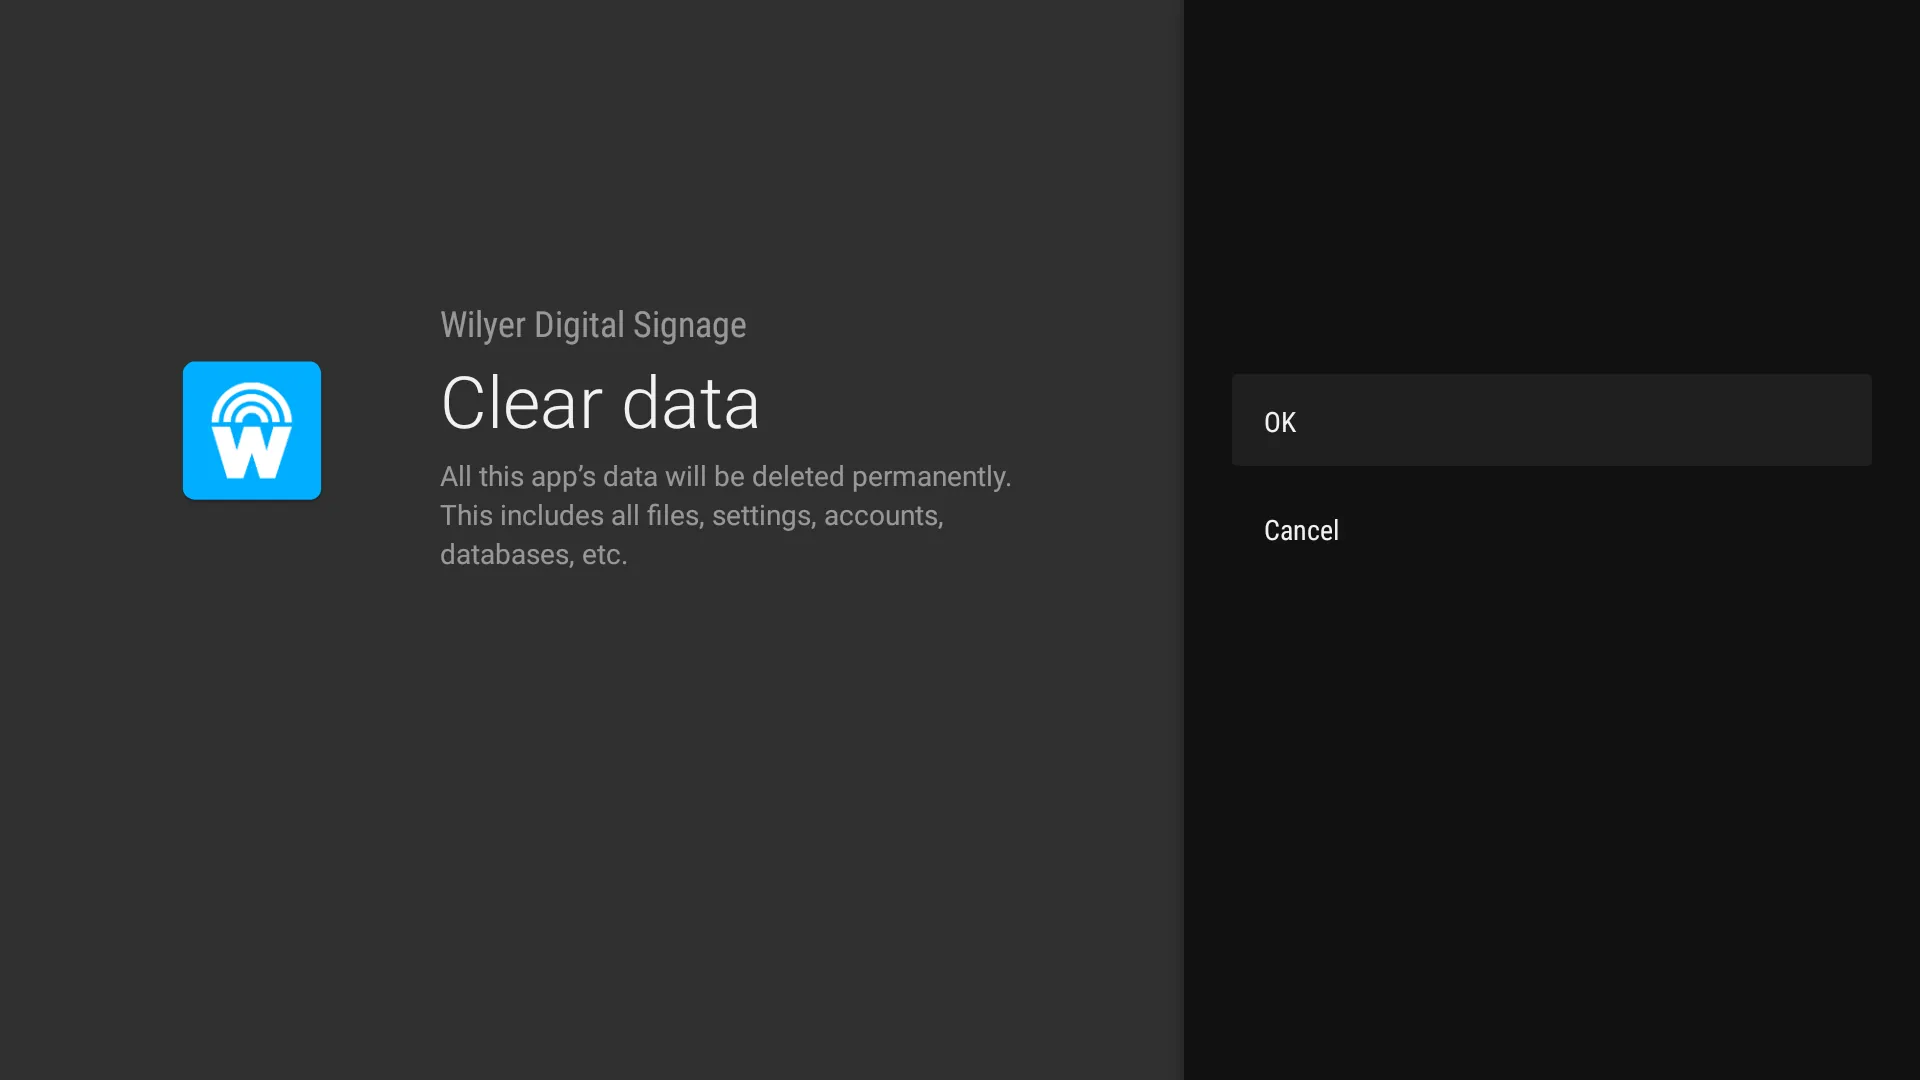
-
Reopen the app and follow the pairing steps again.
1. Access OS Permissions
- Open the
Sidebar Menuand scroll down toOS Permissions. Click onGrant Permissions.
2. Grant Permissions via Android Prompt
- Follow the Android permission prompts to grant required permissions for the app.
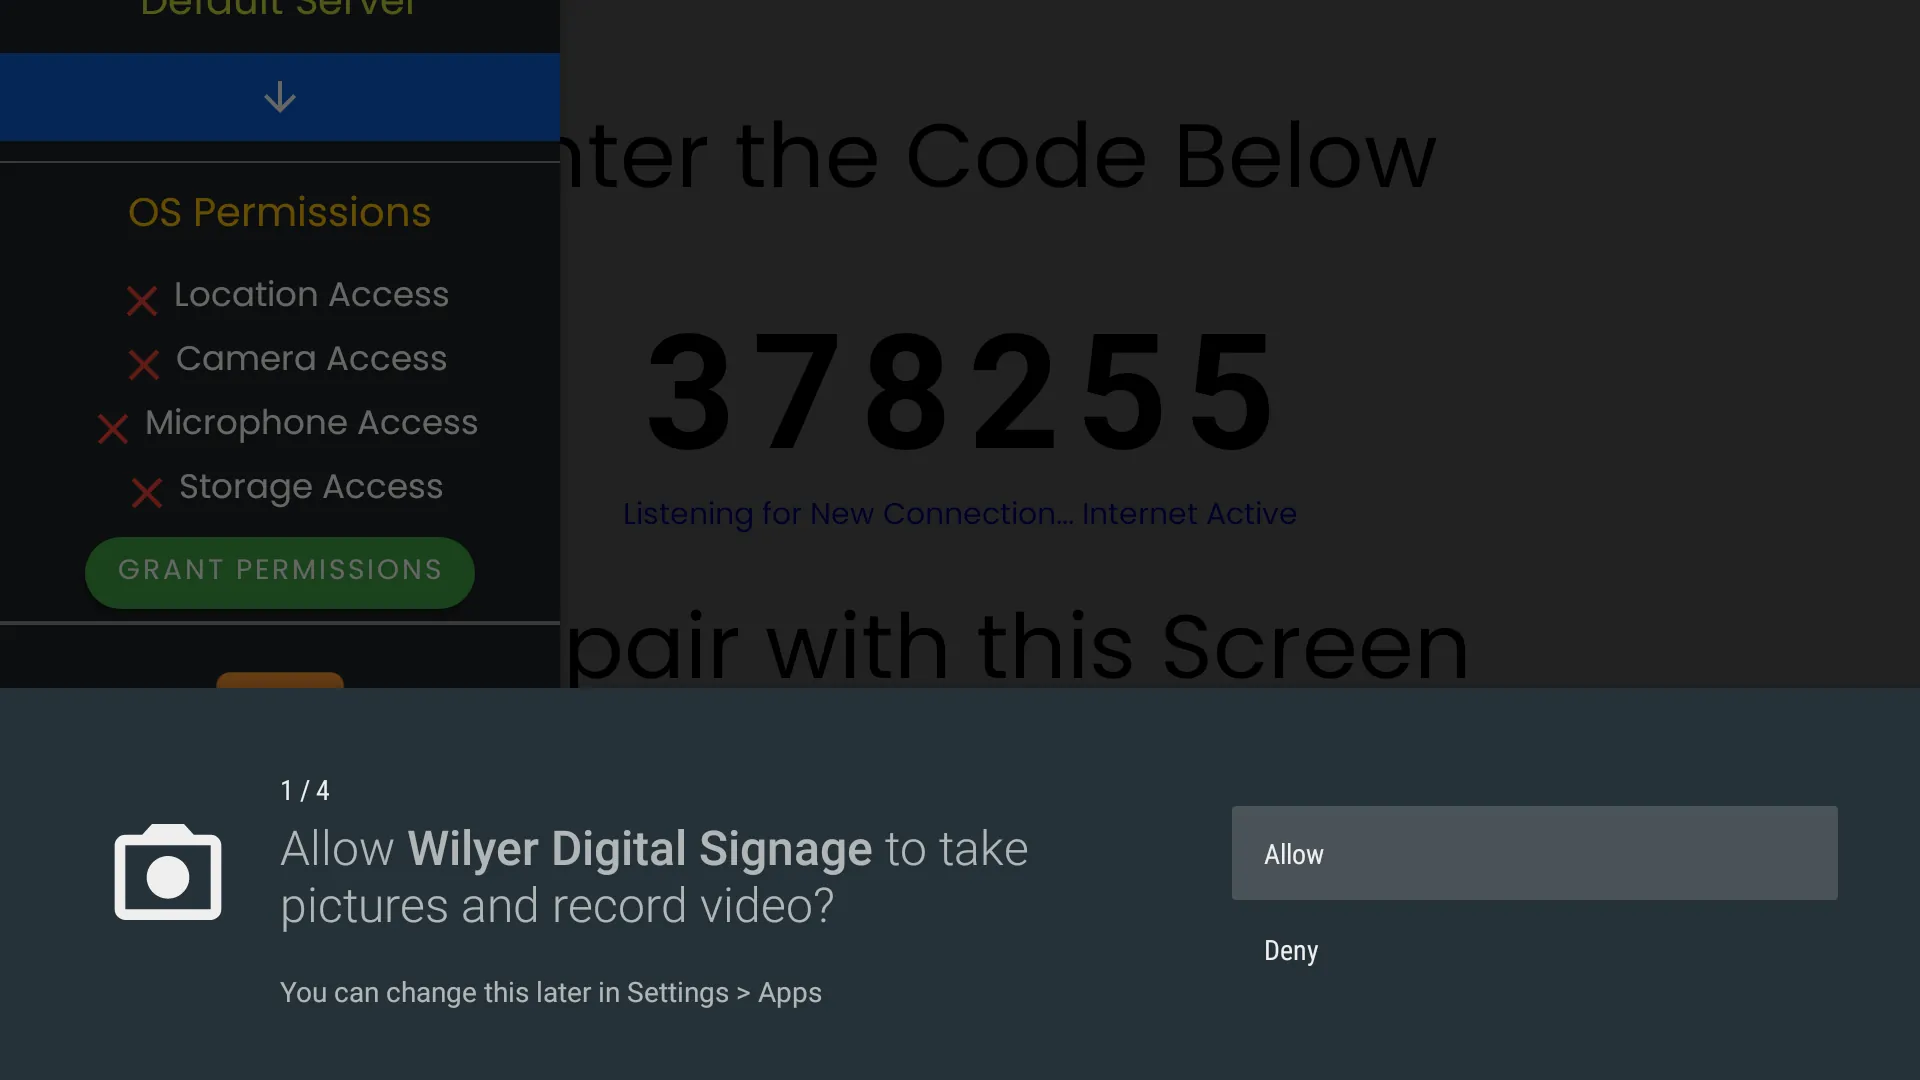
3. Verify Permission Status
- Once all permissions are granted, the checkboxes will turn
green, confirming successful setup.

This document ensures a smooth setup process for users deploying Wilyer Digital Signage Software on Android TVs. Let me know if you need any additional edits or enhancements!
5: Installation via USB Wilyer APK
Step-by-Step Instructions
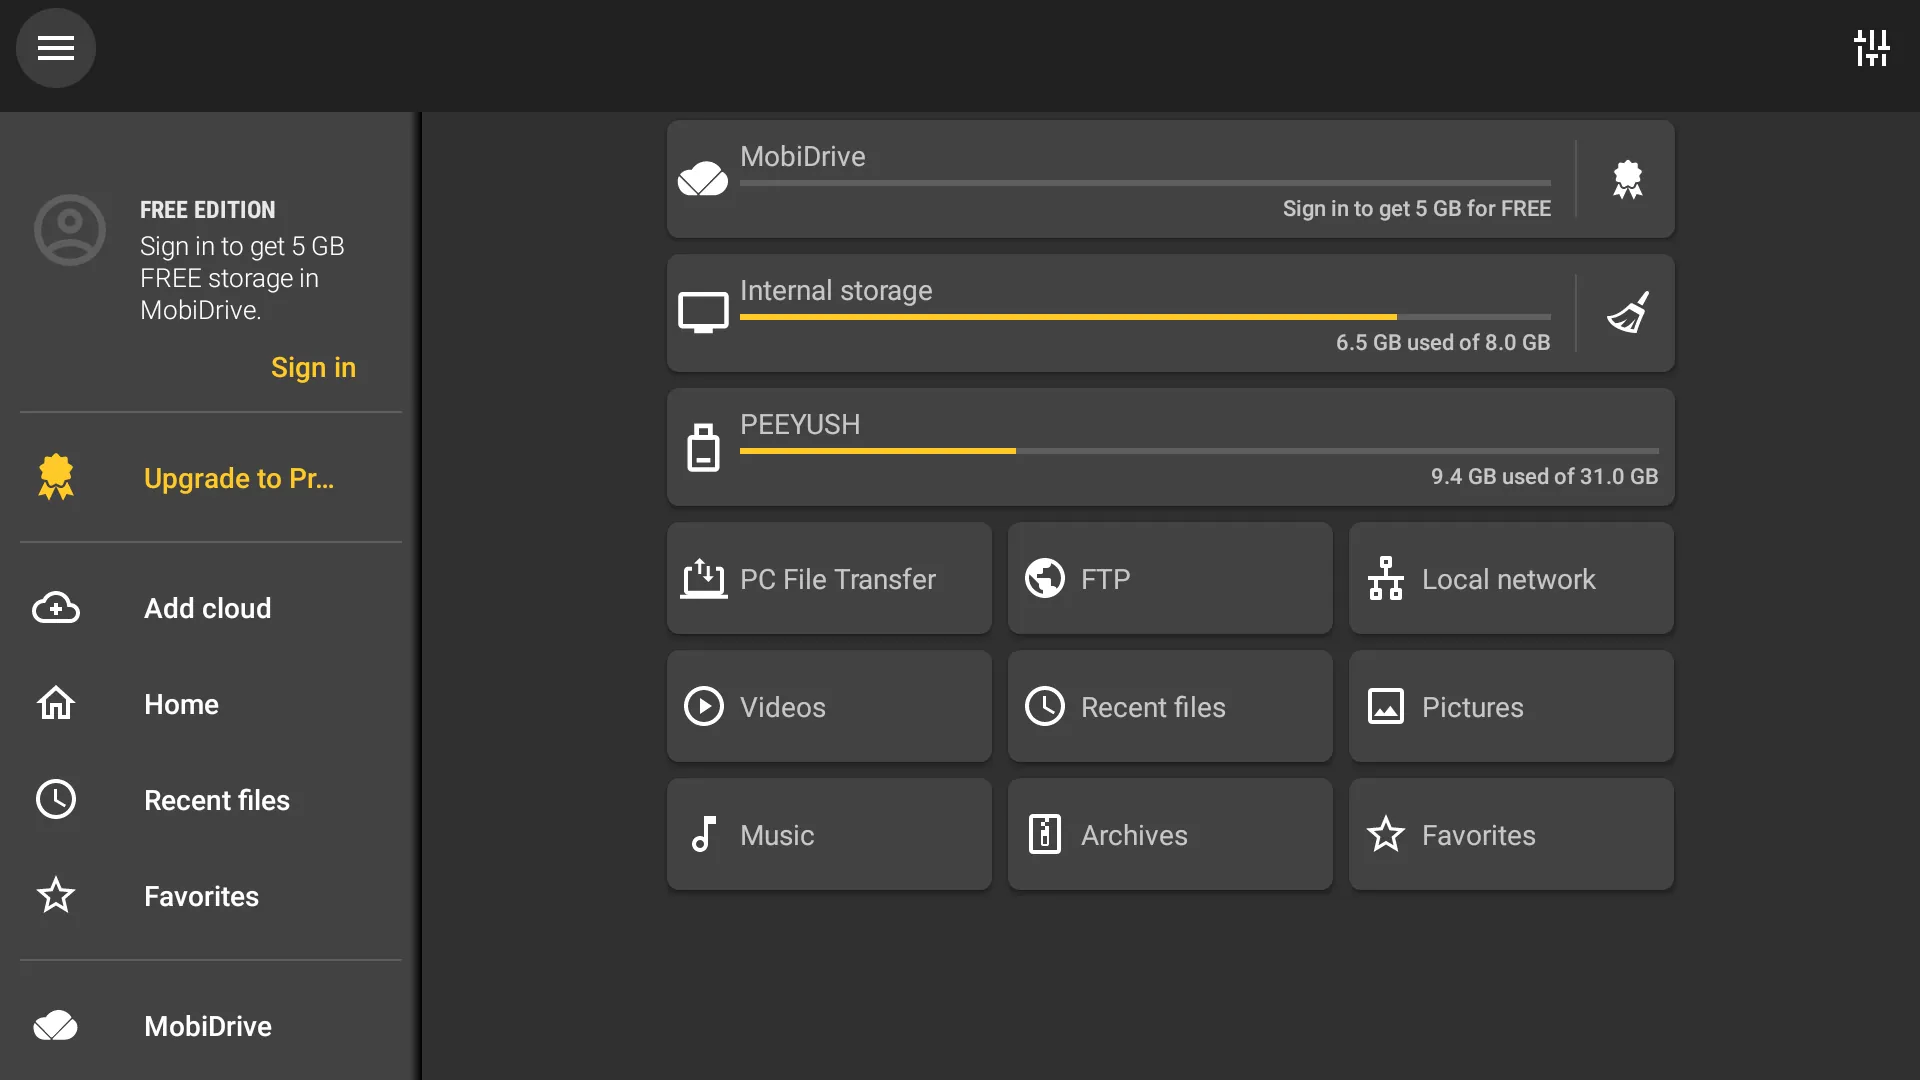
1. Locate “TV File Commander”
- Go to the
Apps Liston your Android TV and find the"TV File Commander"application. - If the app is not available, go to the
Play Storeand install the app before proceeding to the next step. - Alternatively, you can use a pre-loaded file explorer app to access USB.

2. Connect USB with Wilyer APK
- Open
"TV File Commander"or your preferred file explorer. - Connect the USB device containing the
Wilyer Signage Application APKfile. - You can download the latest application from Wilyer Digital Signage APK Download.
3. Navigate to the APK File
- Use the file explorer to navigate to the folder where the APK file is stored on the USB.
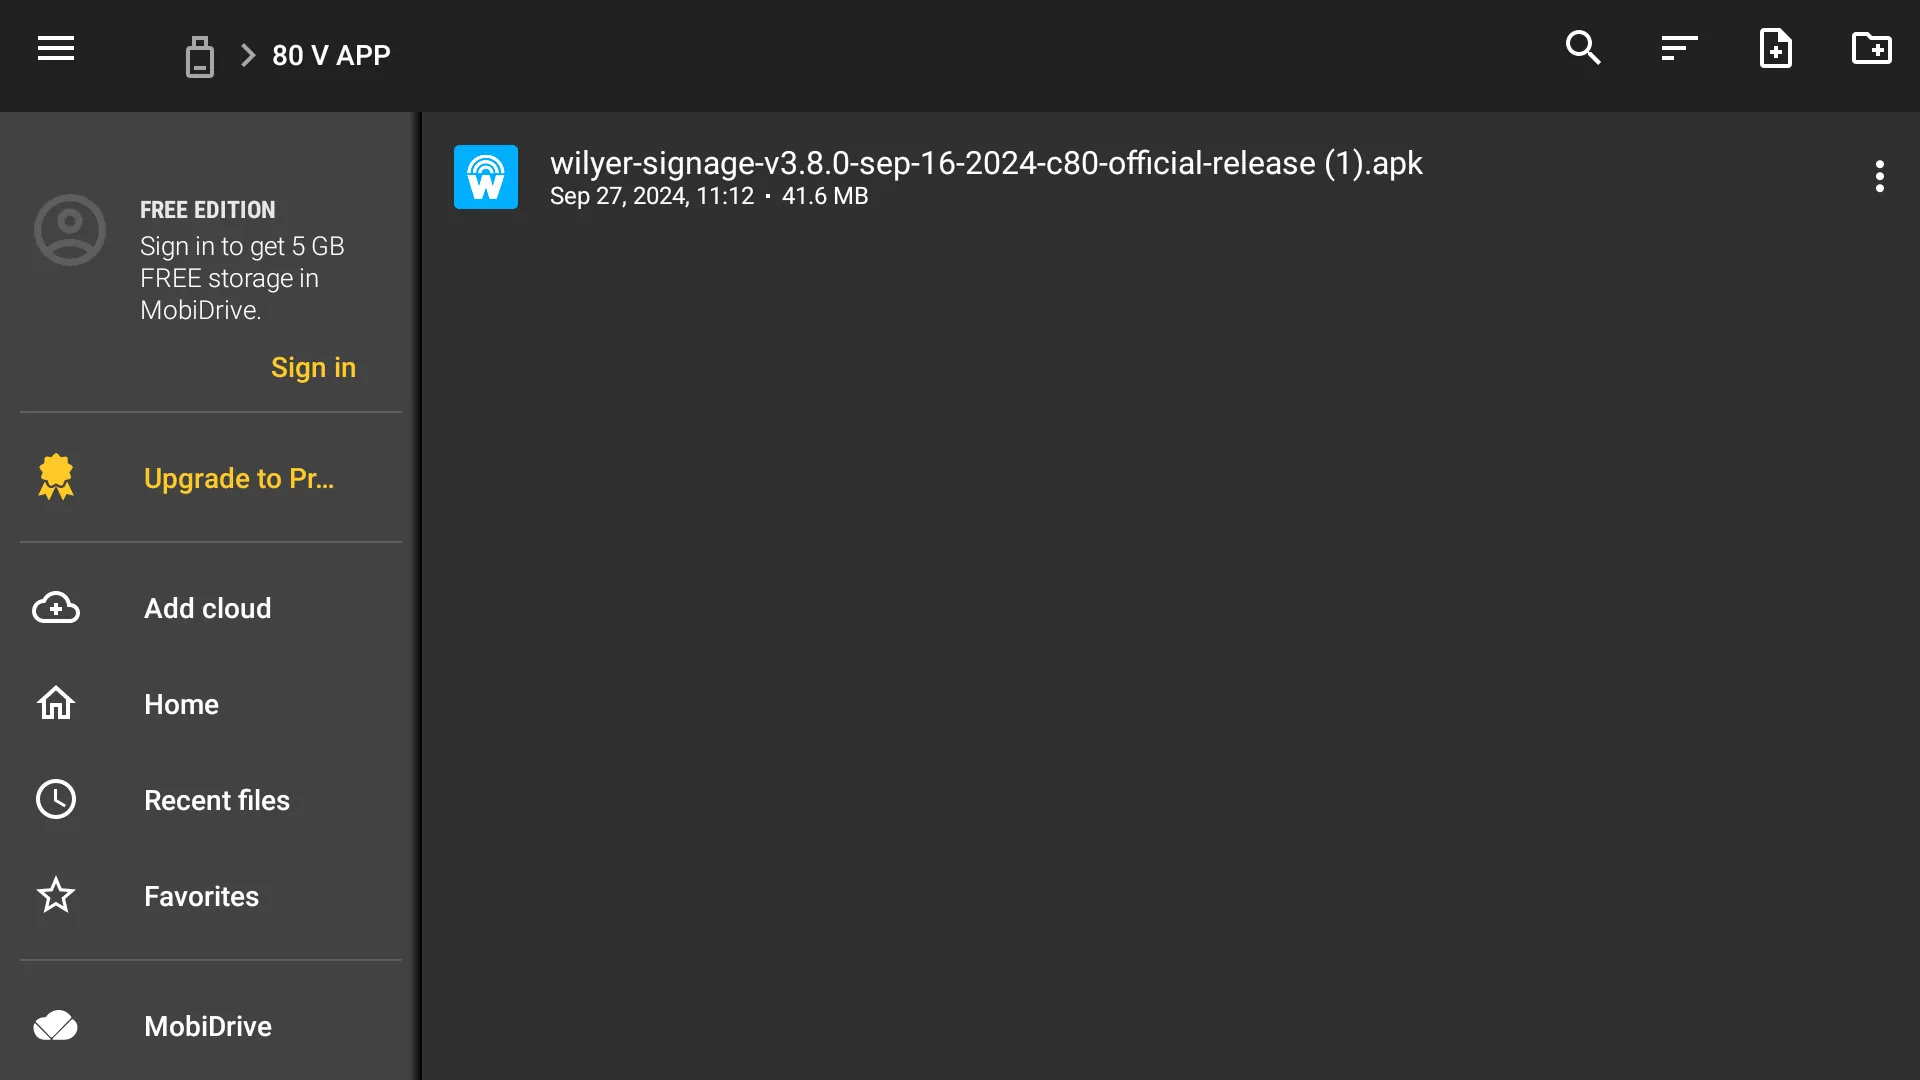
4. Install the Wilyer App
- Click on the APK file and follow the on-screen instructions to install the Wilyer Signage Application.
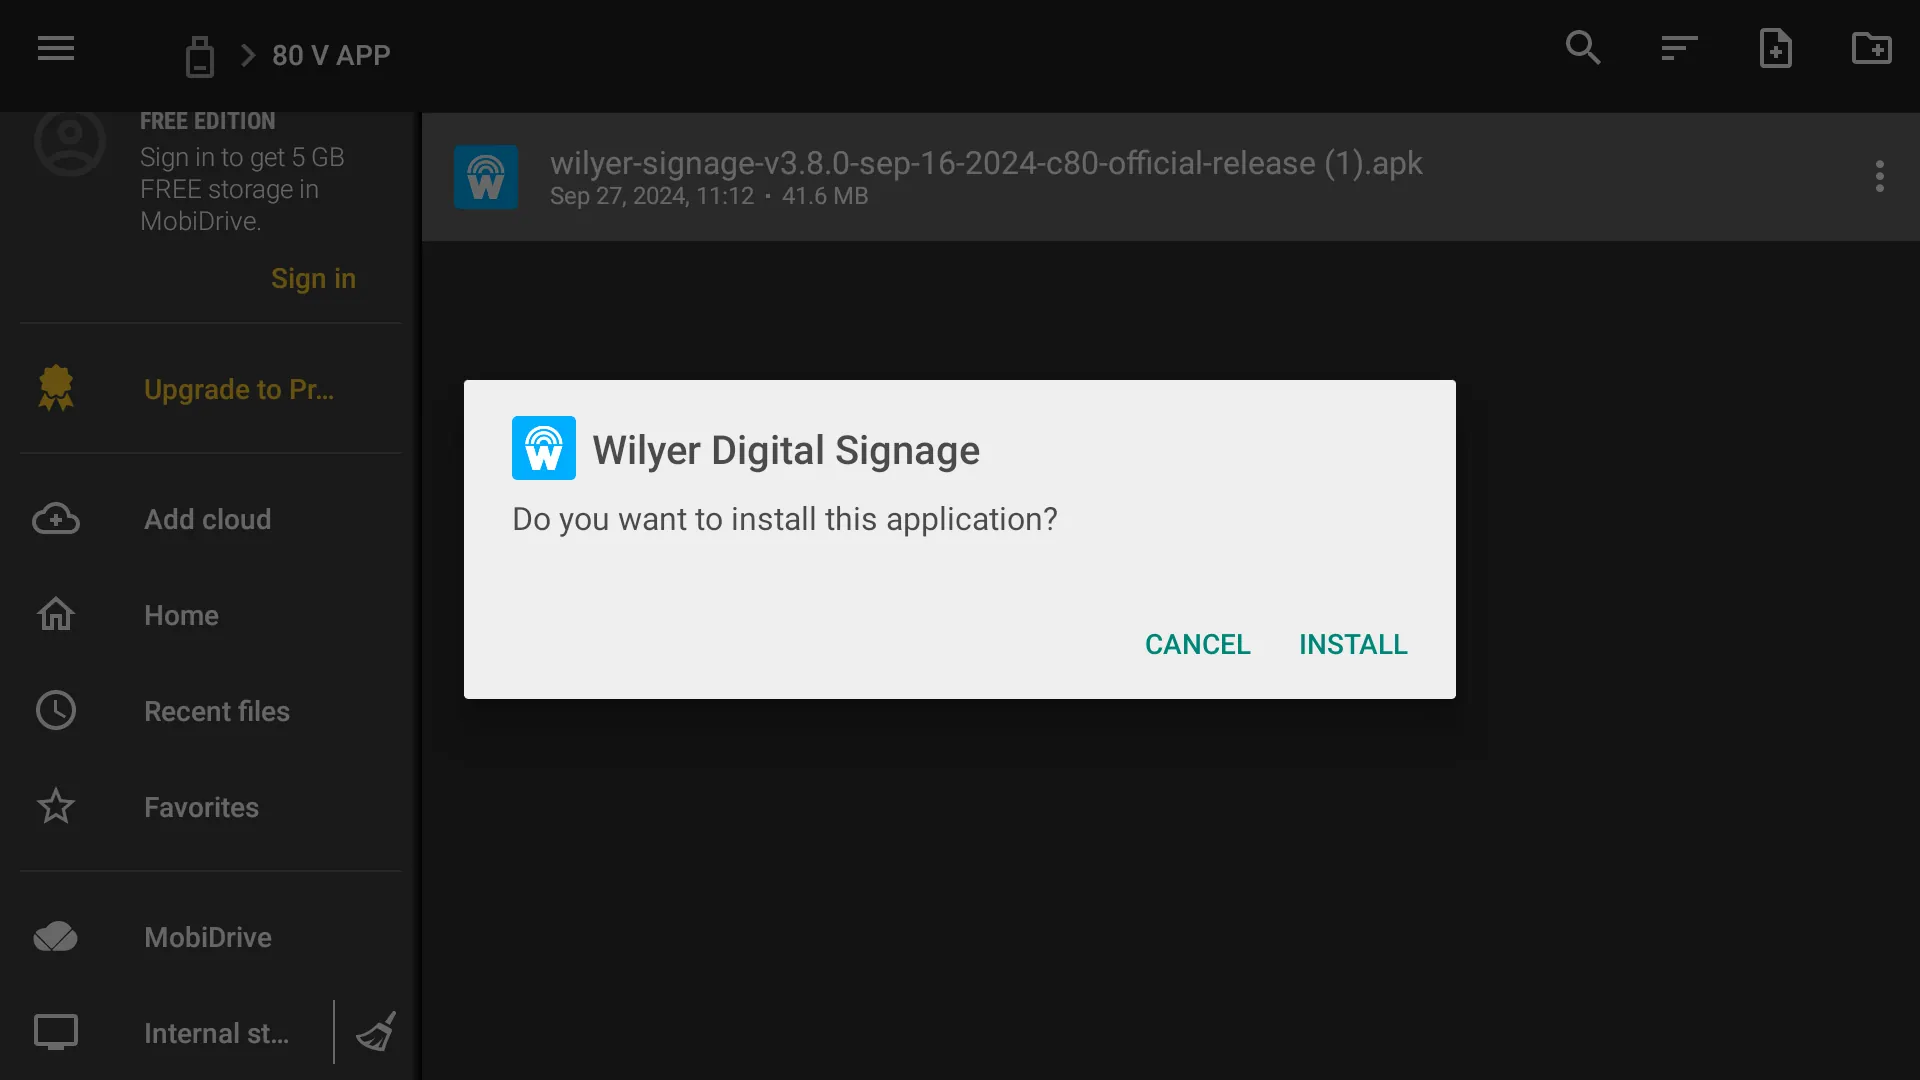
5. Open the App
- Once the installation is complete, click
Opento launch the application.
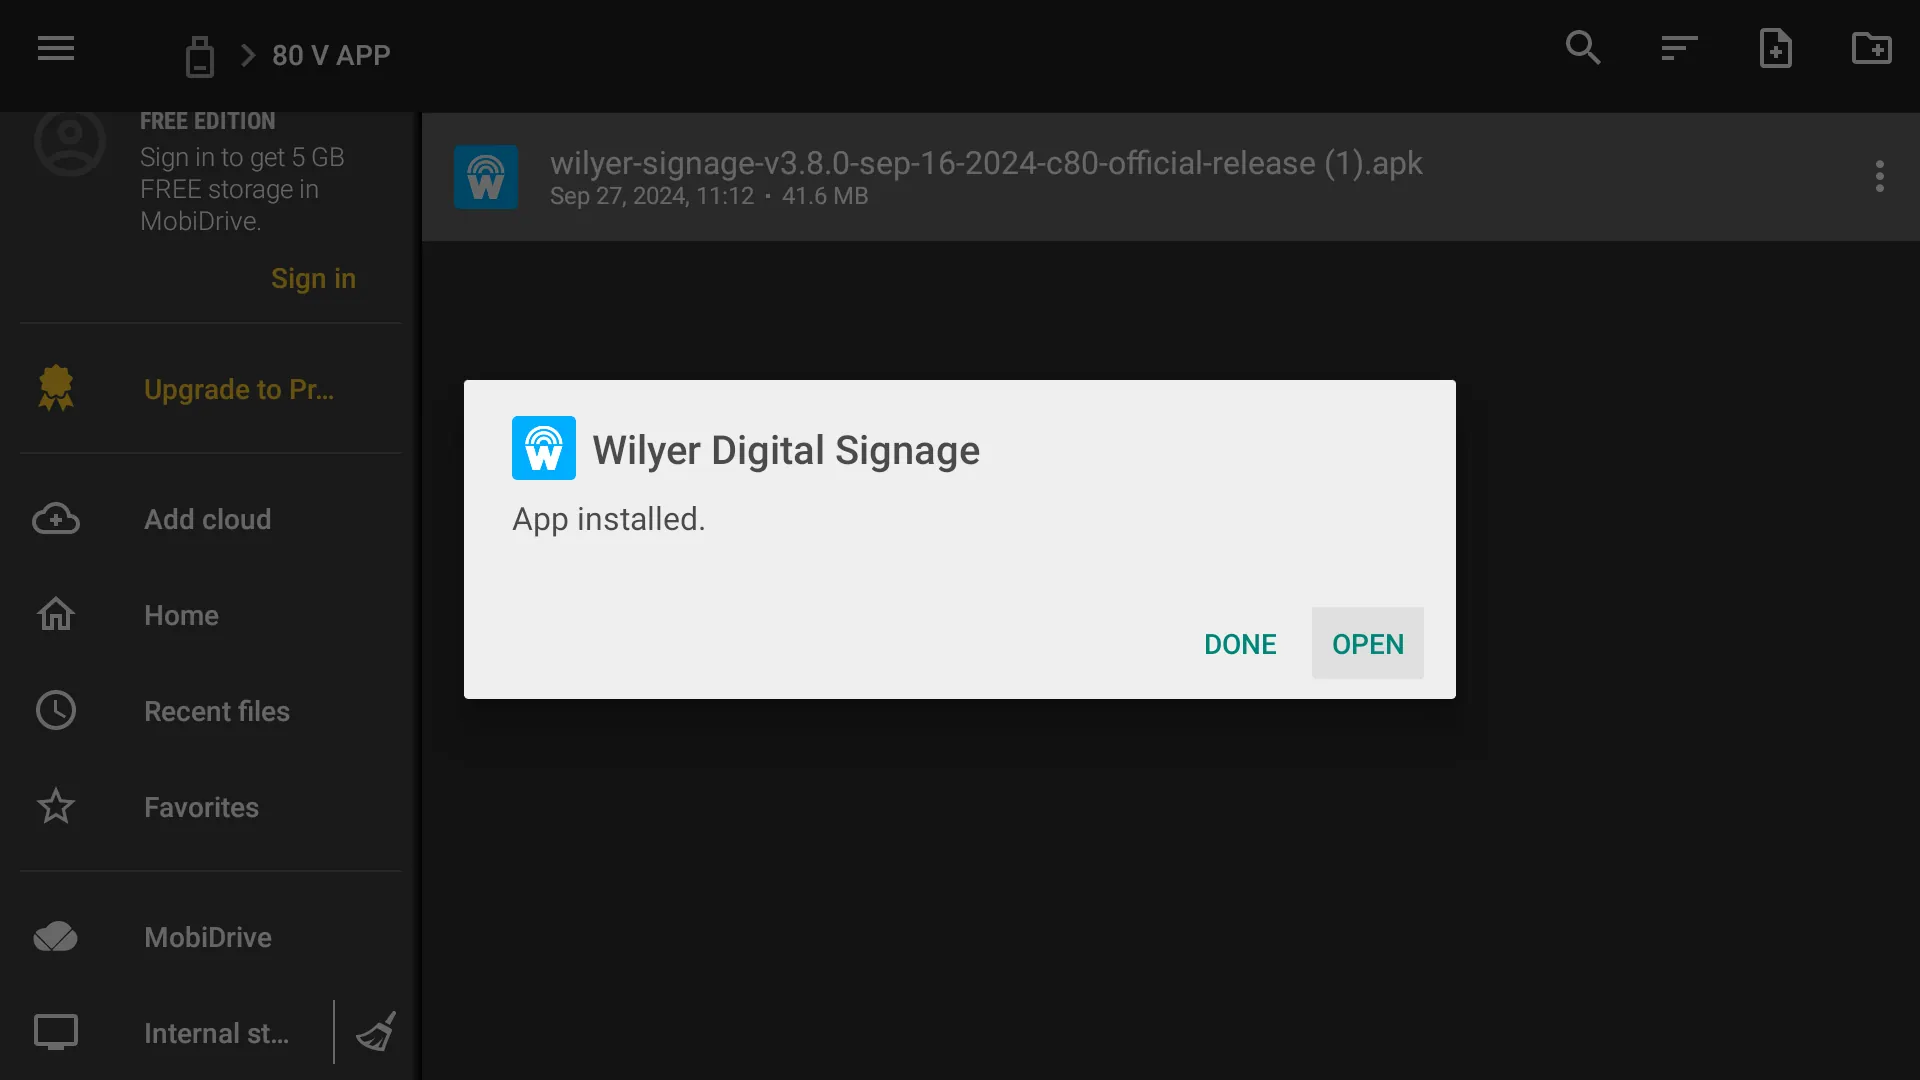
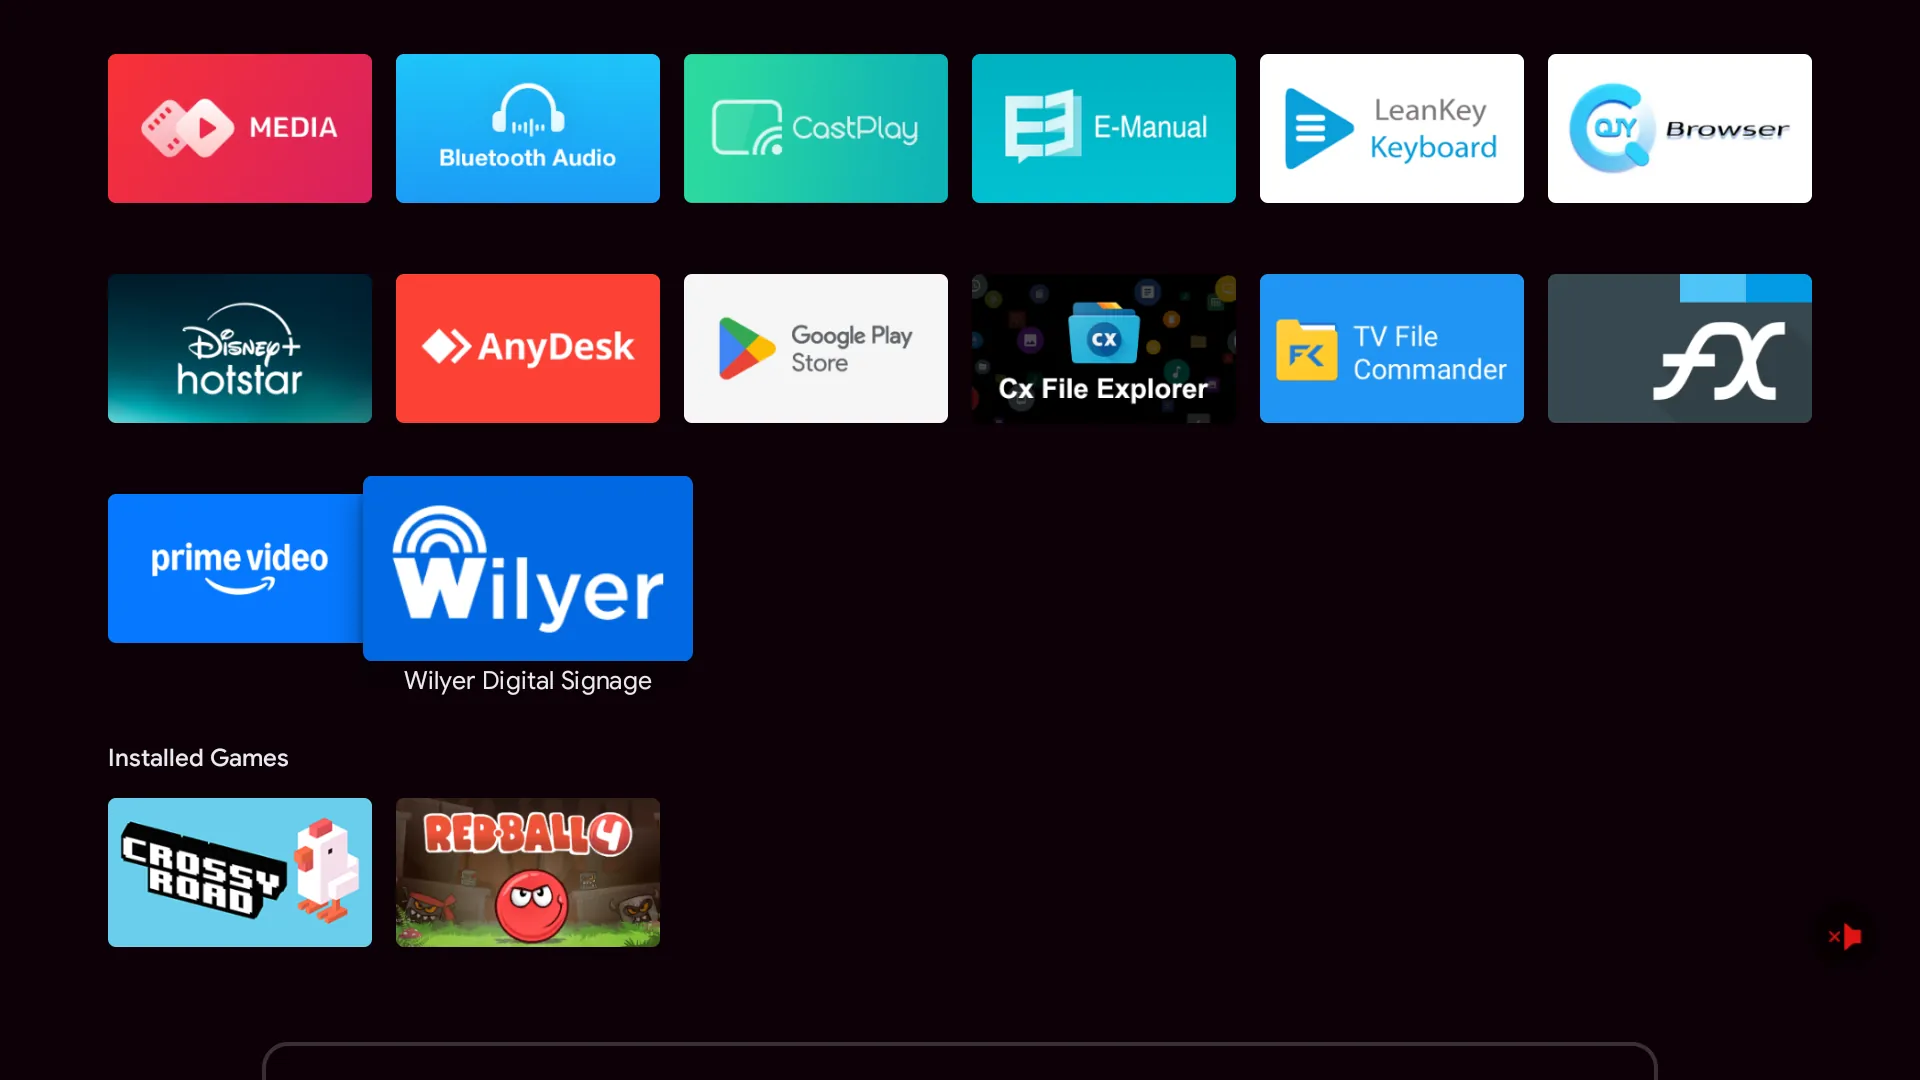
6. Verify Installation
- The
Wilyer Signage Applicationwill also appear in theApps Liston your Android TV.
7. Follow Pairing Steps
- After installation, follow the pairing steps defined in the previous module to connect the app to your CMS account.
6: How to Install Remote Update via Wilyer App Update OTA Syst
Step-by-Step Instructions
1. Open Navigation Window
- Right-click using a mouse or press the
Back Buttonon the remote to open the navigation window.
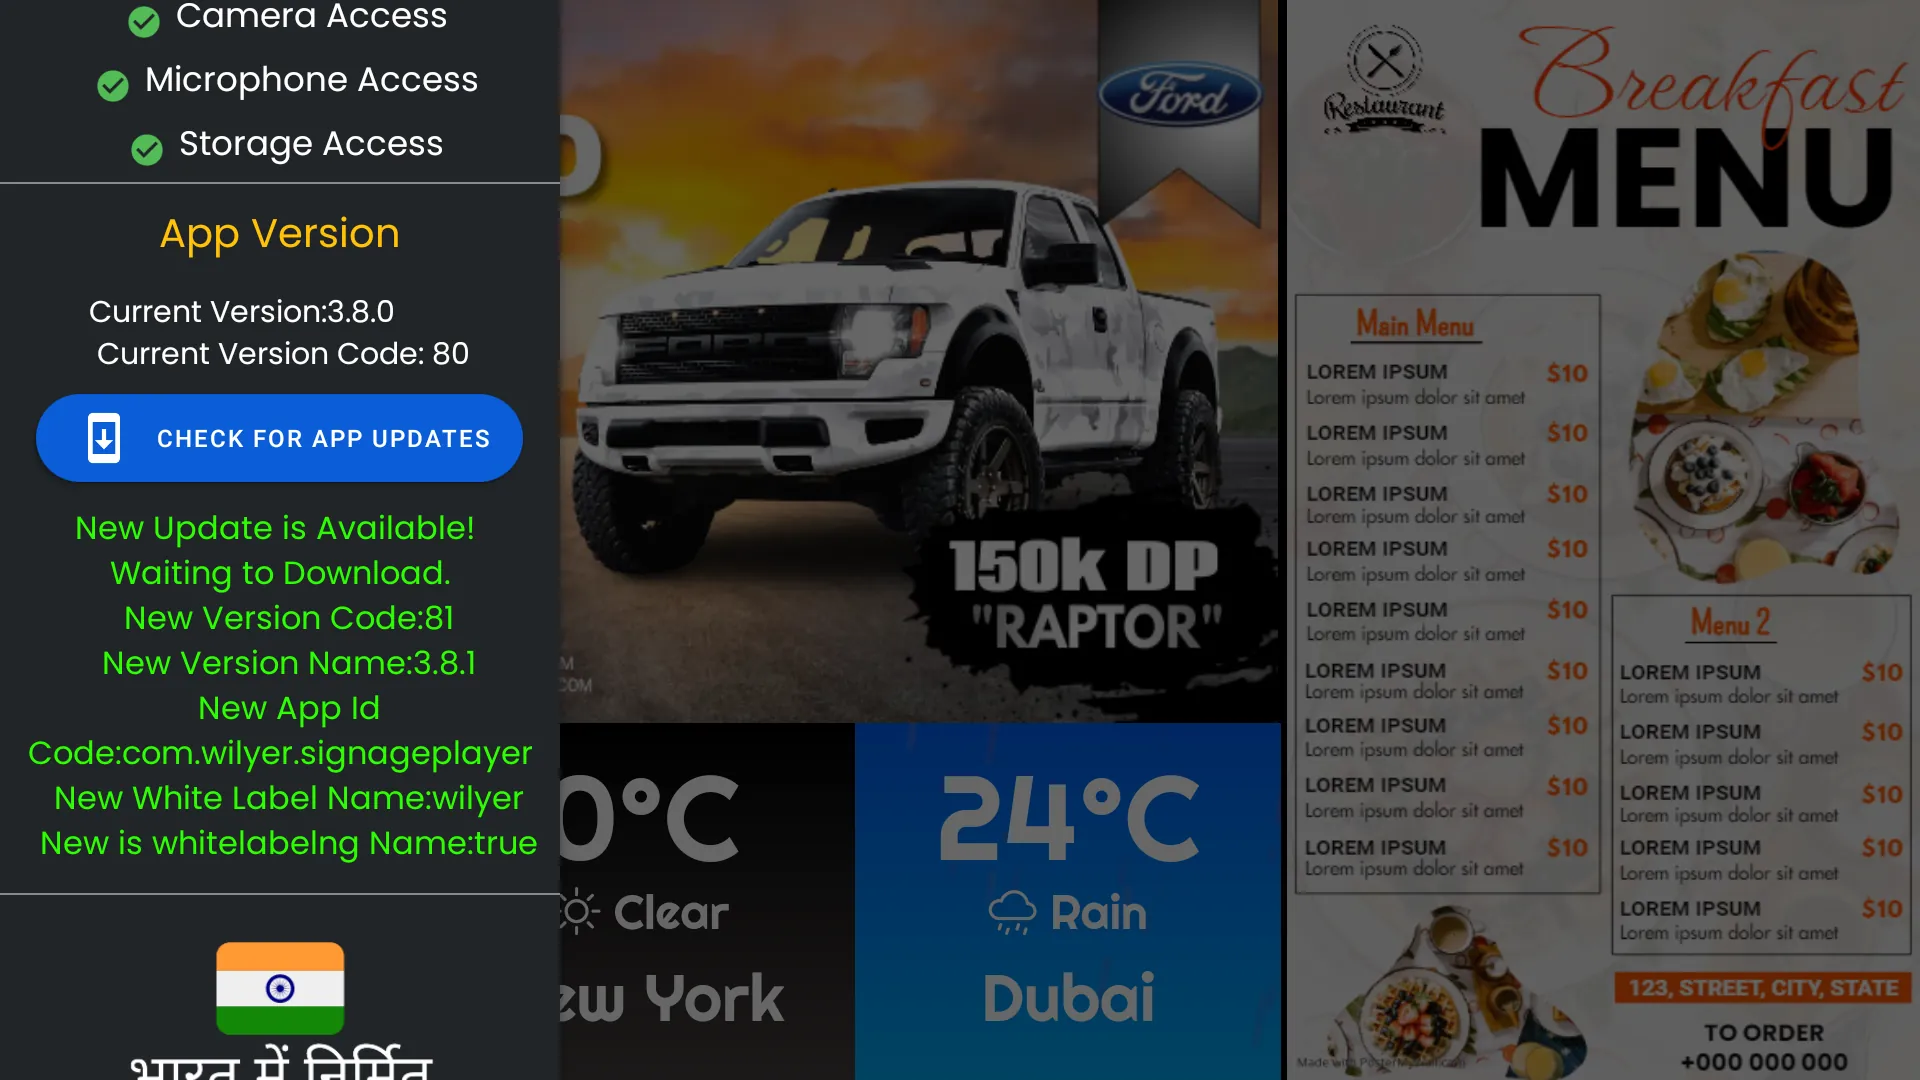
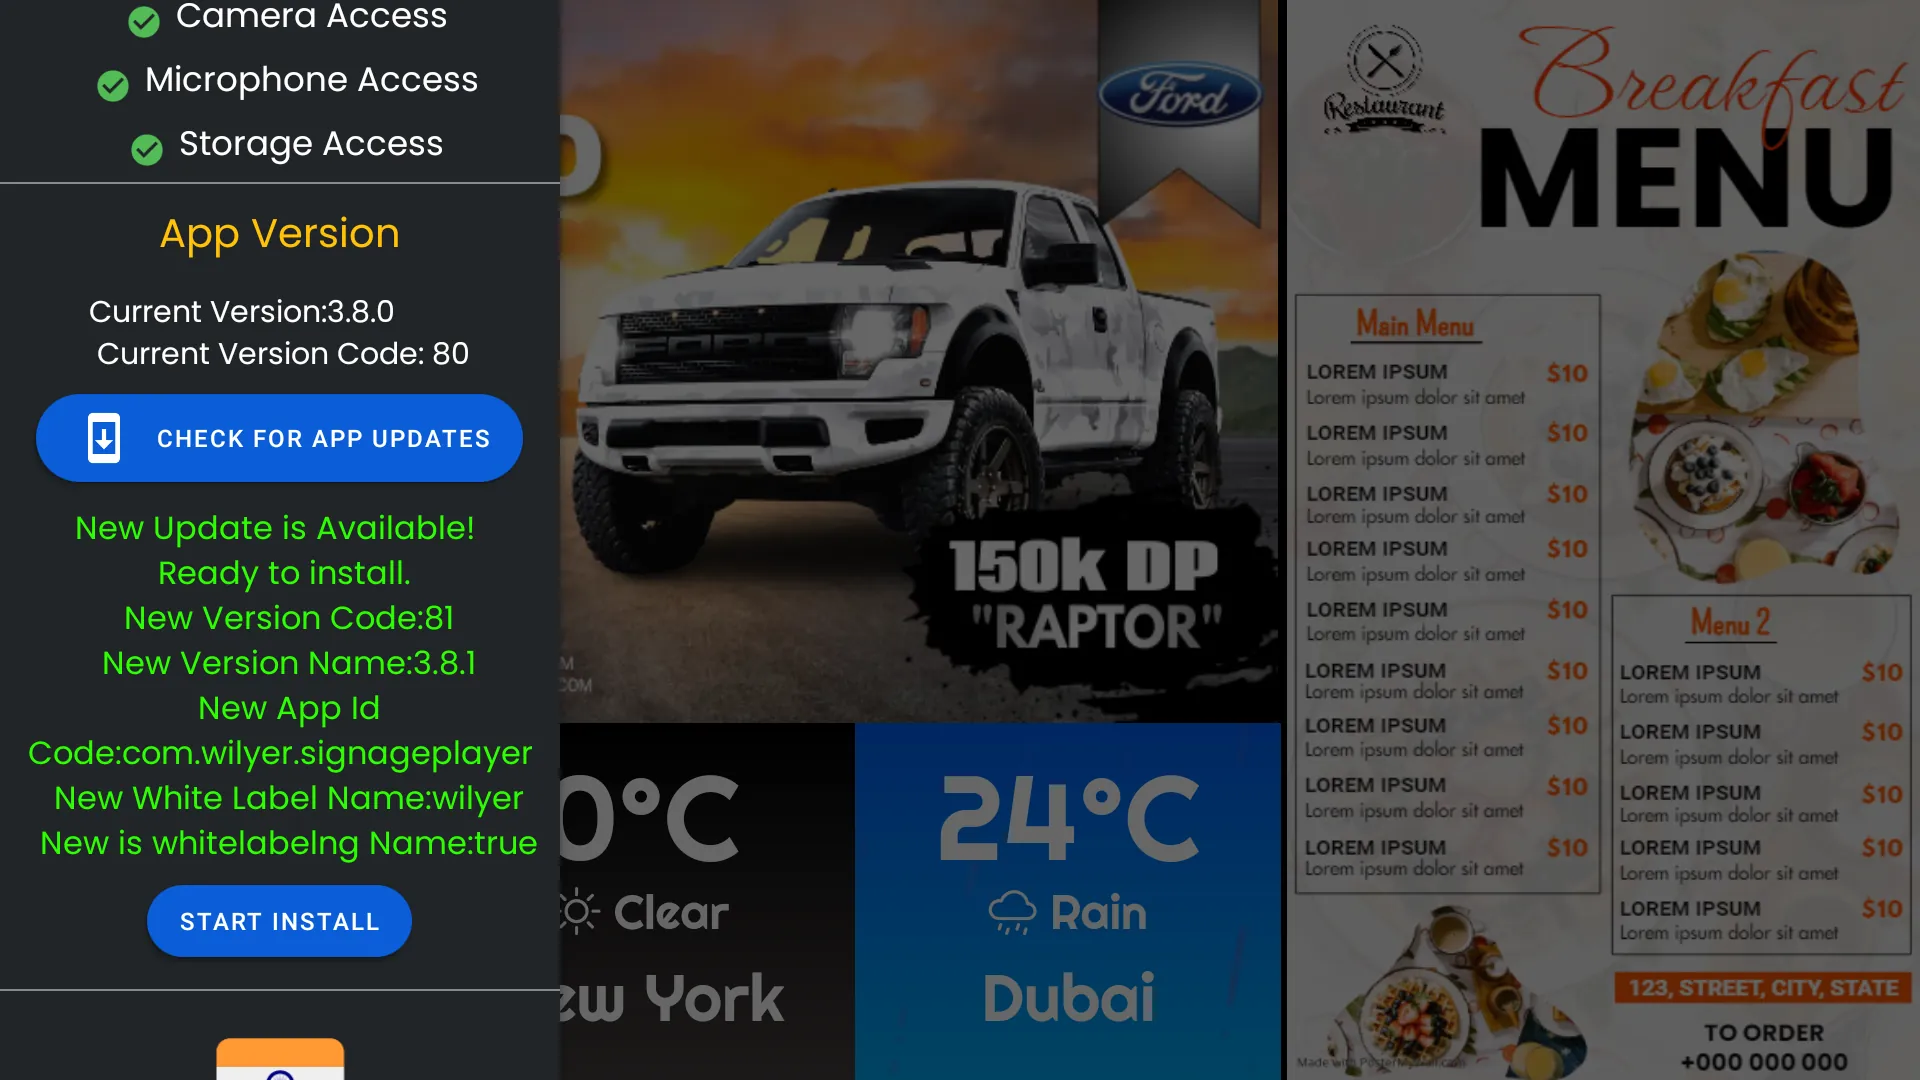
2. Check for Updates
- Scroll down to the bottom of the navigation bar where it shows the
App Version. - When a remote update is available, it will automatically download.
3. Start the Installation
- Once the update is downloaded, a blue
Start Installbutton will appear. - Note: This process is required for apps installed via USB or other non-Google Play Store sources.
4. Grant Permissions
- If prompted, allow the app to install updates by granting permissions through
Install Unknown Apps.
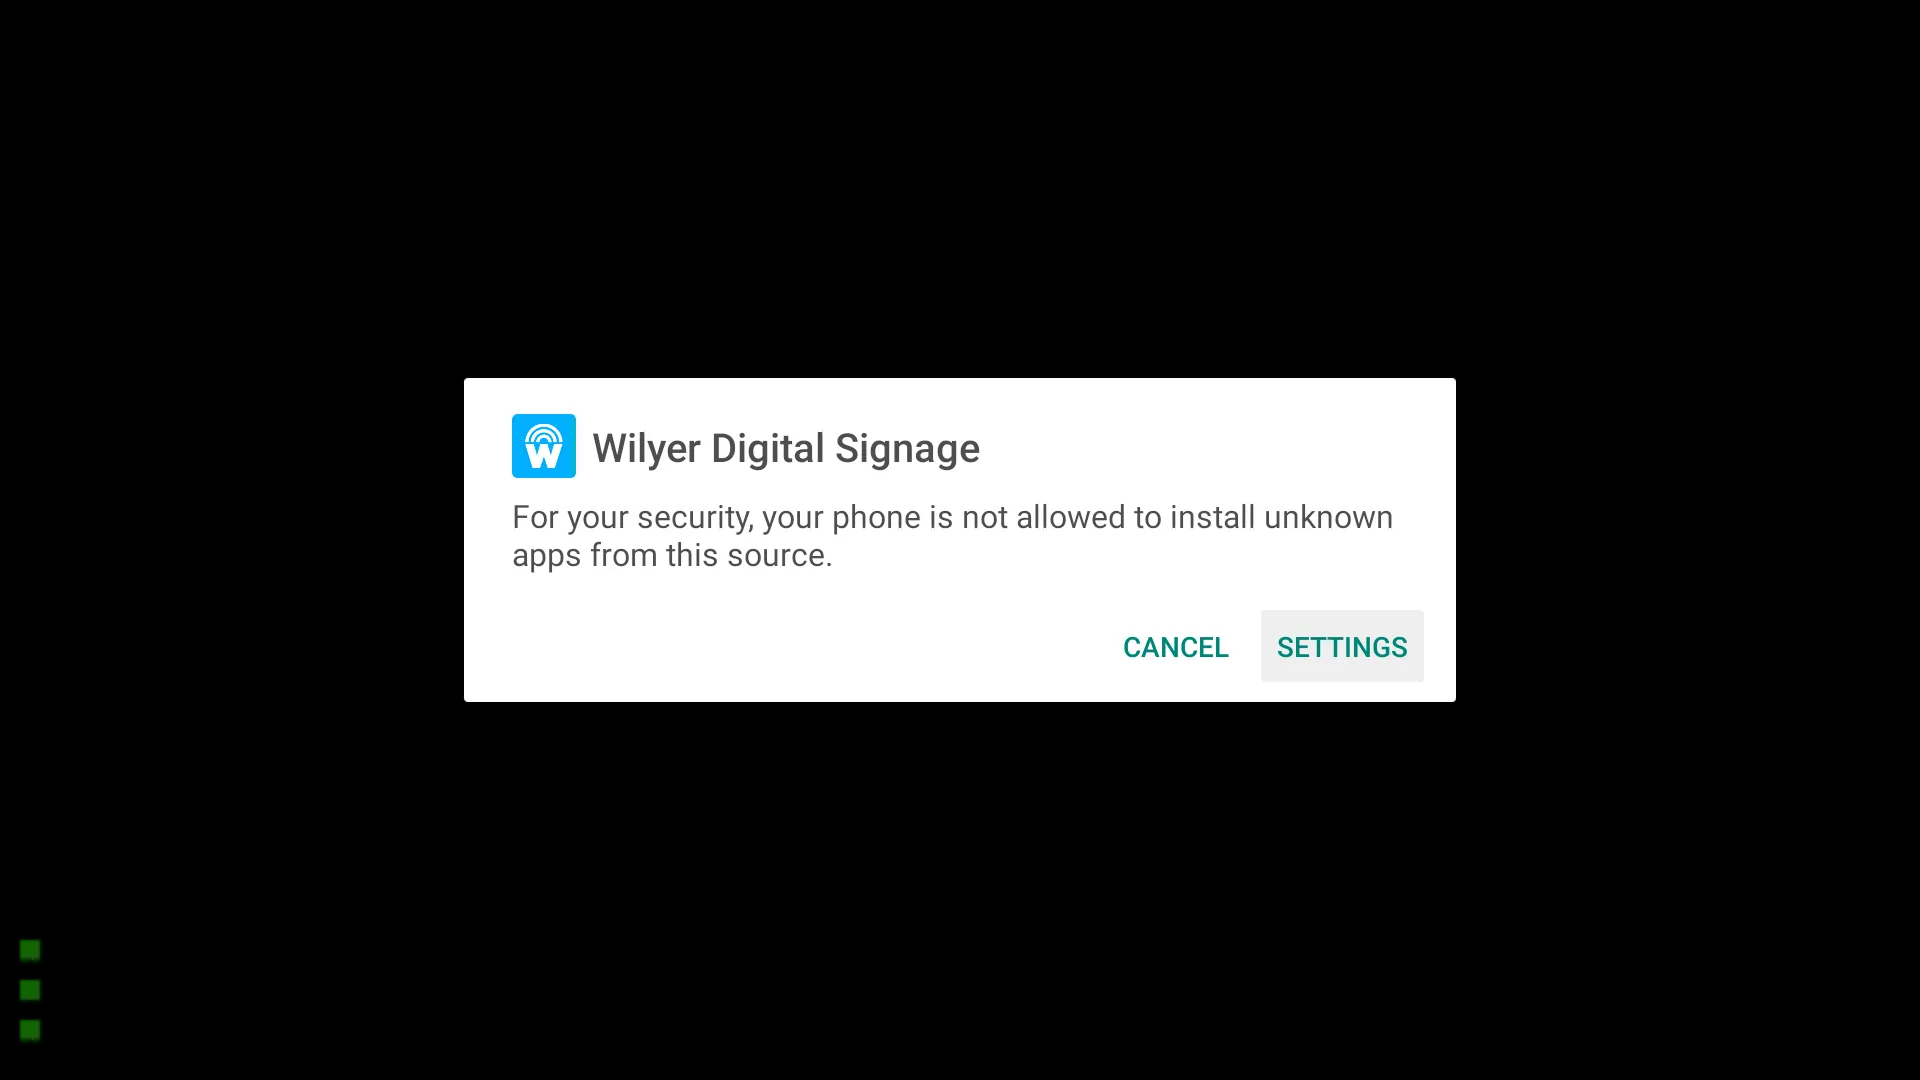
5. Allow Updates in Settings
- Go to Settings and enable permissions for the Wilyer app to install updates.

6. Retry Installation
- Go back to the app and click
Start Installagain. - With proper permissions, the app will install the update while retaining all previously stored content.
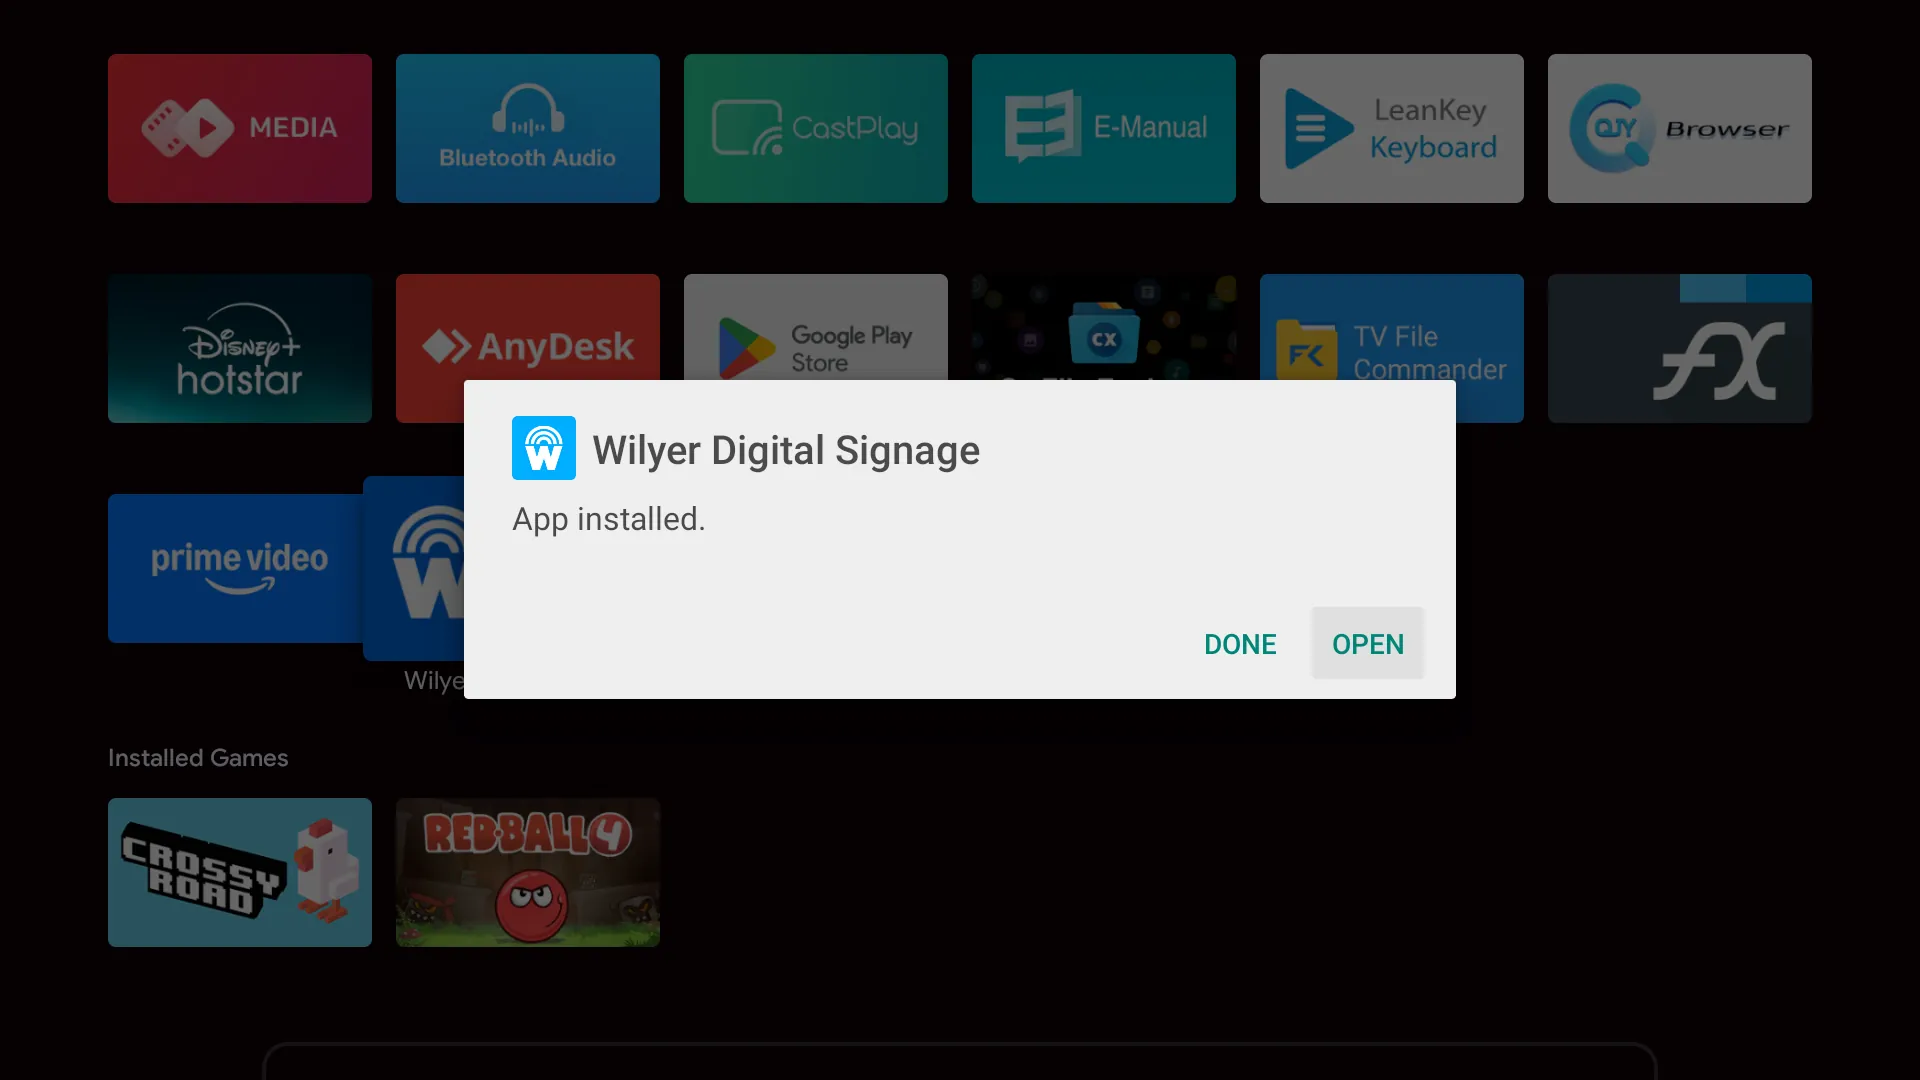
7. Verify Update and Relaunch
- Once the installation is successful, the app will automatically relaunch with the latest version.
- Check the version status in the navigation window to confirm the update.
Key Notes
- This remote update process ensures you stay on the latest version without losing content.
- Ensure all required permissions are granted for a seamless update experience.