Library
In the cloud, you can manage Media Library & Widgets in the following ways:
- View All Media Files
- View All Widgets
- View All Unapproved Files
- Upload a File
- View Only Photo/Video Files
- Check the Media Analytics of a File
- Search a File
- View the Media in List View
- Edit a File
- Delete a File
- Create a Folder
- Delete a Folder
- Move Files to a Folder
- Preview Files & Details
- Sort Files by Created Date and Size, and Change the Order
- Create a Widget
- Edit a Widget
- Delete a Widget
Documentation
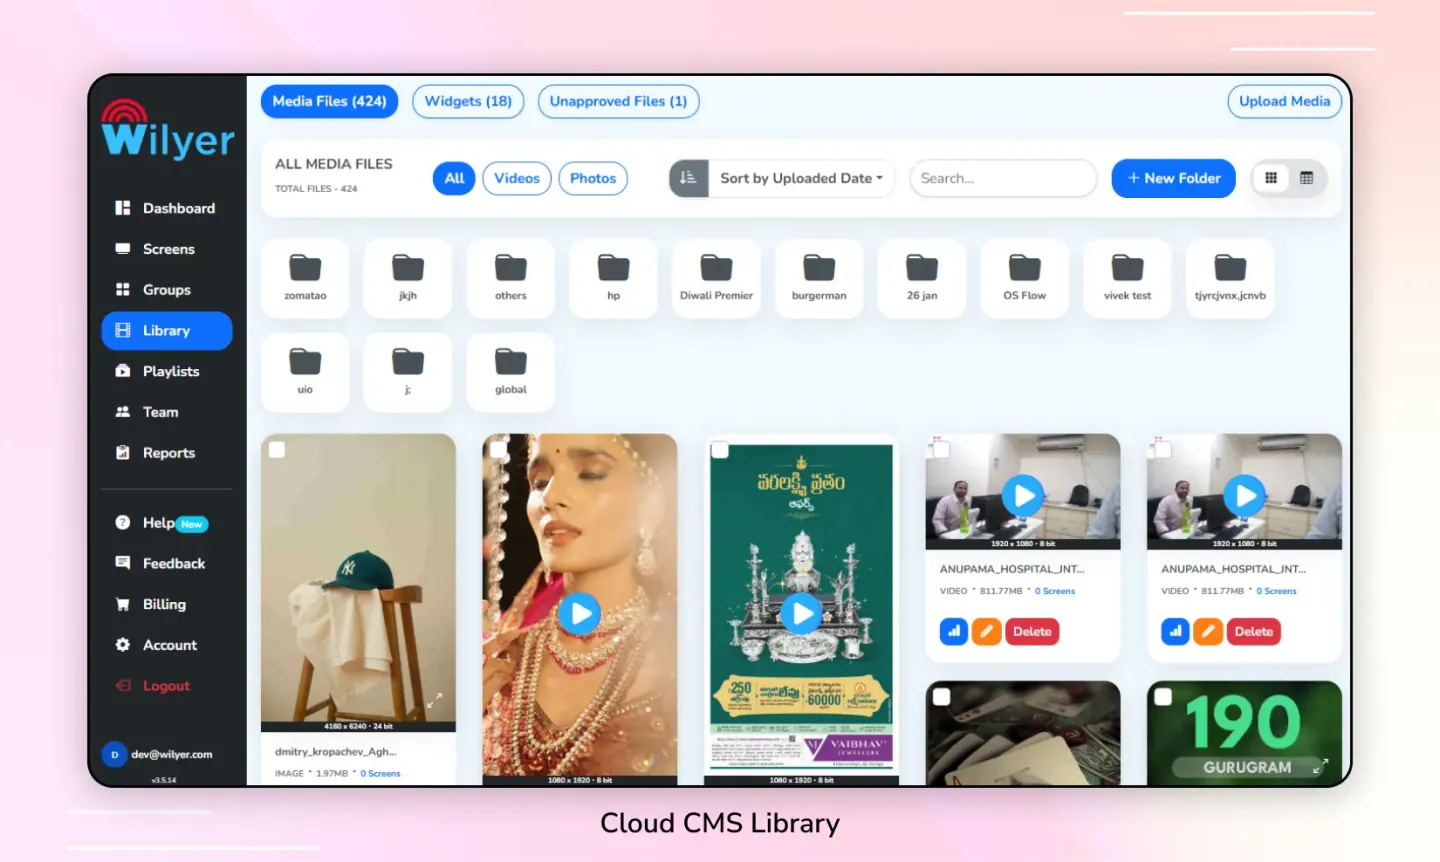
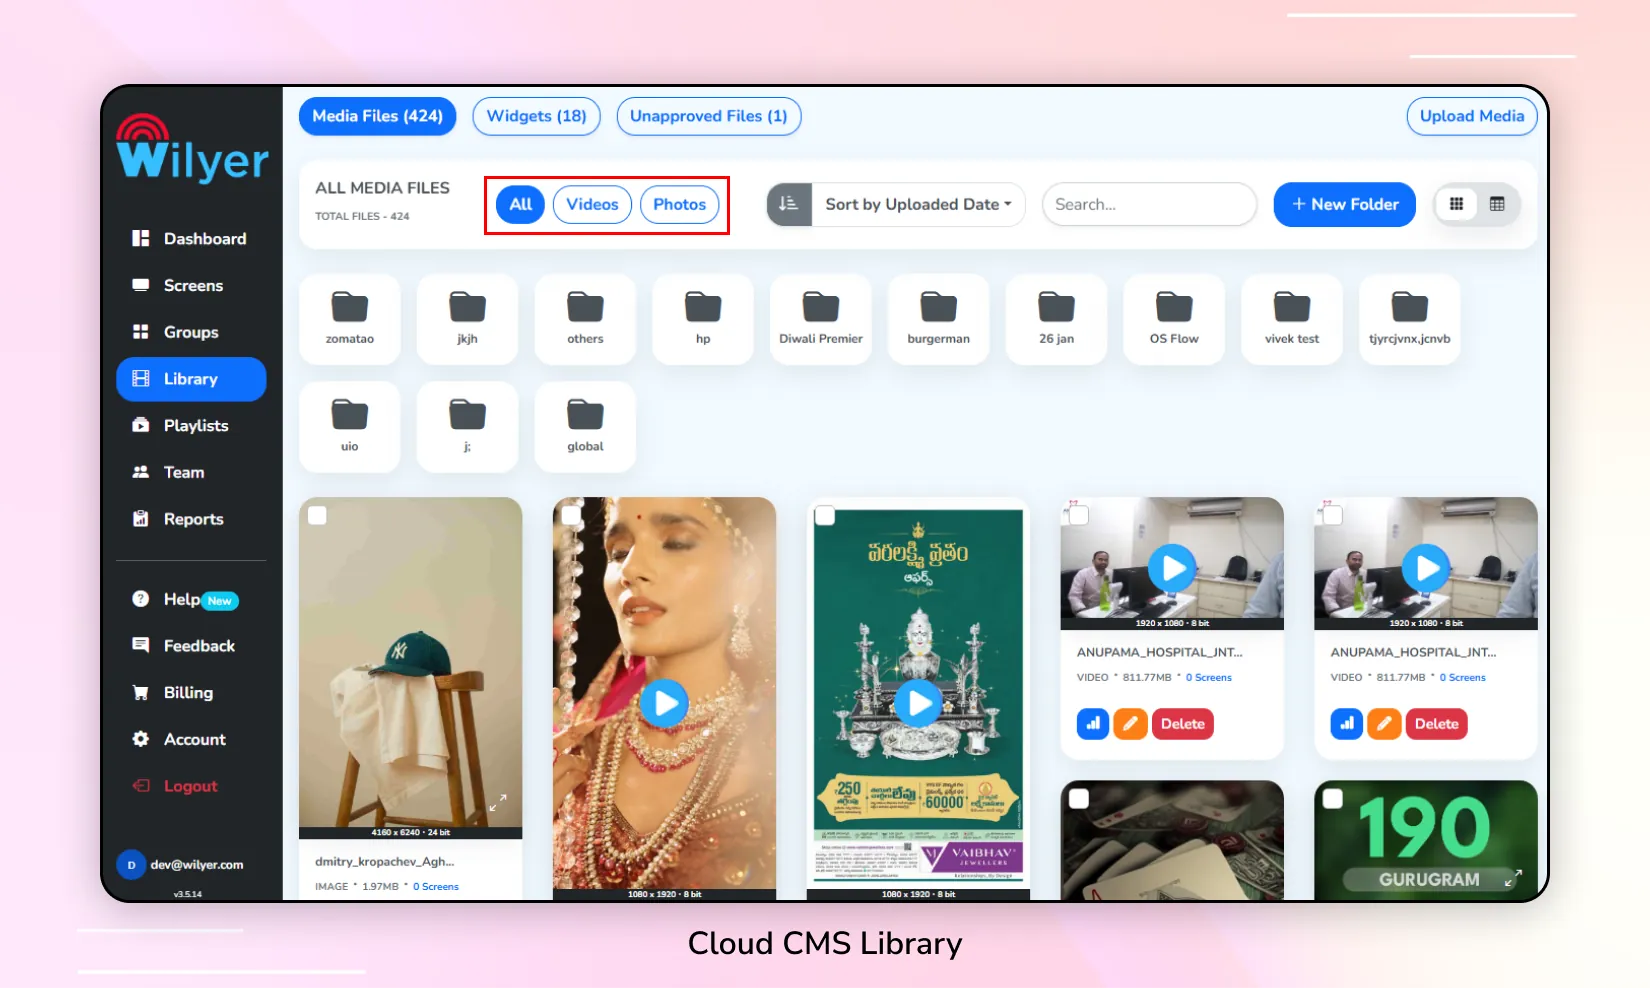
1. View All Media Files
Step 1: Click on the Library tab in the left sidebar.
Step 2: Click on the Media button at the top of the page.
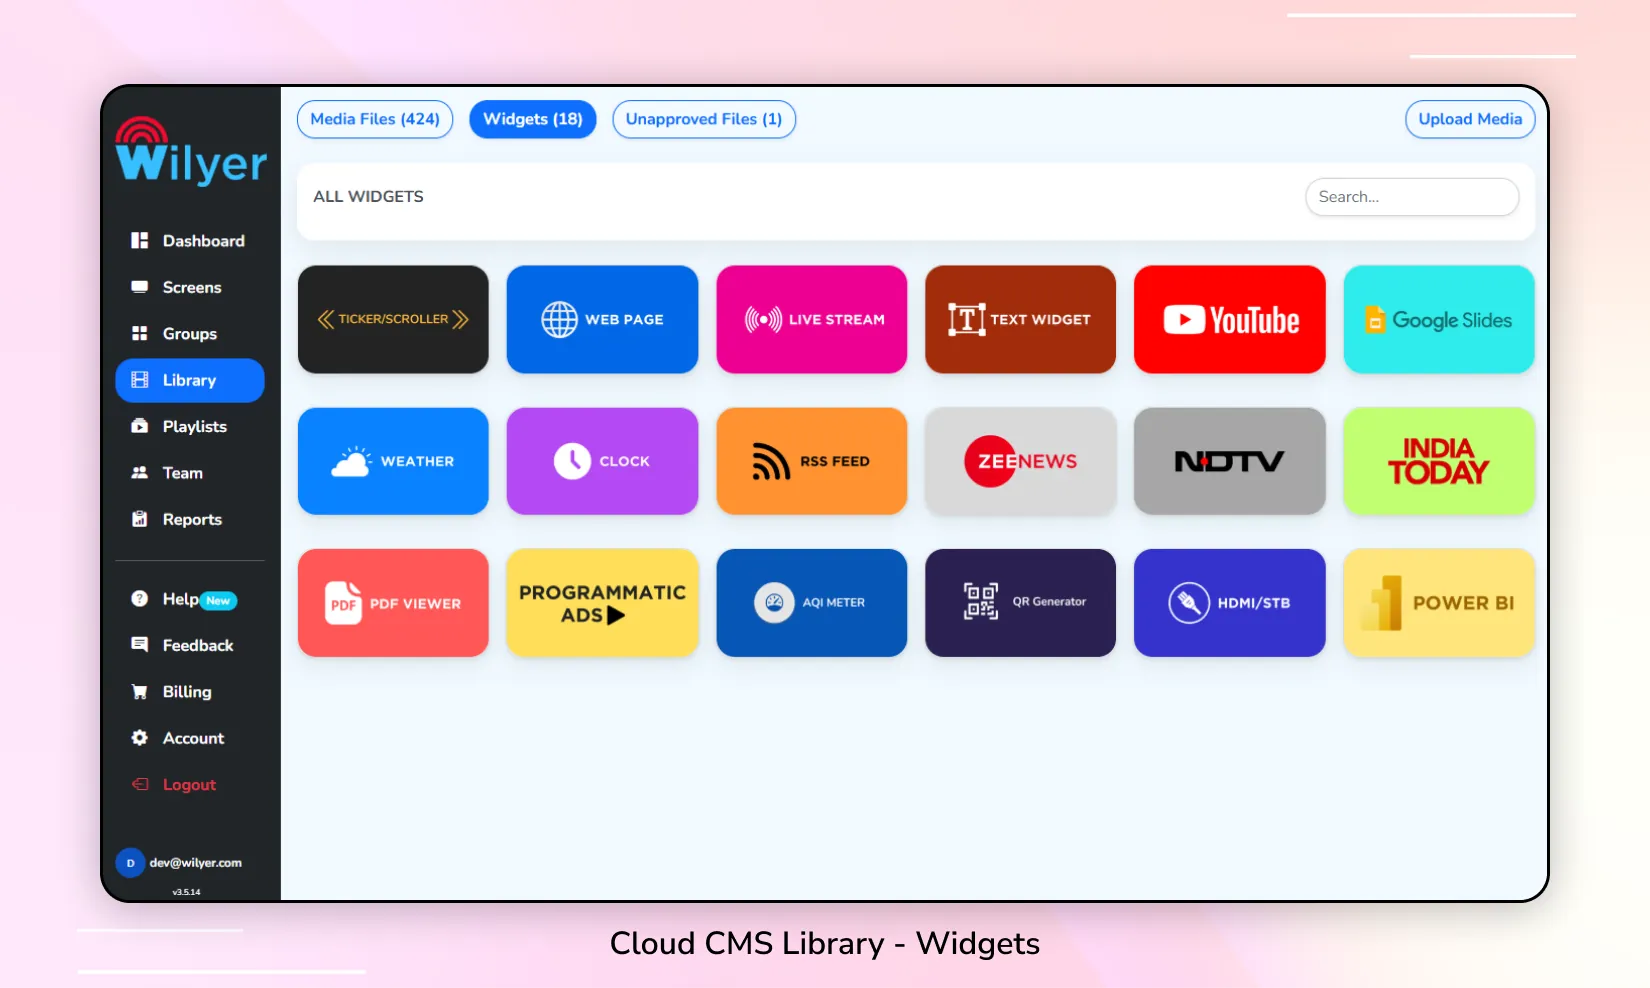
2. View All Widgets
Step 1: Click on the Library tab in the left sidebar.
Step 2: Select the All Widgets button at the top of the page.
3. View All Unapproved Files
Step 1: Click on the Library tab in the left sidebar.
Step 2: Select the Unapproved Files button at the top of the page.

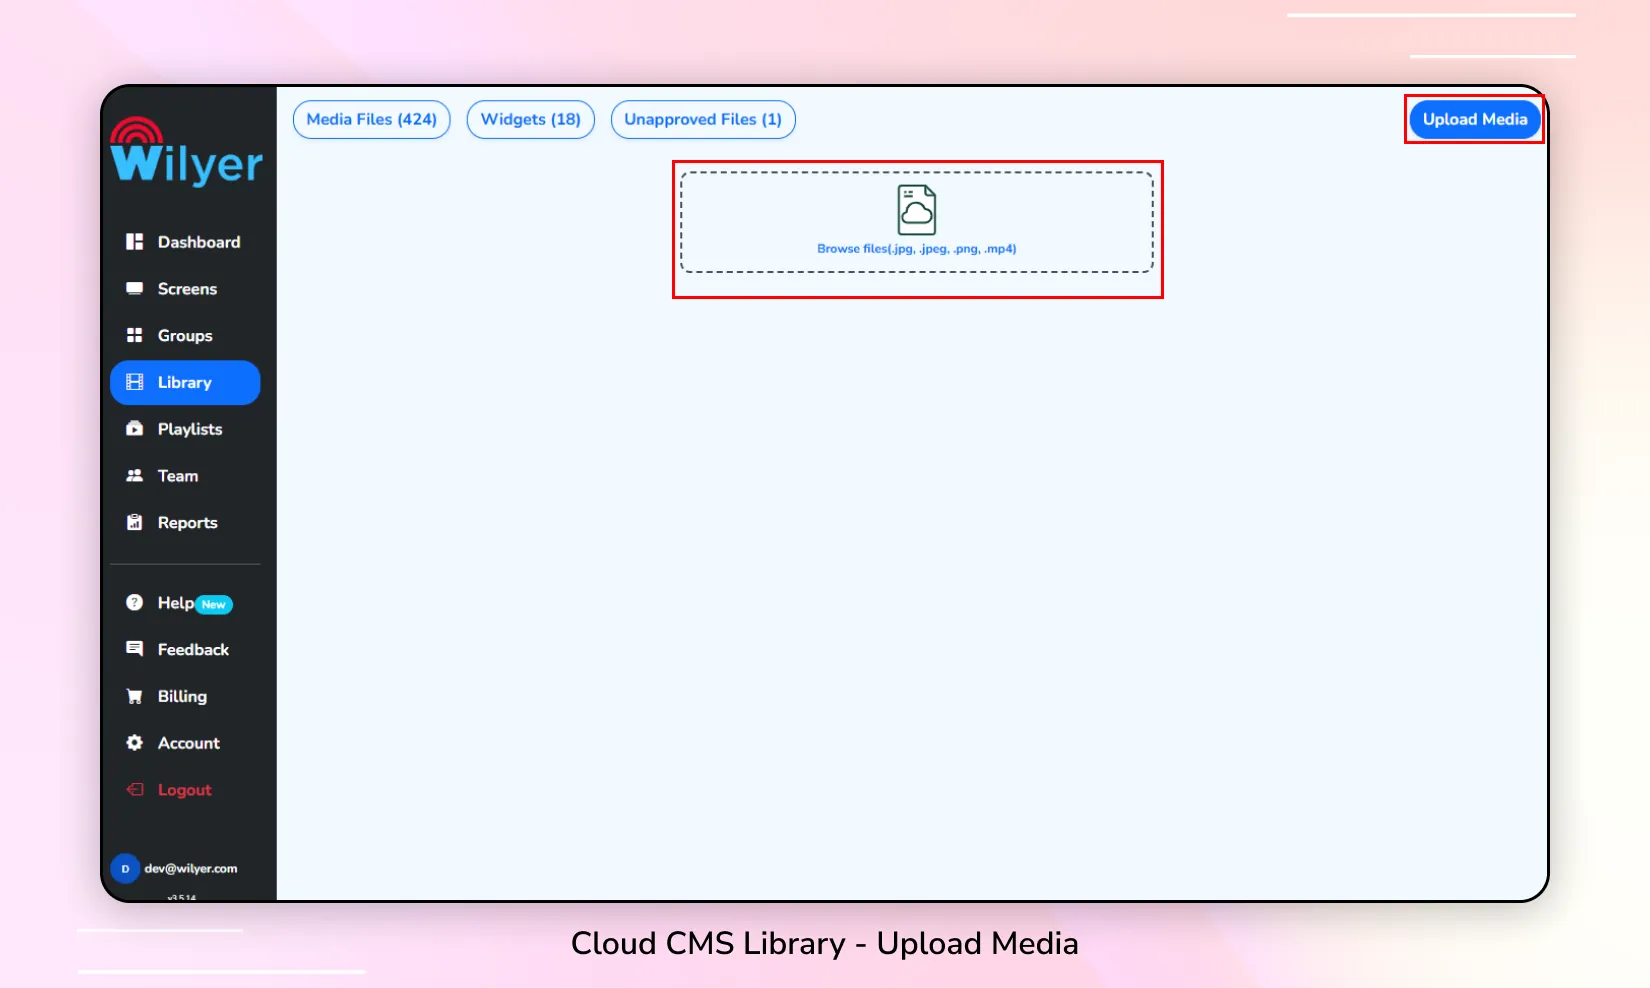
4. Upload a File
Step 1: Click on the Library tab in the left sidebar.
Step 2: Select the Upload Media button located at the top right of the page.
Step 3: Click on the Browse Files card component.
Step 4: Choose the files you wish to upload from your device.
Step 5: Once the file is selected, it will be successfully uploaded.
5. View Only Photo/Video Files
Step 1: Click on the Library tab in the left sidebar.
Step 2: To filter by file type, click on Photos to view images, or click on Videos to display only video files.
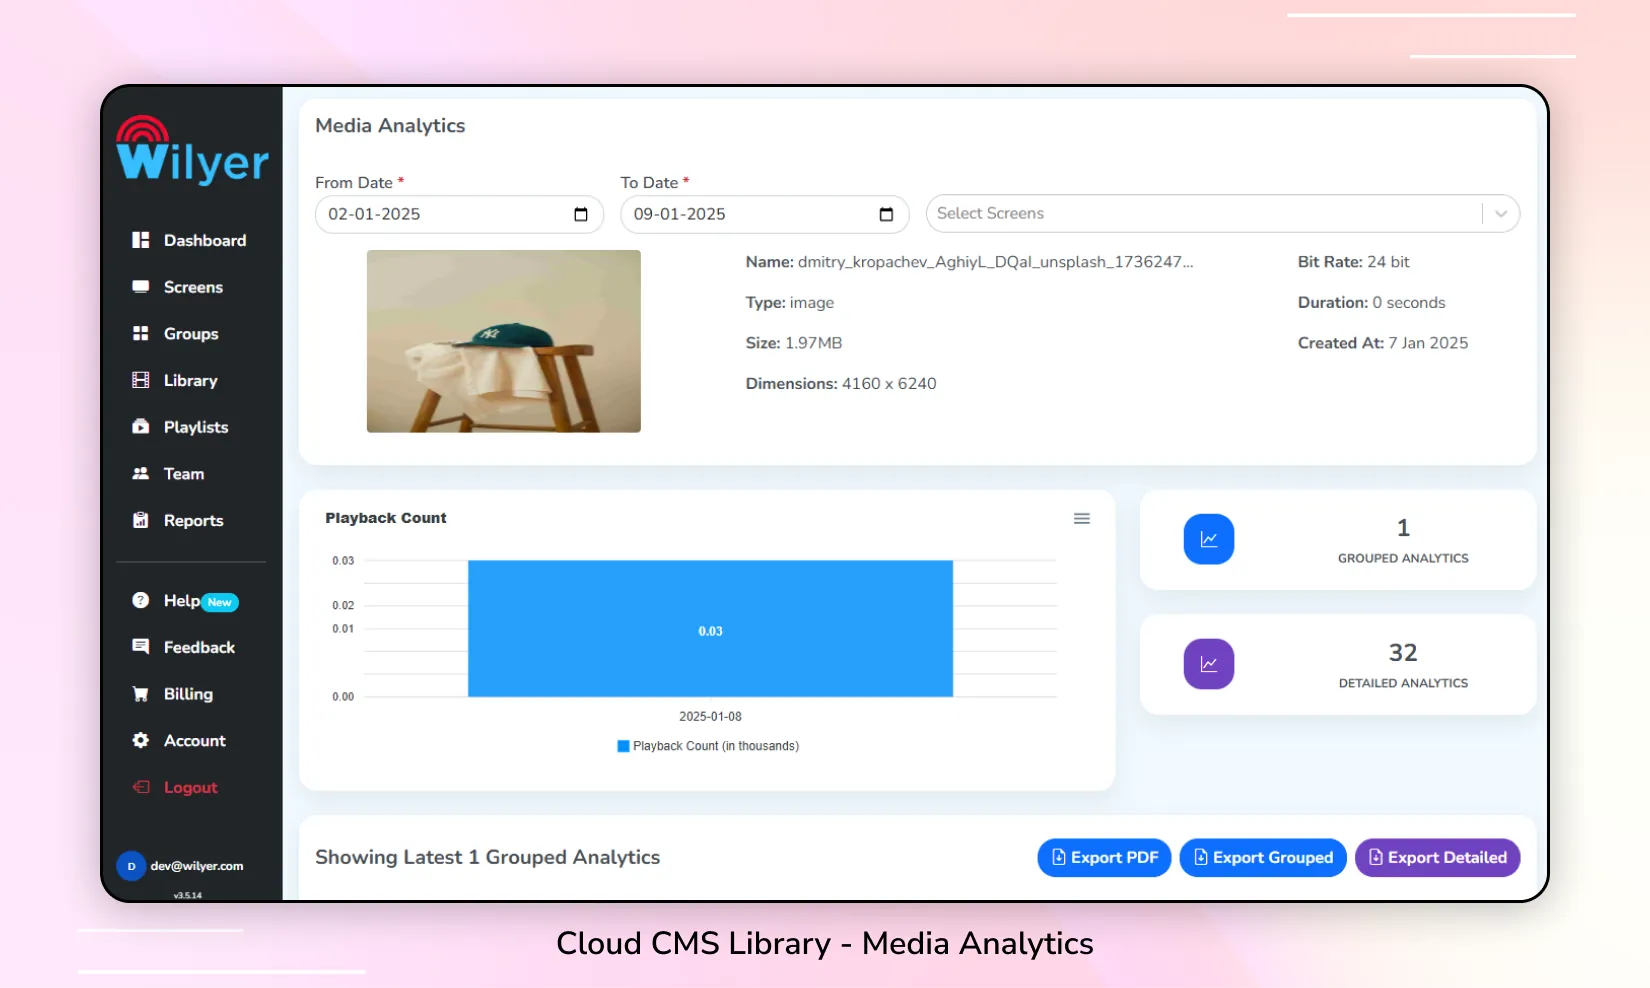
6. Check the Media Analytics of a File
Step 1: Click on the Library tab in the left sidebar.
Step 2: Locate the file for which you want to view analytics.
Step 3: Click on the Analytics button associated with the file.
Step 4: Review the Media Analytics for the selected file.
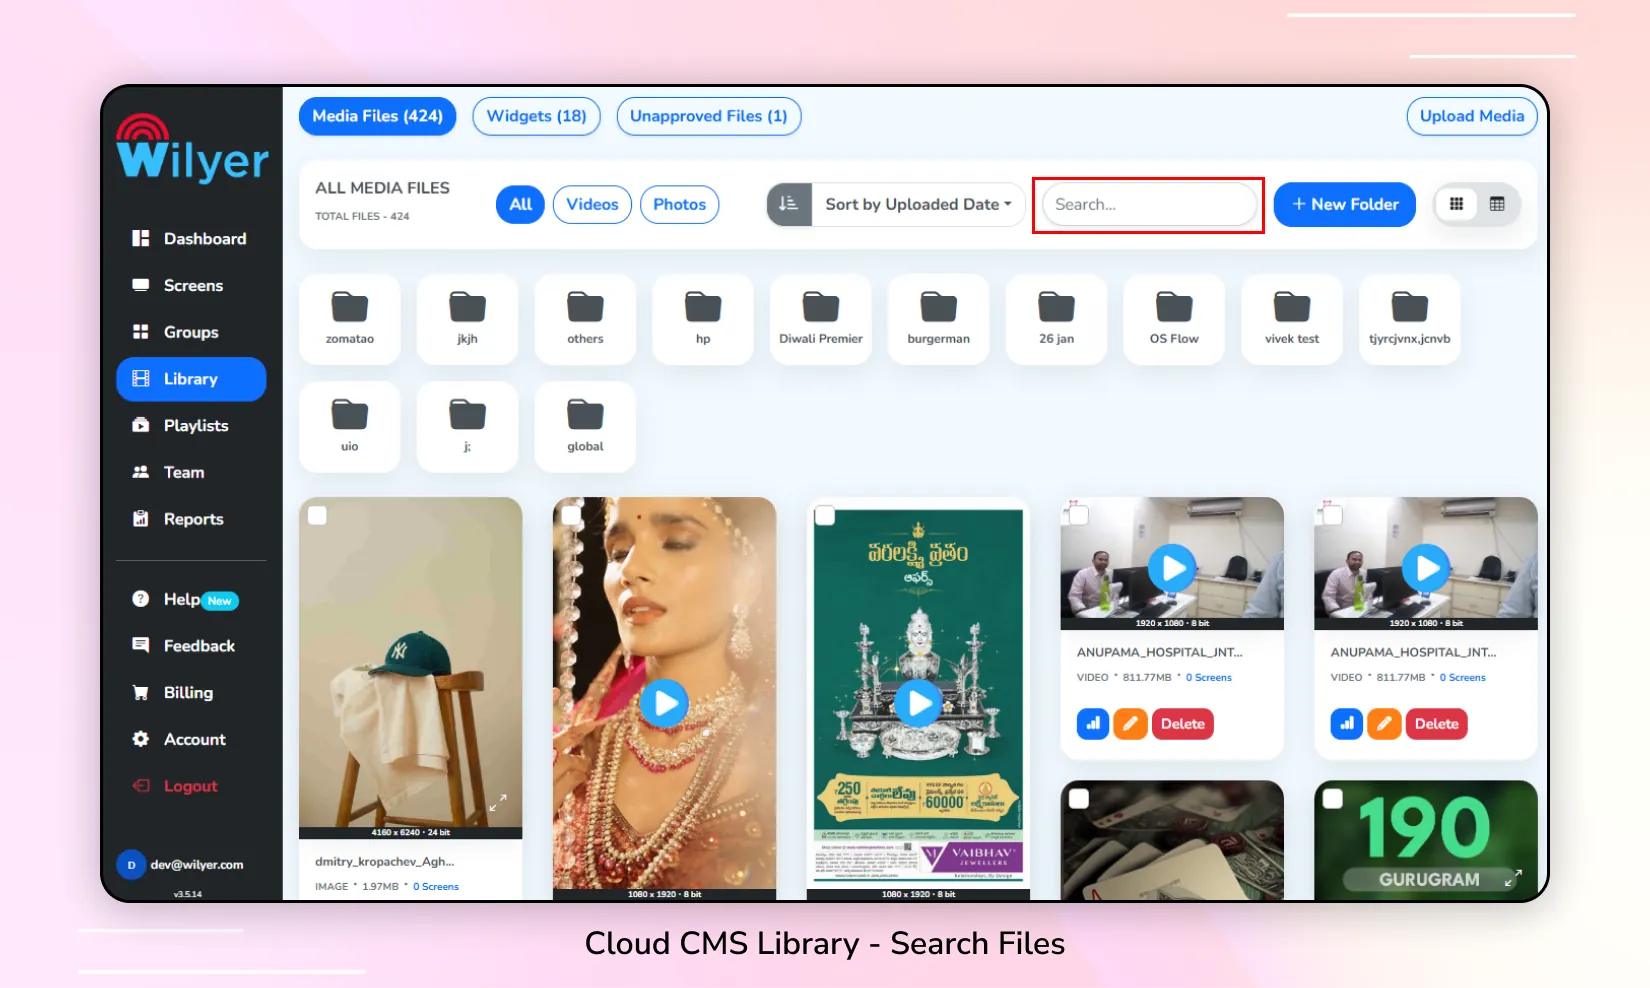
7. Search a File
Step 1: Click on the Library tab in the left sidebar.
Step 2: Use the Search input to search for a file by name.
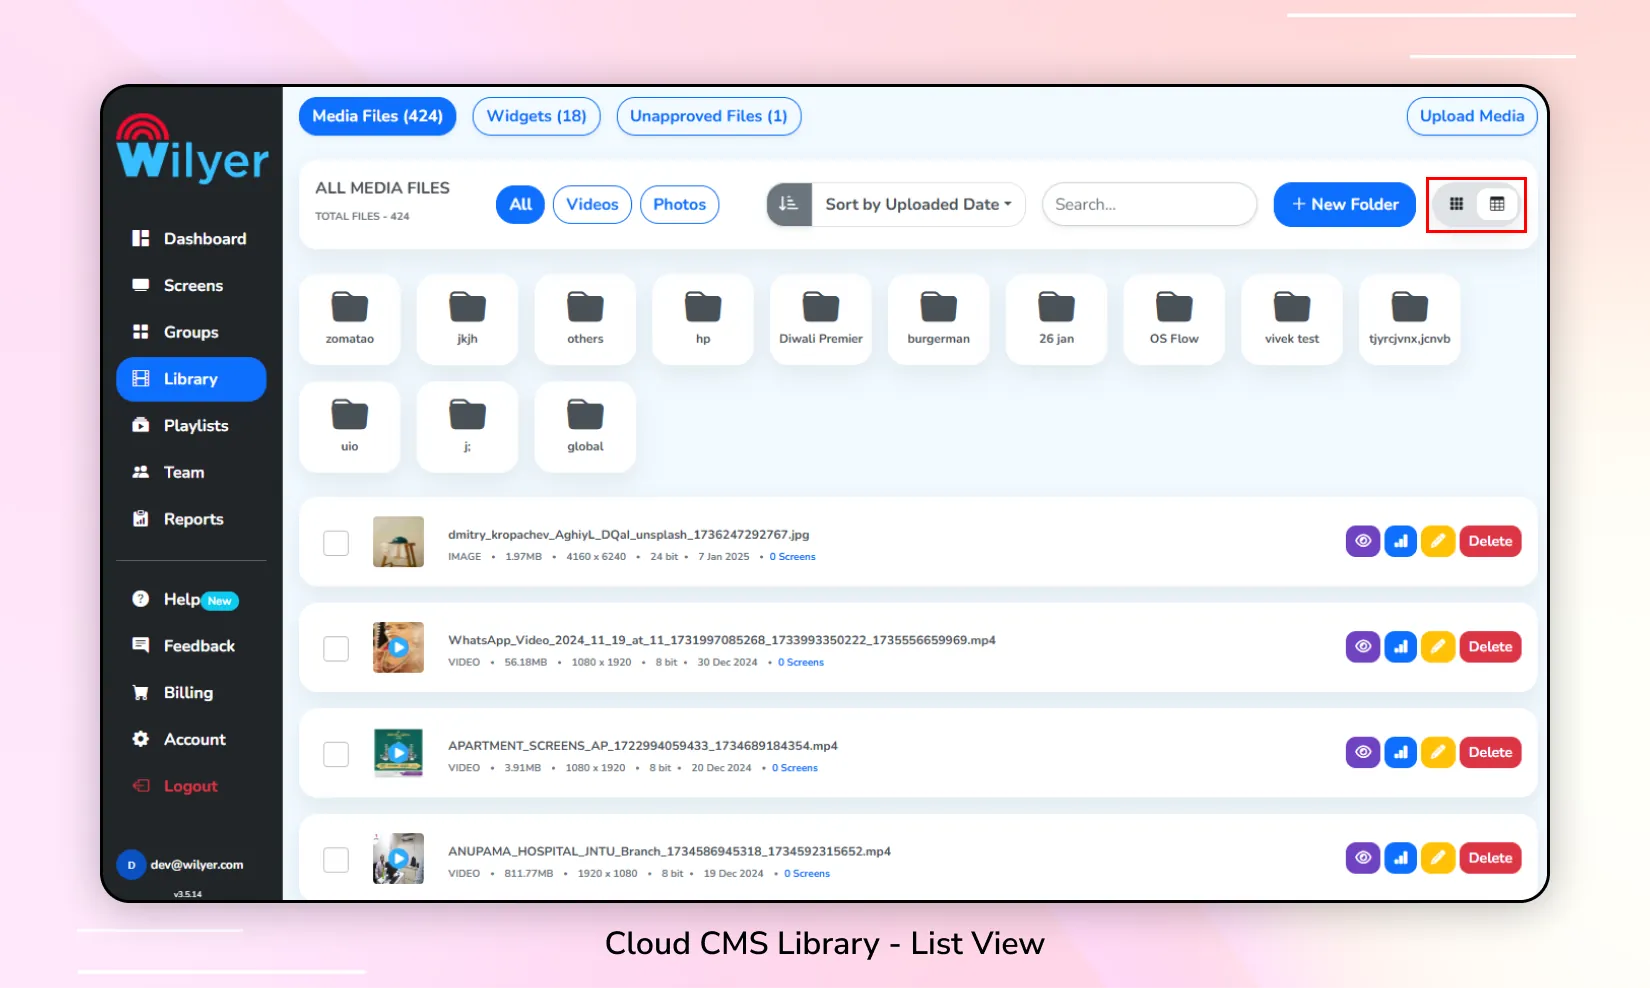
8. View the Media in List View
Step 1: Click on the Library tab in the left sidebar.
Step 2: Toggle on the List View option located to the right of the New Folder button.
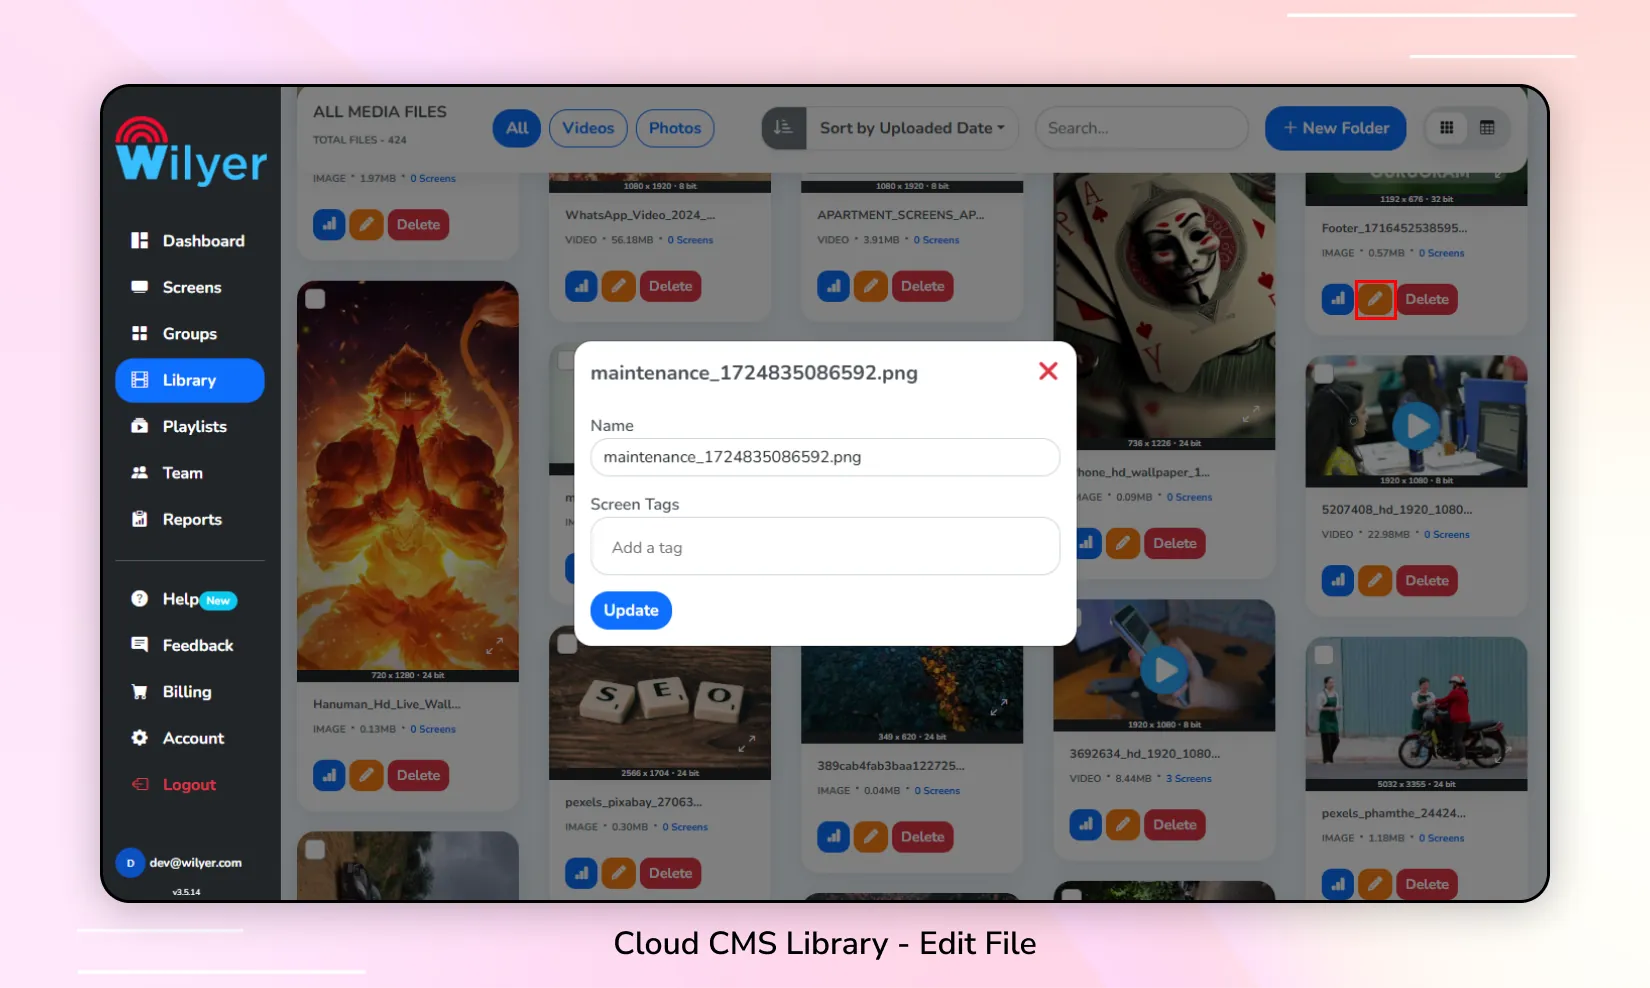
9. Edit a File
Step 1: Click on the Library tab in the left sidebar.
Step 2: Locate the file you want to edit.
Step 3: Click on the ✏️ Edit button associated with the file.
Step 4: Make the desired changes in the file editing interface.
Step 5: Save your changes by clicking the Update button.
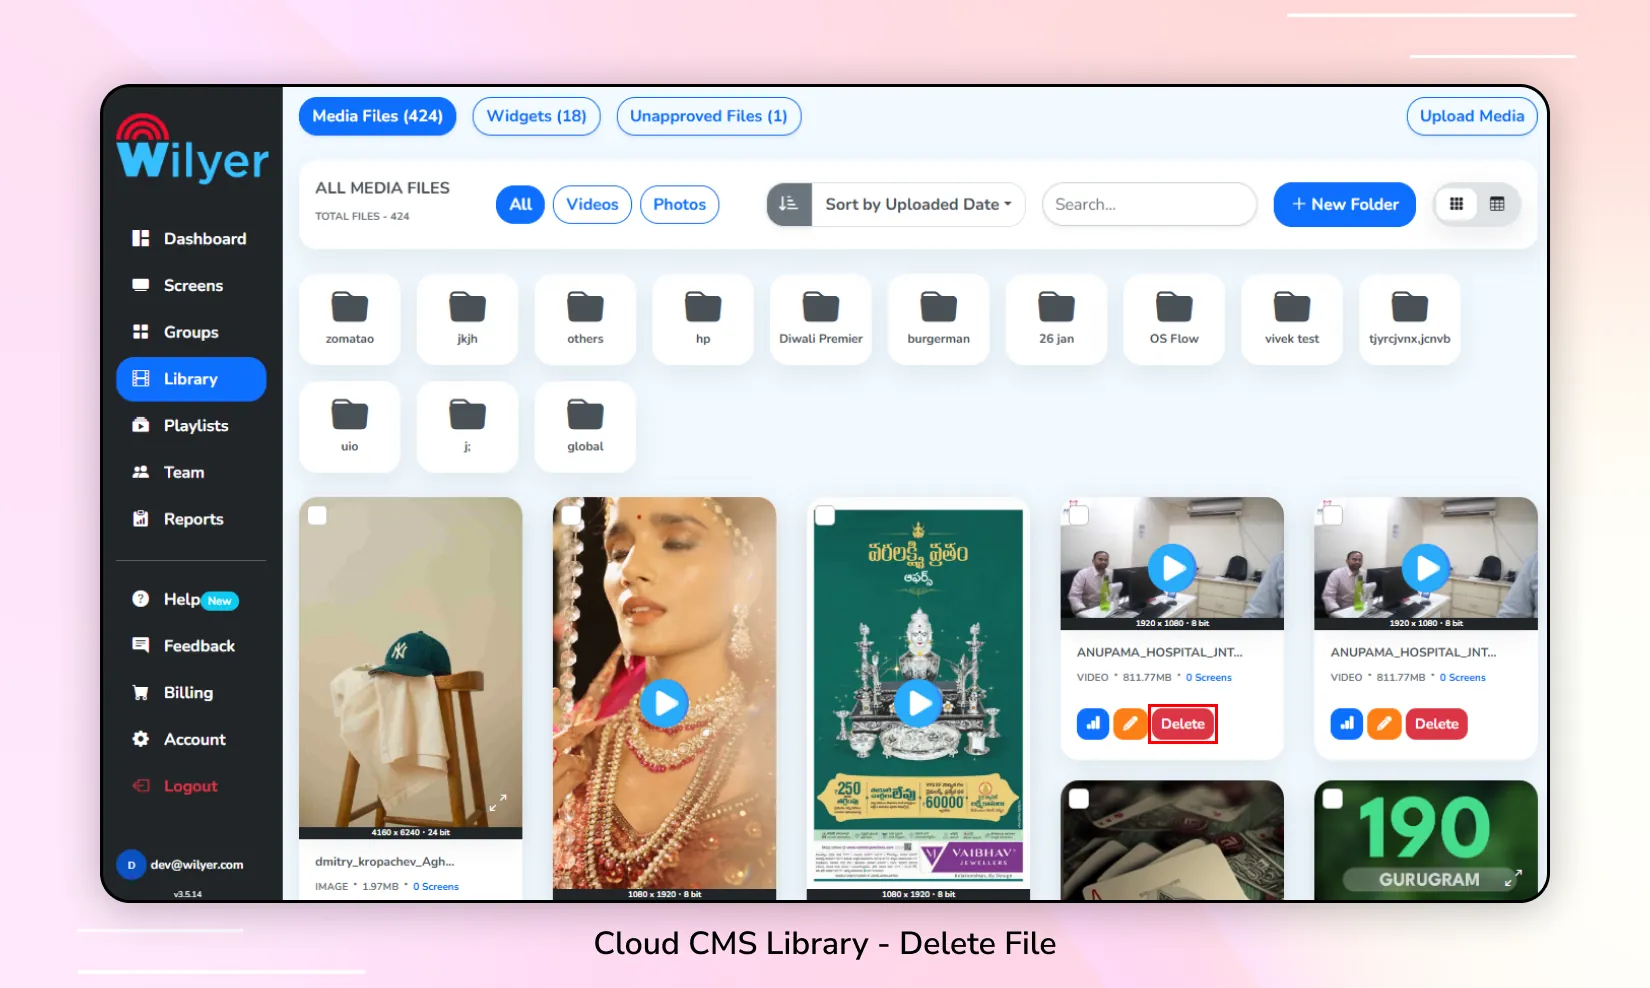
10. Delete a File
Step 1: Click on the Library tab in the left sidebar.
Step 2: Locate the file you wish to delete.
Step 3: Click on the Delete button associated with the file.
Step 4: Confirm the deletion by clicking the Continue button in the confirmation dialog.
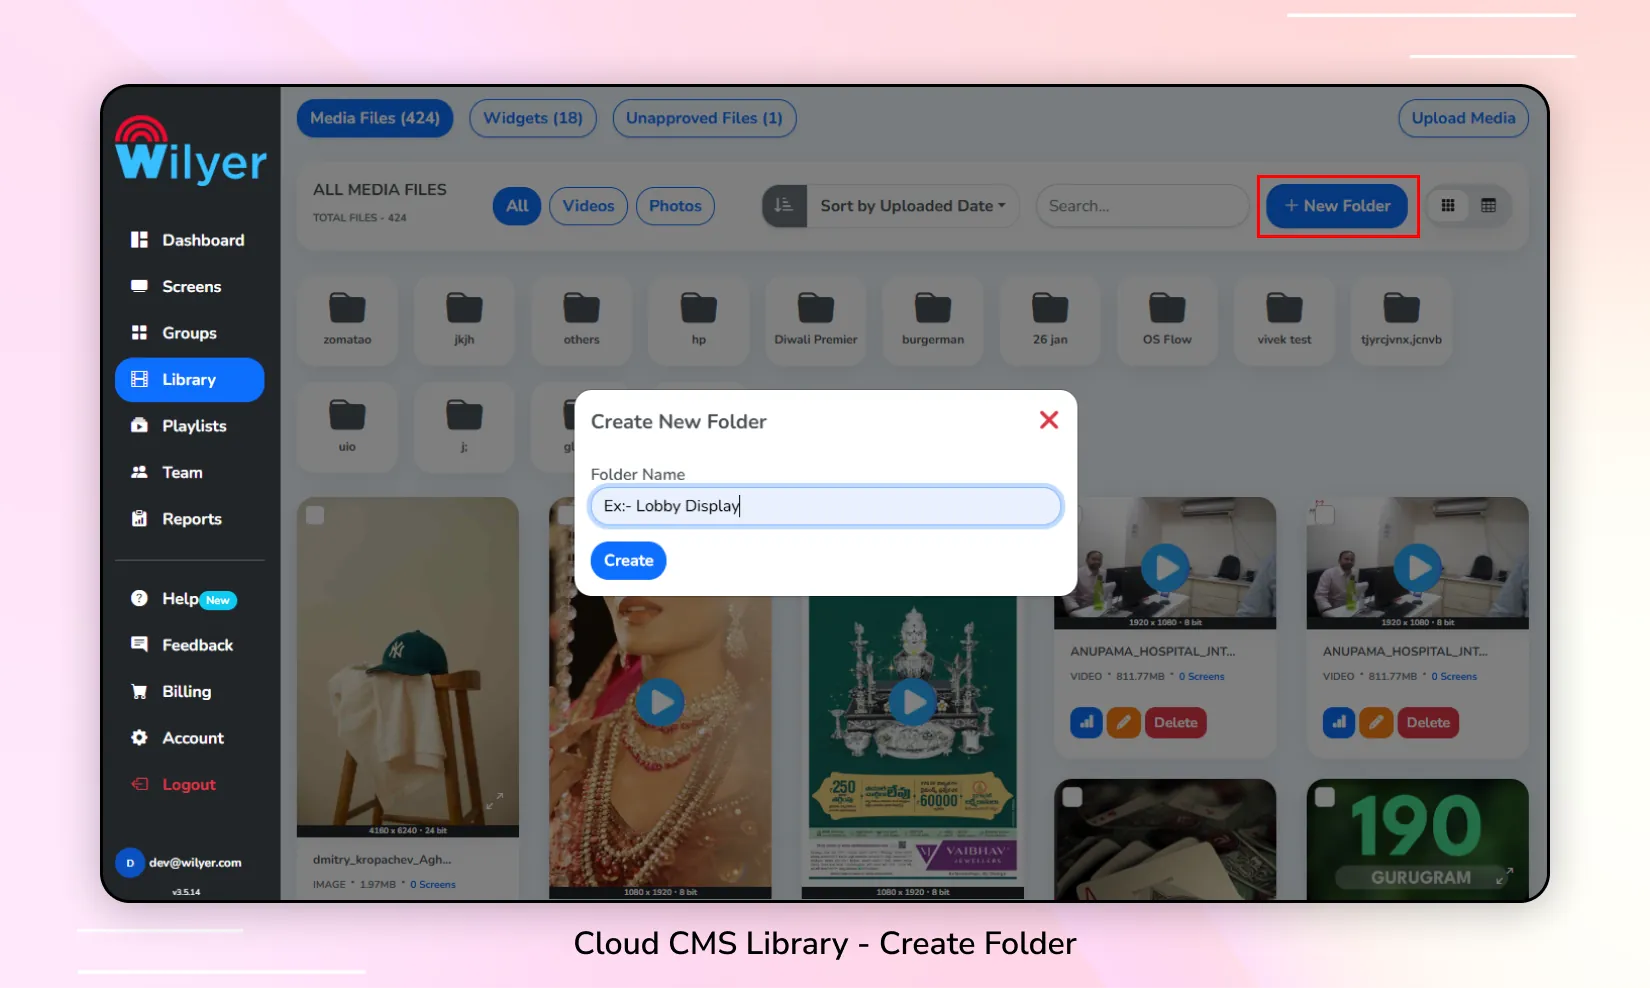
11. Create a Folder
Step 1: Click on the Library tab in the left sidebar.
Step 2: Click on the +New Folder button.
Step 3: Enter the Folder name in the modal popup window.
Step 4: Click on the Create button.
12. Delete a Folder
Step 1: Click on the Library tab in the left sidebar.
Step 2: Click on the folder you want to delete.
Step 3: Click on the Delete button associated with the folder.
Step 4: Confirm the deletion by clicking the Continue button in the confirmation dialog.

13. Move Files to a Folder
Step 1: Click on the Library tab in the left sidebar.
Step 2: Select the checkboxes next to the files you want to move.
Step 3: Click on the Move Files button.
Step 4: In the pop-up window, choose the destination folder for the files.
Step 5: Click on the Move Files button to confirm and save your changes.

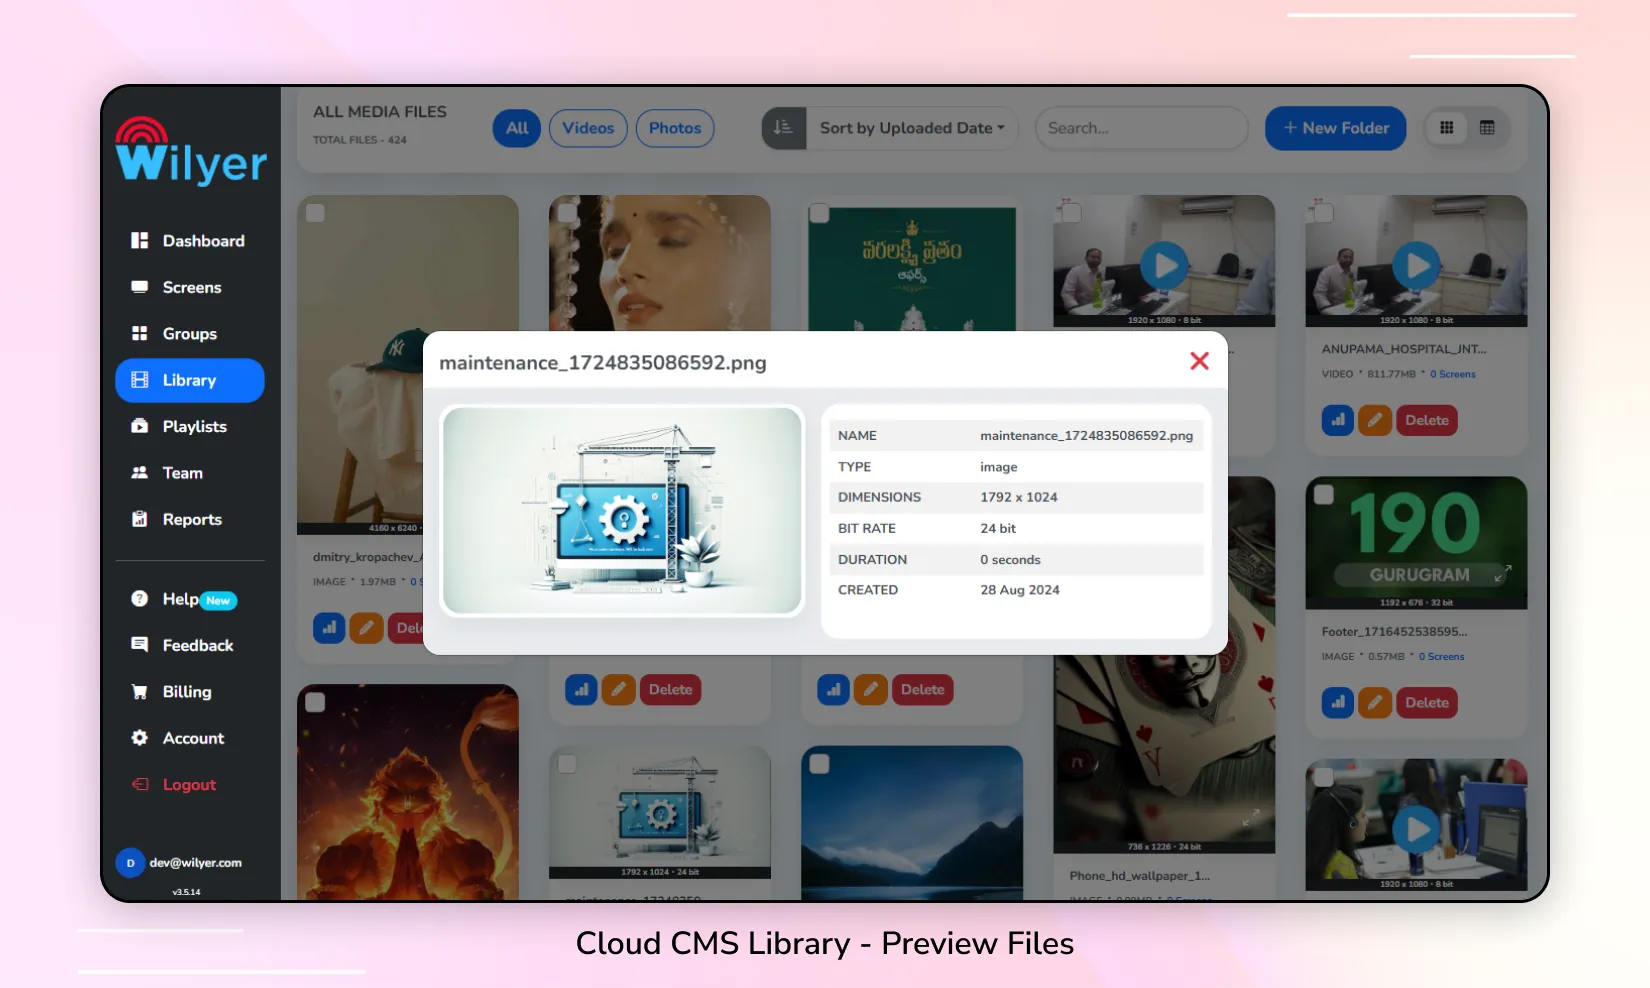
14. Preview Files & Details
Step 1: Click on the Library tab in the left sidebar.
Step 2: Click on the Image or Video of a particular file to preview the file and its details.
15. Sort Files by Created Date and Size, and Change the Order
Step 1: Click on the Library tab in the left sidebar.
Step 2: Use the Sort feature to organize files based on the desired criteria, such as created date or size, and adjust the order accordingly.

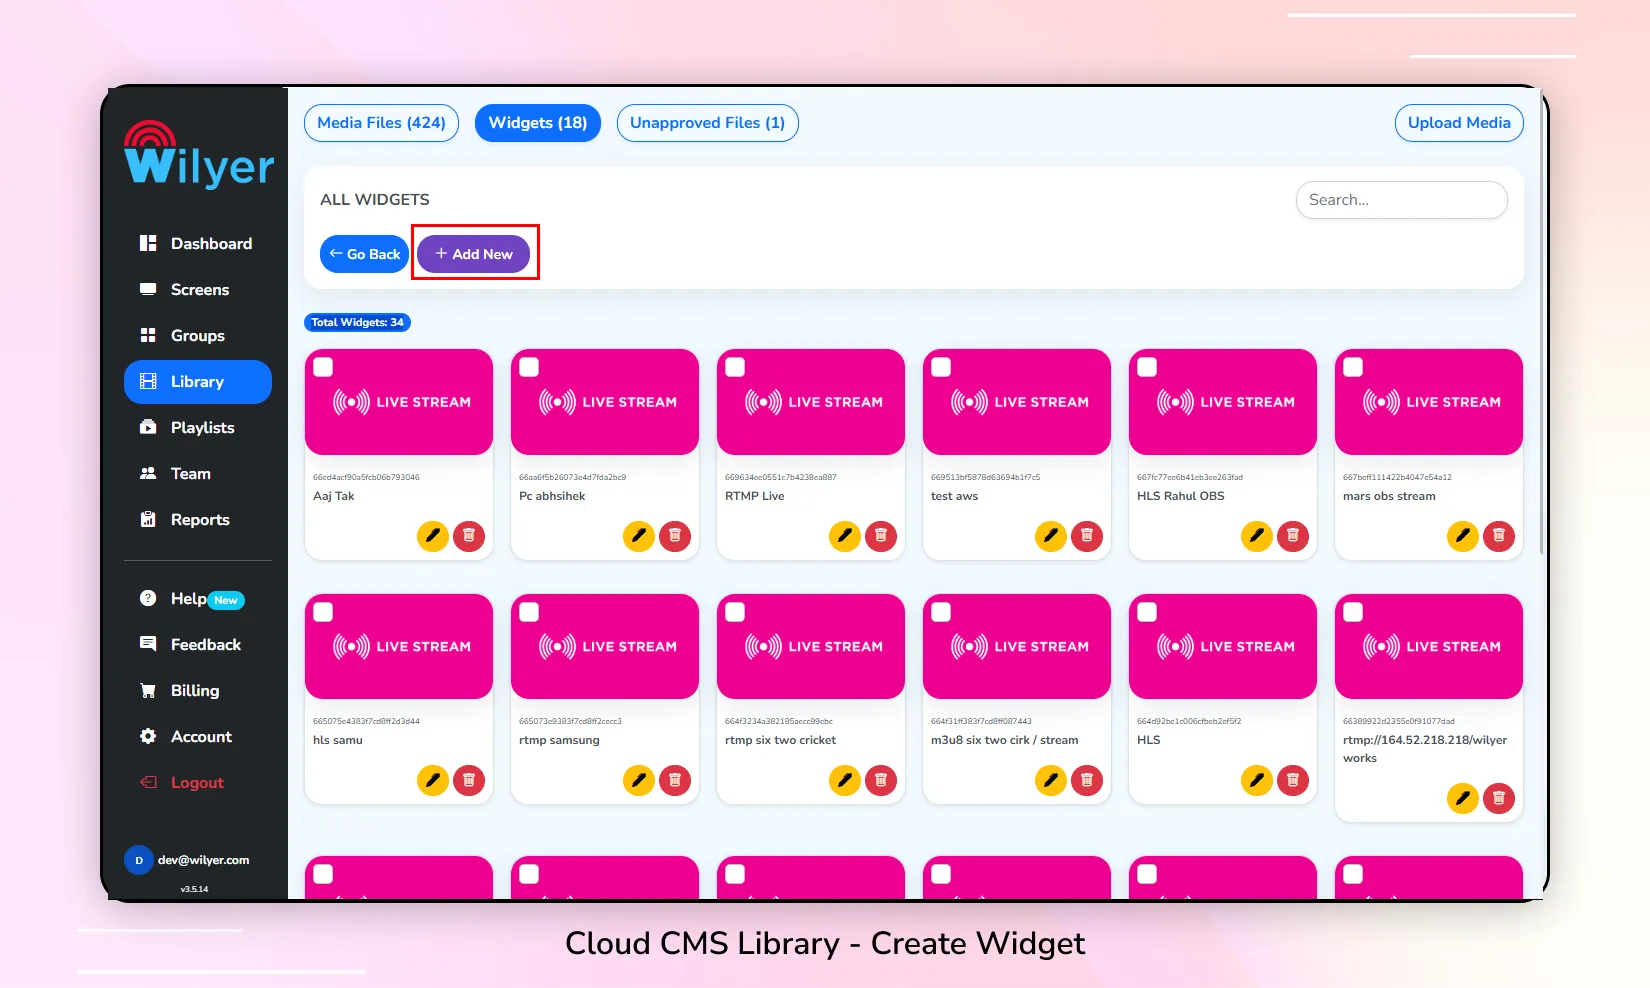
16. Create a Widget
Step 1: Click on the Library tab in the left sidebar.
Step 2: Select the Widgets tab.
Step 3: Choose the type of Widget you want to create.
Step 4: Click on the +Add New button.
Step 5: Fill in the required fields in the modal popup and click the Save button to create the Widget.
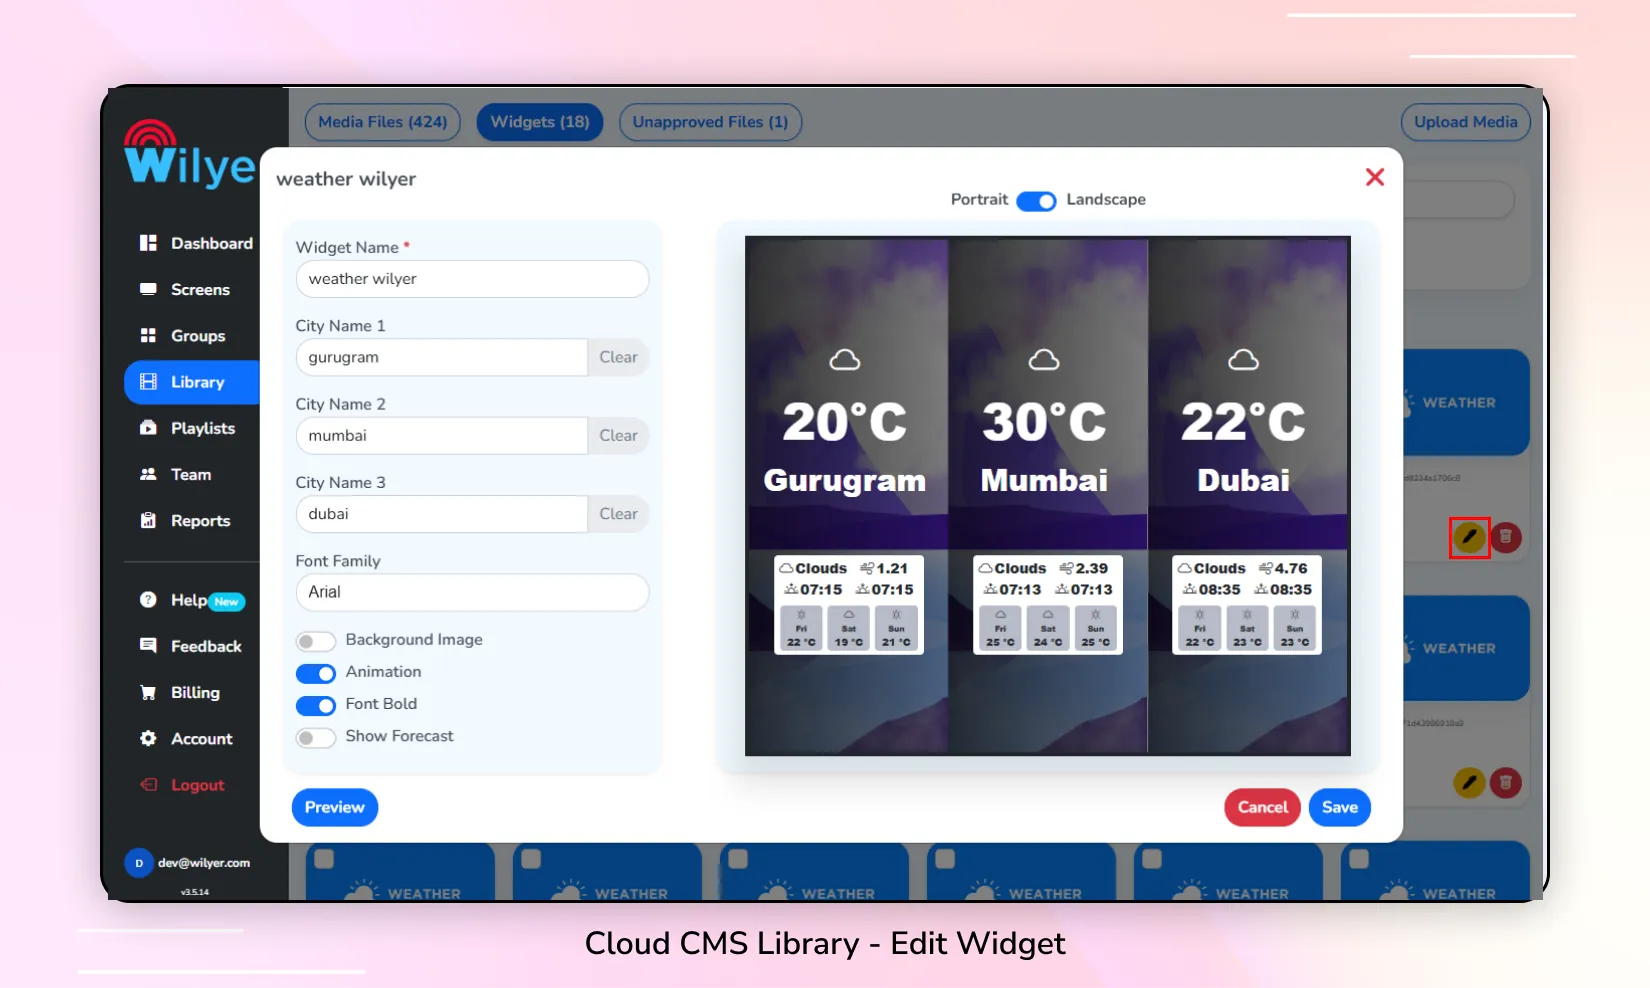
17. Edit a Widget
Step 1: Click on the Library tab in the left sidebar.
Step 2: Select the Widgets tab.
Step 3: Choose the type of Widget you want to edit.
Step 4: Click on the ✏️ button.
Step 5: Fill in the required fields in the modal popup and click the Save edit to create the Widget.
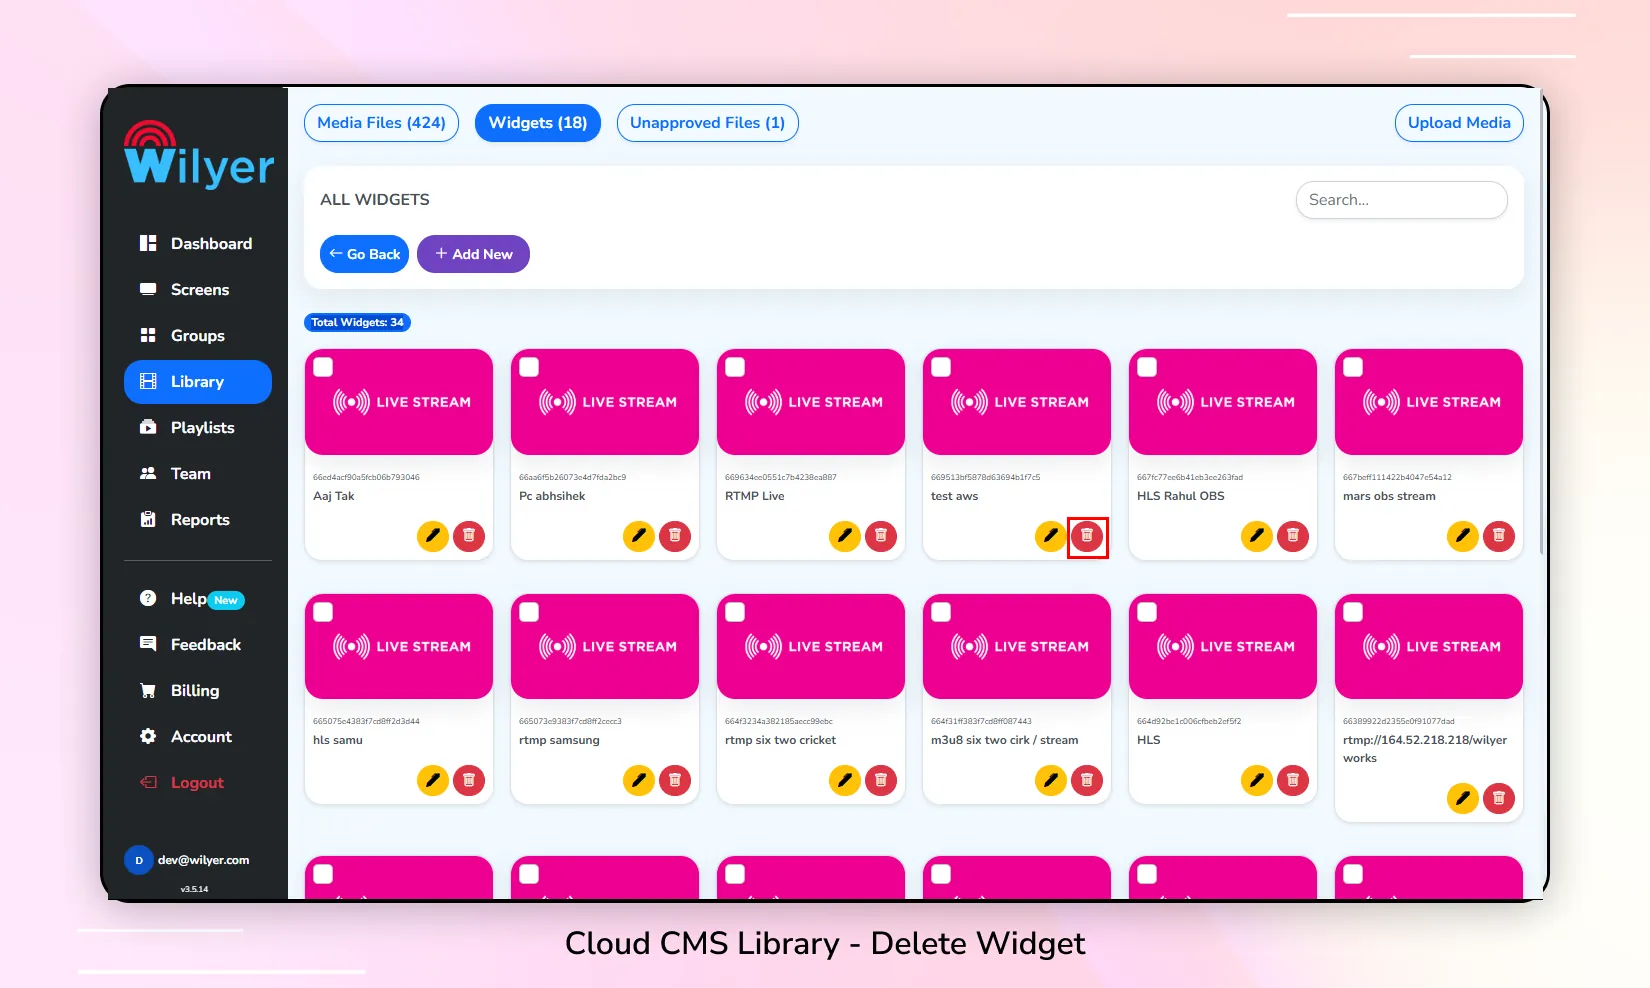
18. Delete a Widget
Step 1: Click on the Library tab in the left sidebar.
Step 2: Select the Widgets tab.
Step 3: Choose the type of Widget you want to delete.
Step 4: Click on the Delete button.