Batch Settings
A cluster’s real power is in its batches and its sync. A batch is a set of screens that share content; sync keeps those screens playing that content in lock-step, so a video wall or a row of boards stays in step.
Display on the wall
Think of one physical display made of several screens. You group the portrait panels into one batch and the landscape panels into another, give each batch the content that fits its orientation, and let Sync start and advance them together:
- Cluster: Lobby Wall
- Batch: Vertical, the portrait panels, playing a portrait poster loop
- Batch: Horizontal, the landscape panels, playing a landscape video loop
Each batch is independent in what it plays, but the cluster’s Sync keeps every screen aligned in when it plays.
Add a batch
On the Cluster settings page, click + Add Batch, name it, and click Create Batch.
 Adds a batch
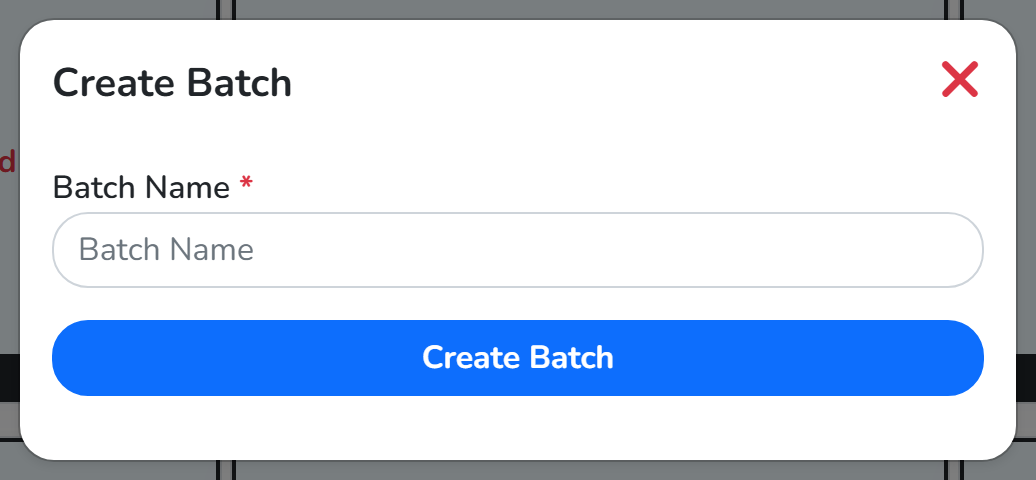 Creates itThe batch's name
The new batch appears as its own card, ready for you to add screens and content.
Give a batch its content
Each batch card carries its own row of buttons:
Restart Screensrestarts the screens in this batch.Manage PlaylistorManage Filesappear here depending upon whether you selectedFilesorPlayliston the Cluster Settings page.Manage Screenschooses which screens are in it.Editrenames it.Deleteremoves it.
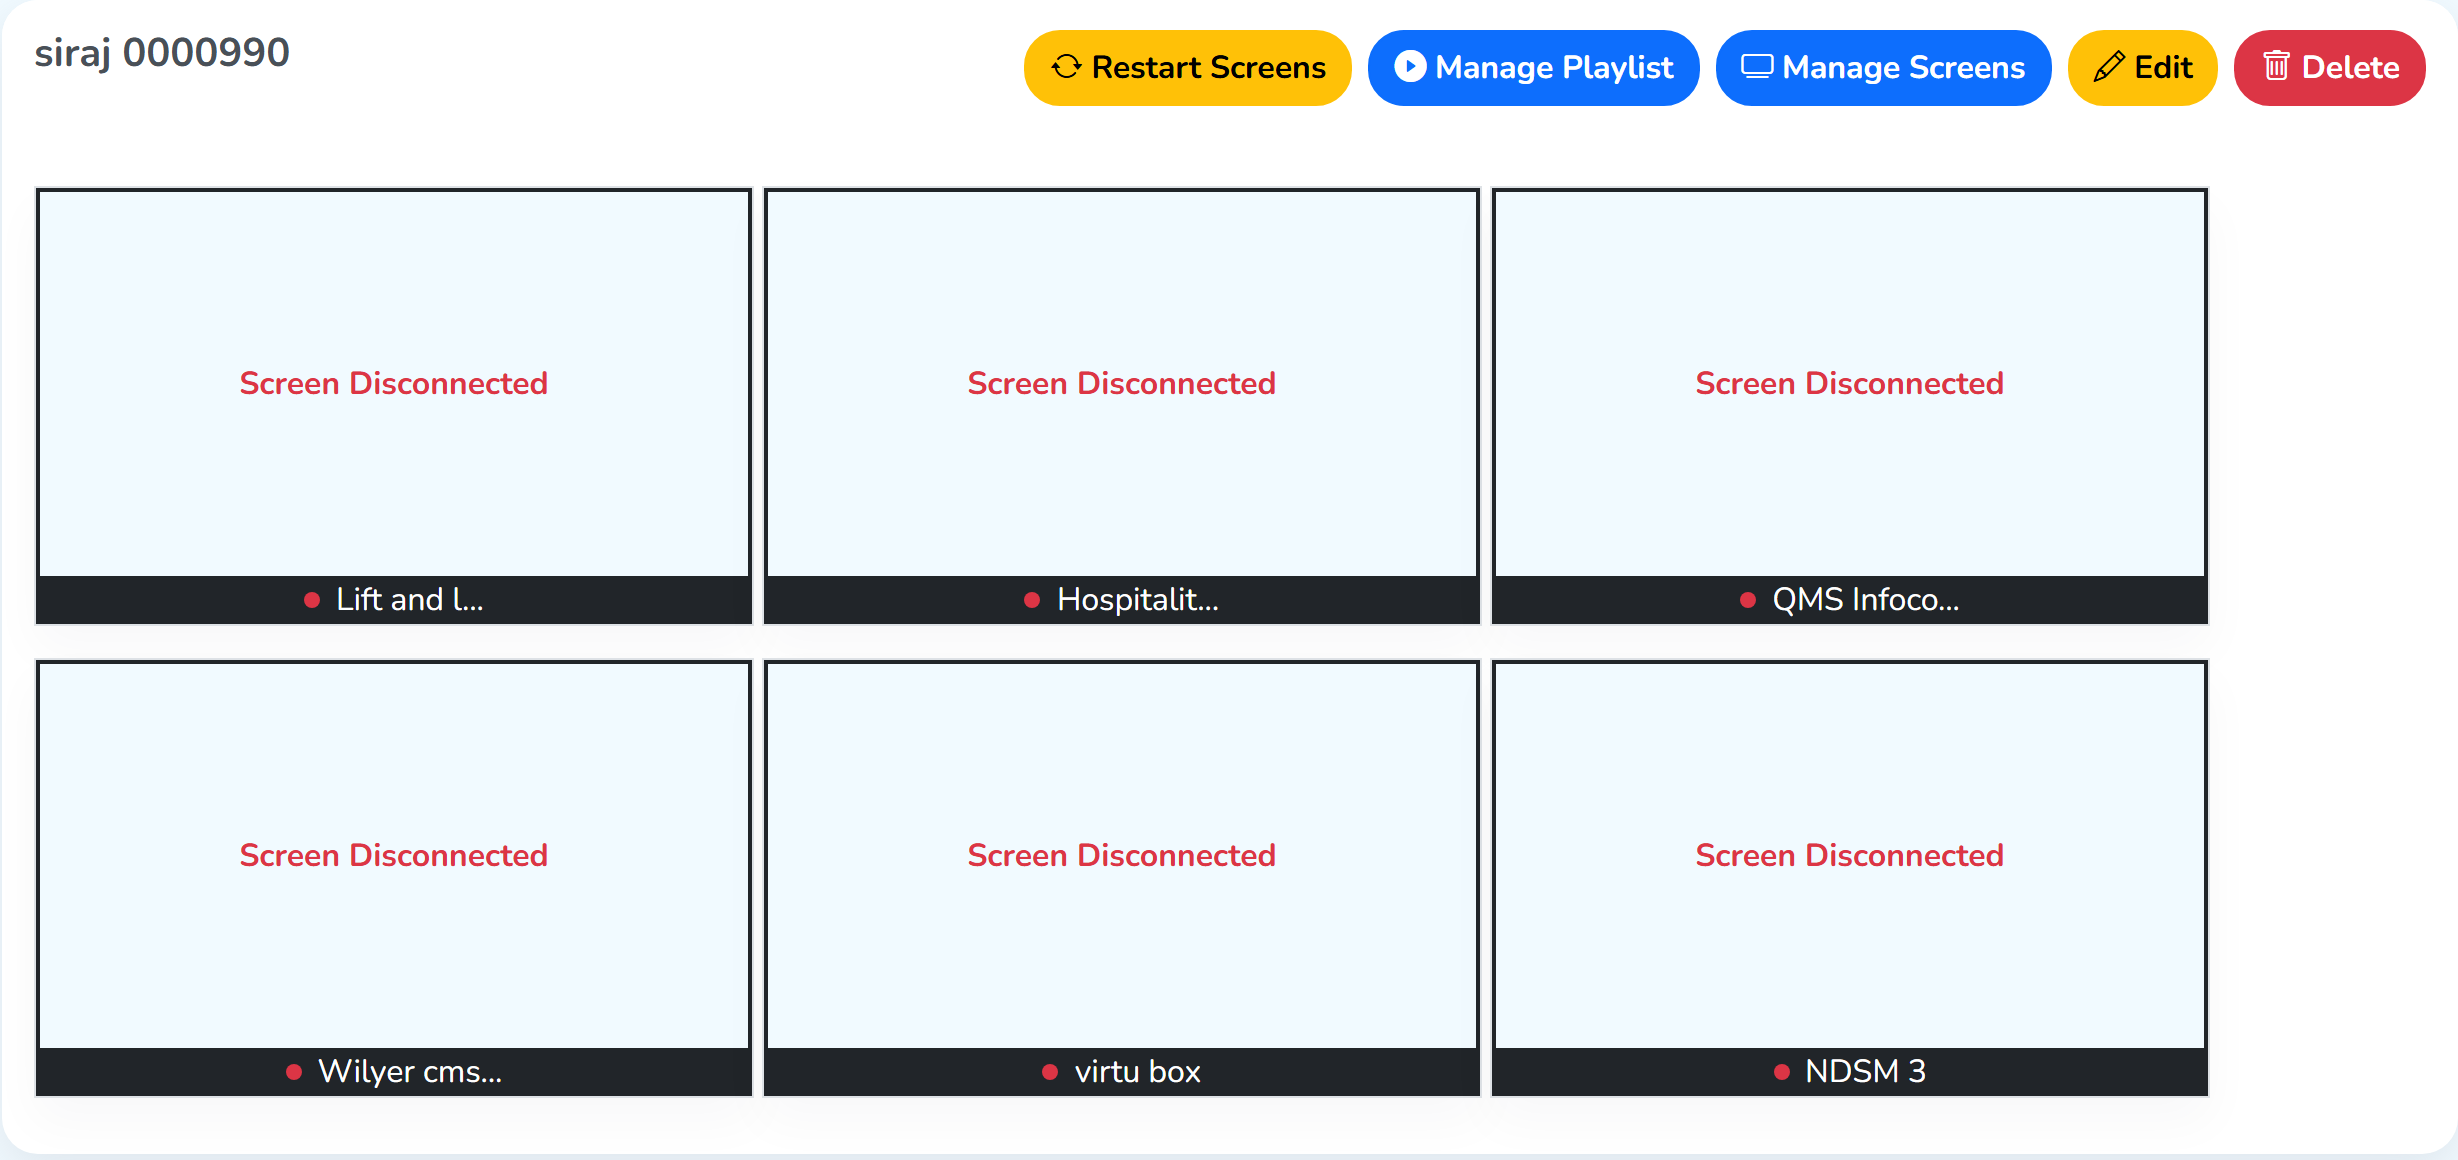 The batch's own buttonsThe screens in this batch
Manage Playlist opens like this.
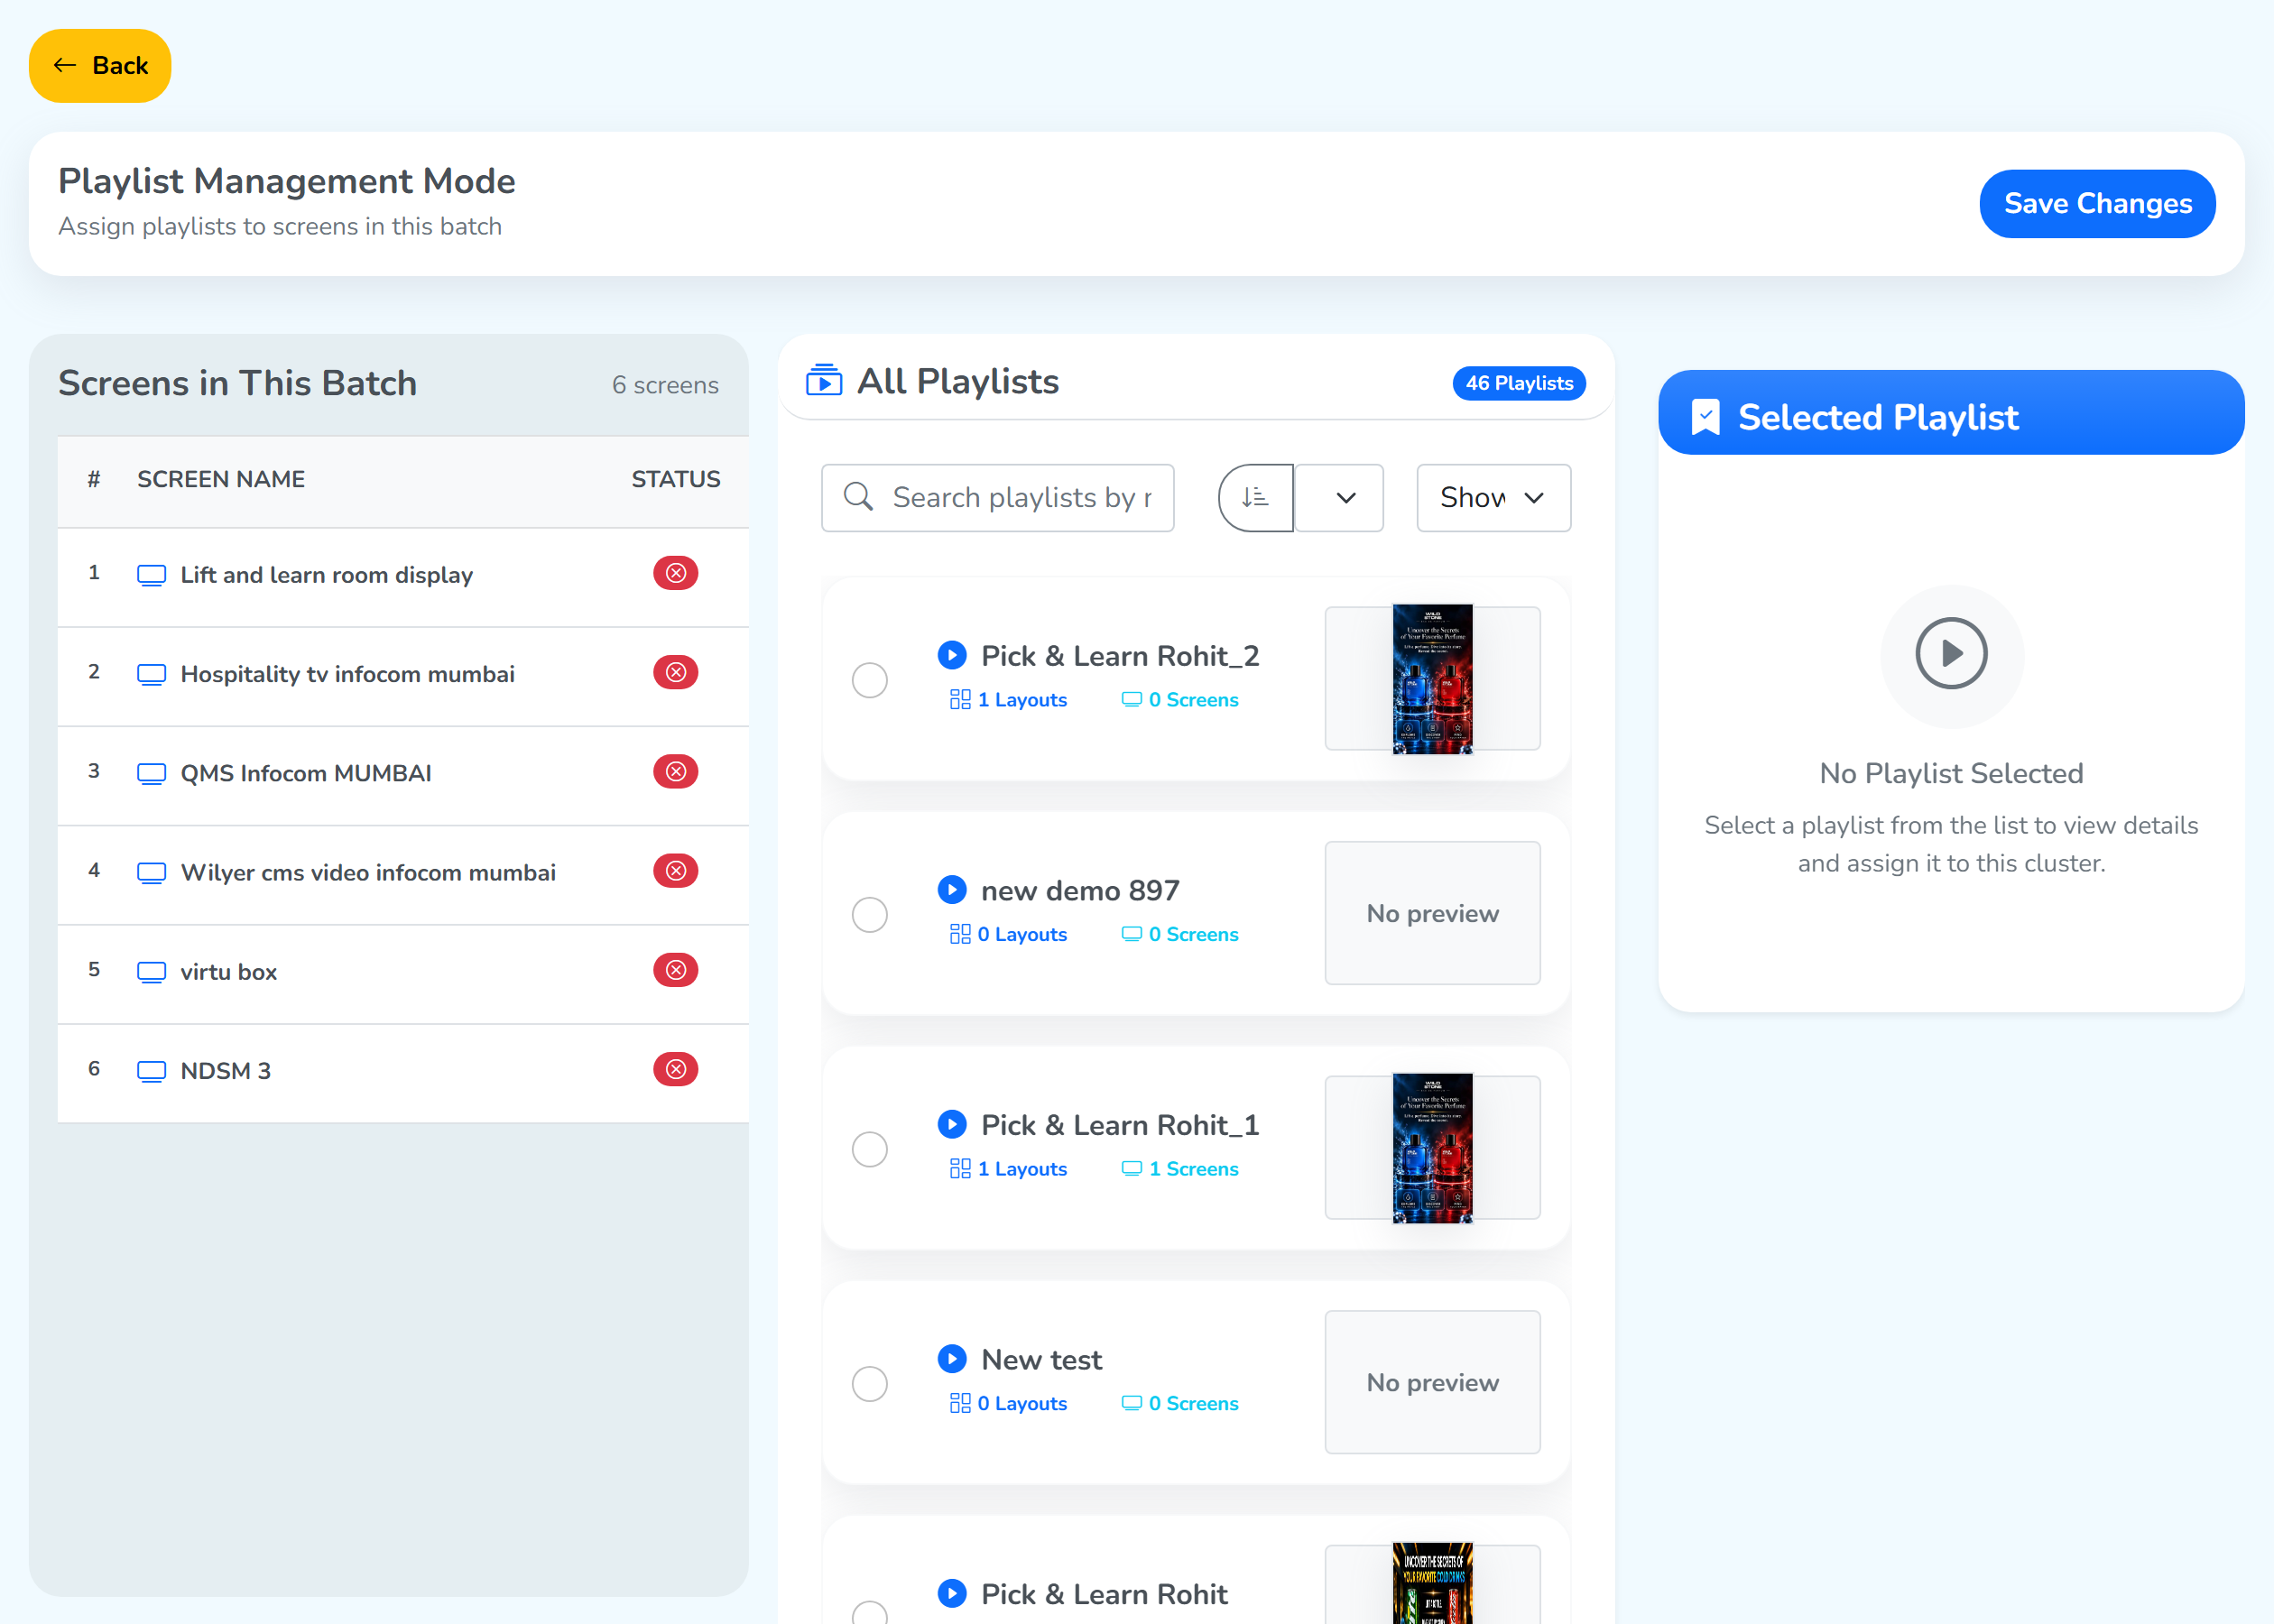 The screens in this batchPick one playlistSaves the choice
Manage Files opens like this.
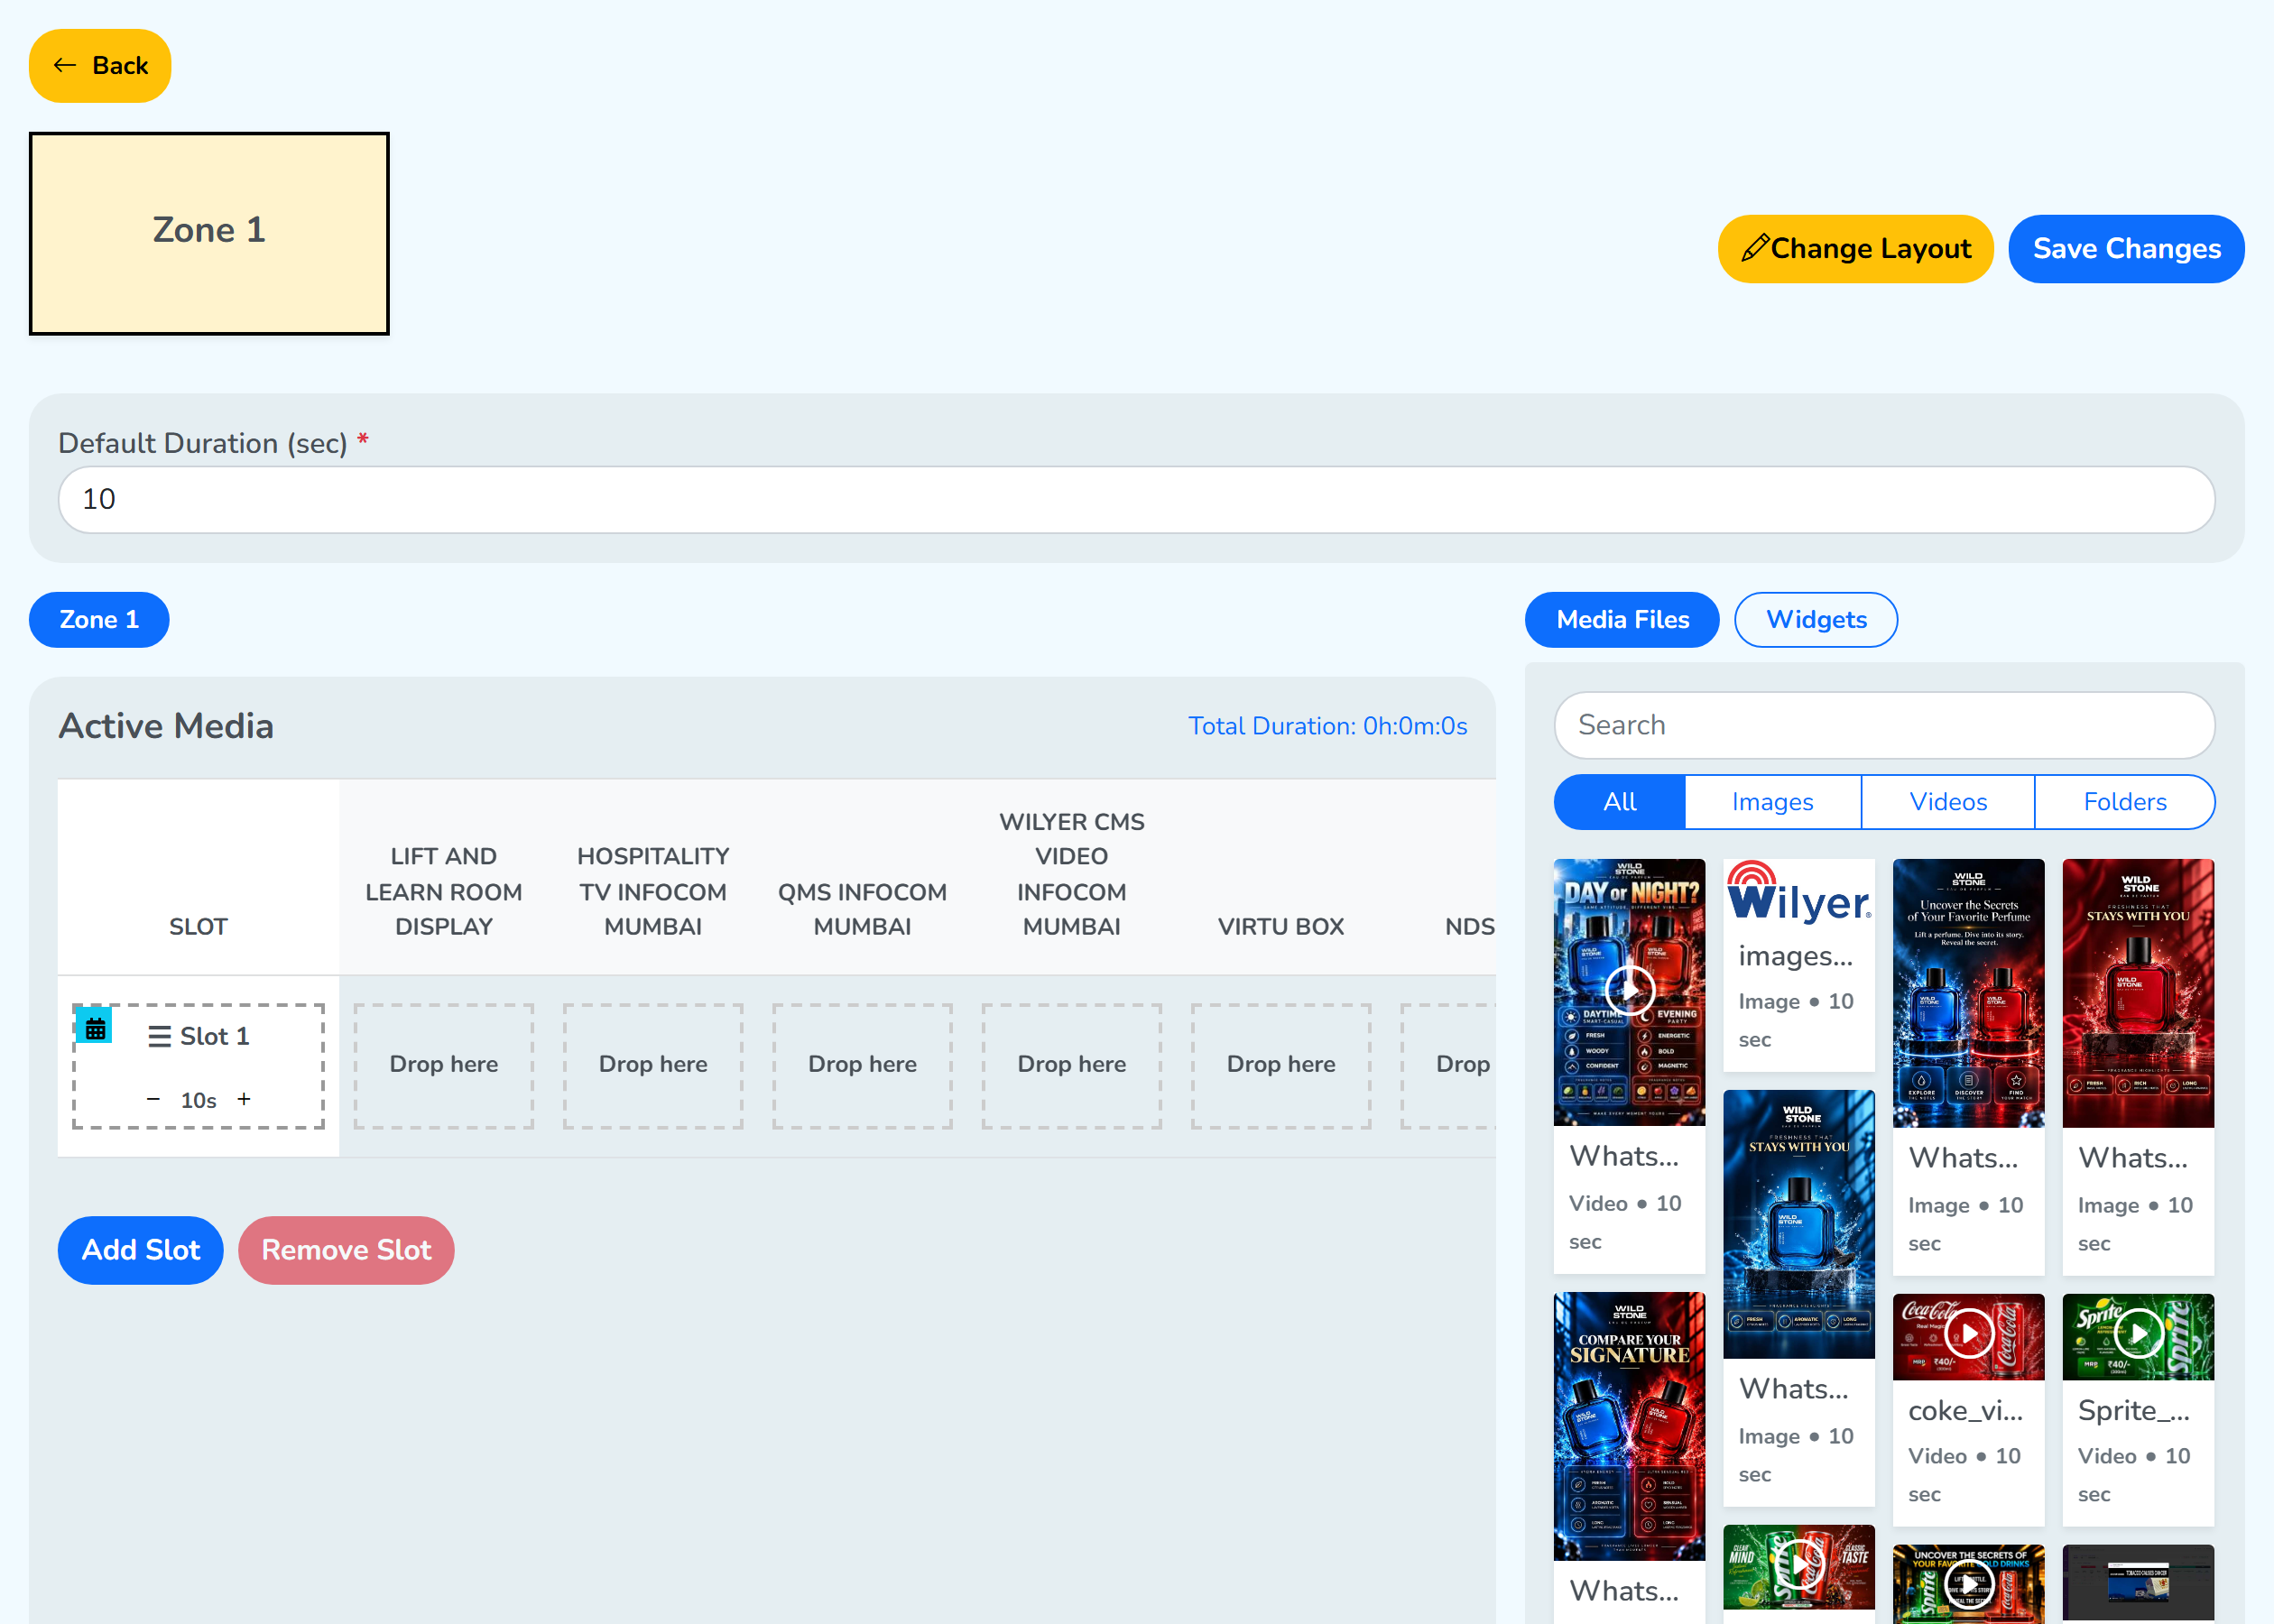 Time for each slotOne column for each screen in the batchMedia files and widgets to drag inSaves the batch's files
Keep it in sync
Two header controls make the “in step” part work:
Sync On. When on, every screen in the cluster starts and advances together. Toggle it off only if you want the screens to play independently.Save. After changing a batch’s screens or content, click this to save and push the setup to every screen at once, synchronized.
Keeps them in stepWatch it live
With Live Data On, each batch tile shows a live preview of what that screen is actually displaying, so you can confirm the whole wall is aligned at a glance (an offline screen shows “Screen Disconnected”).
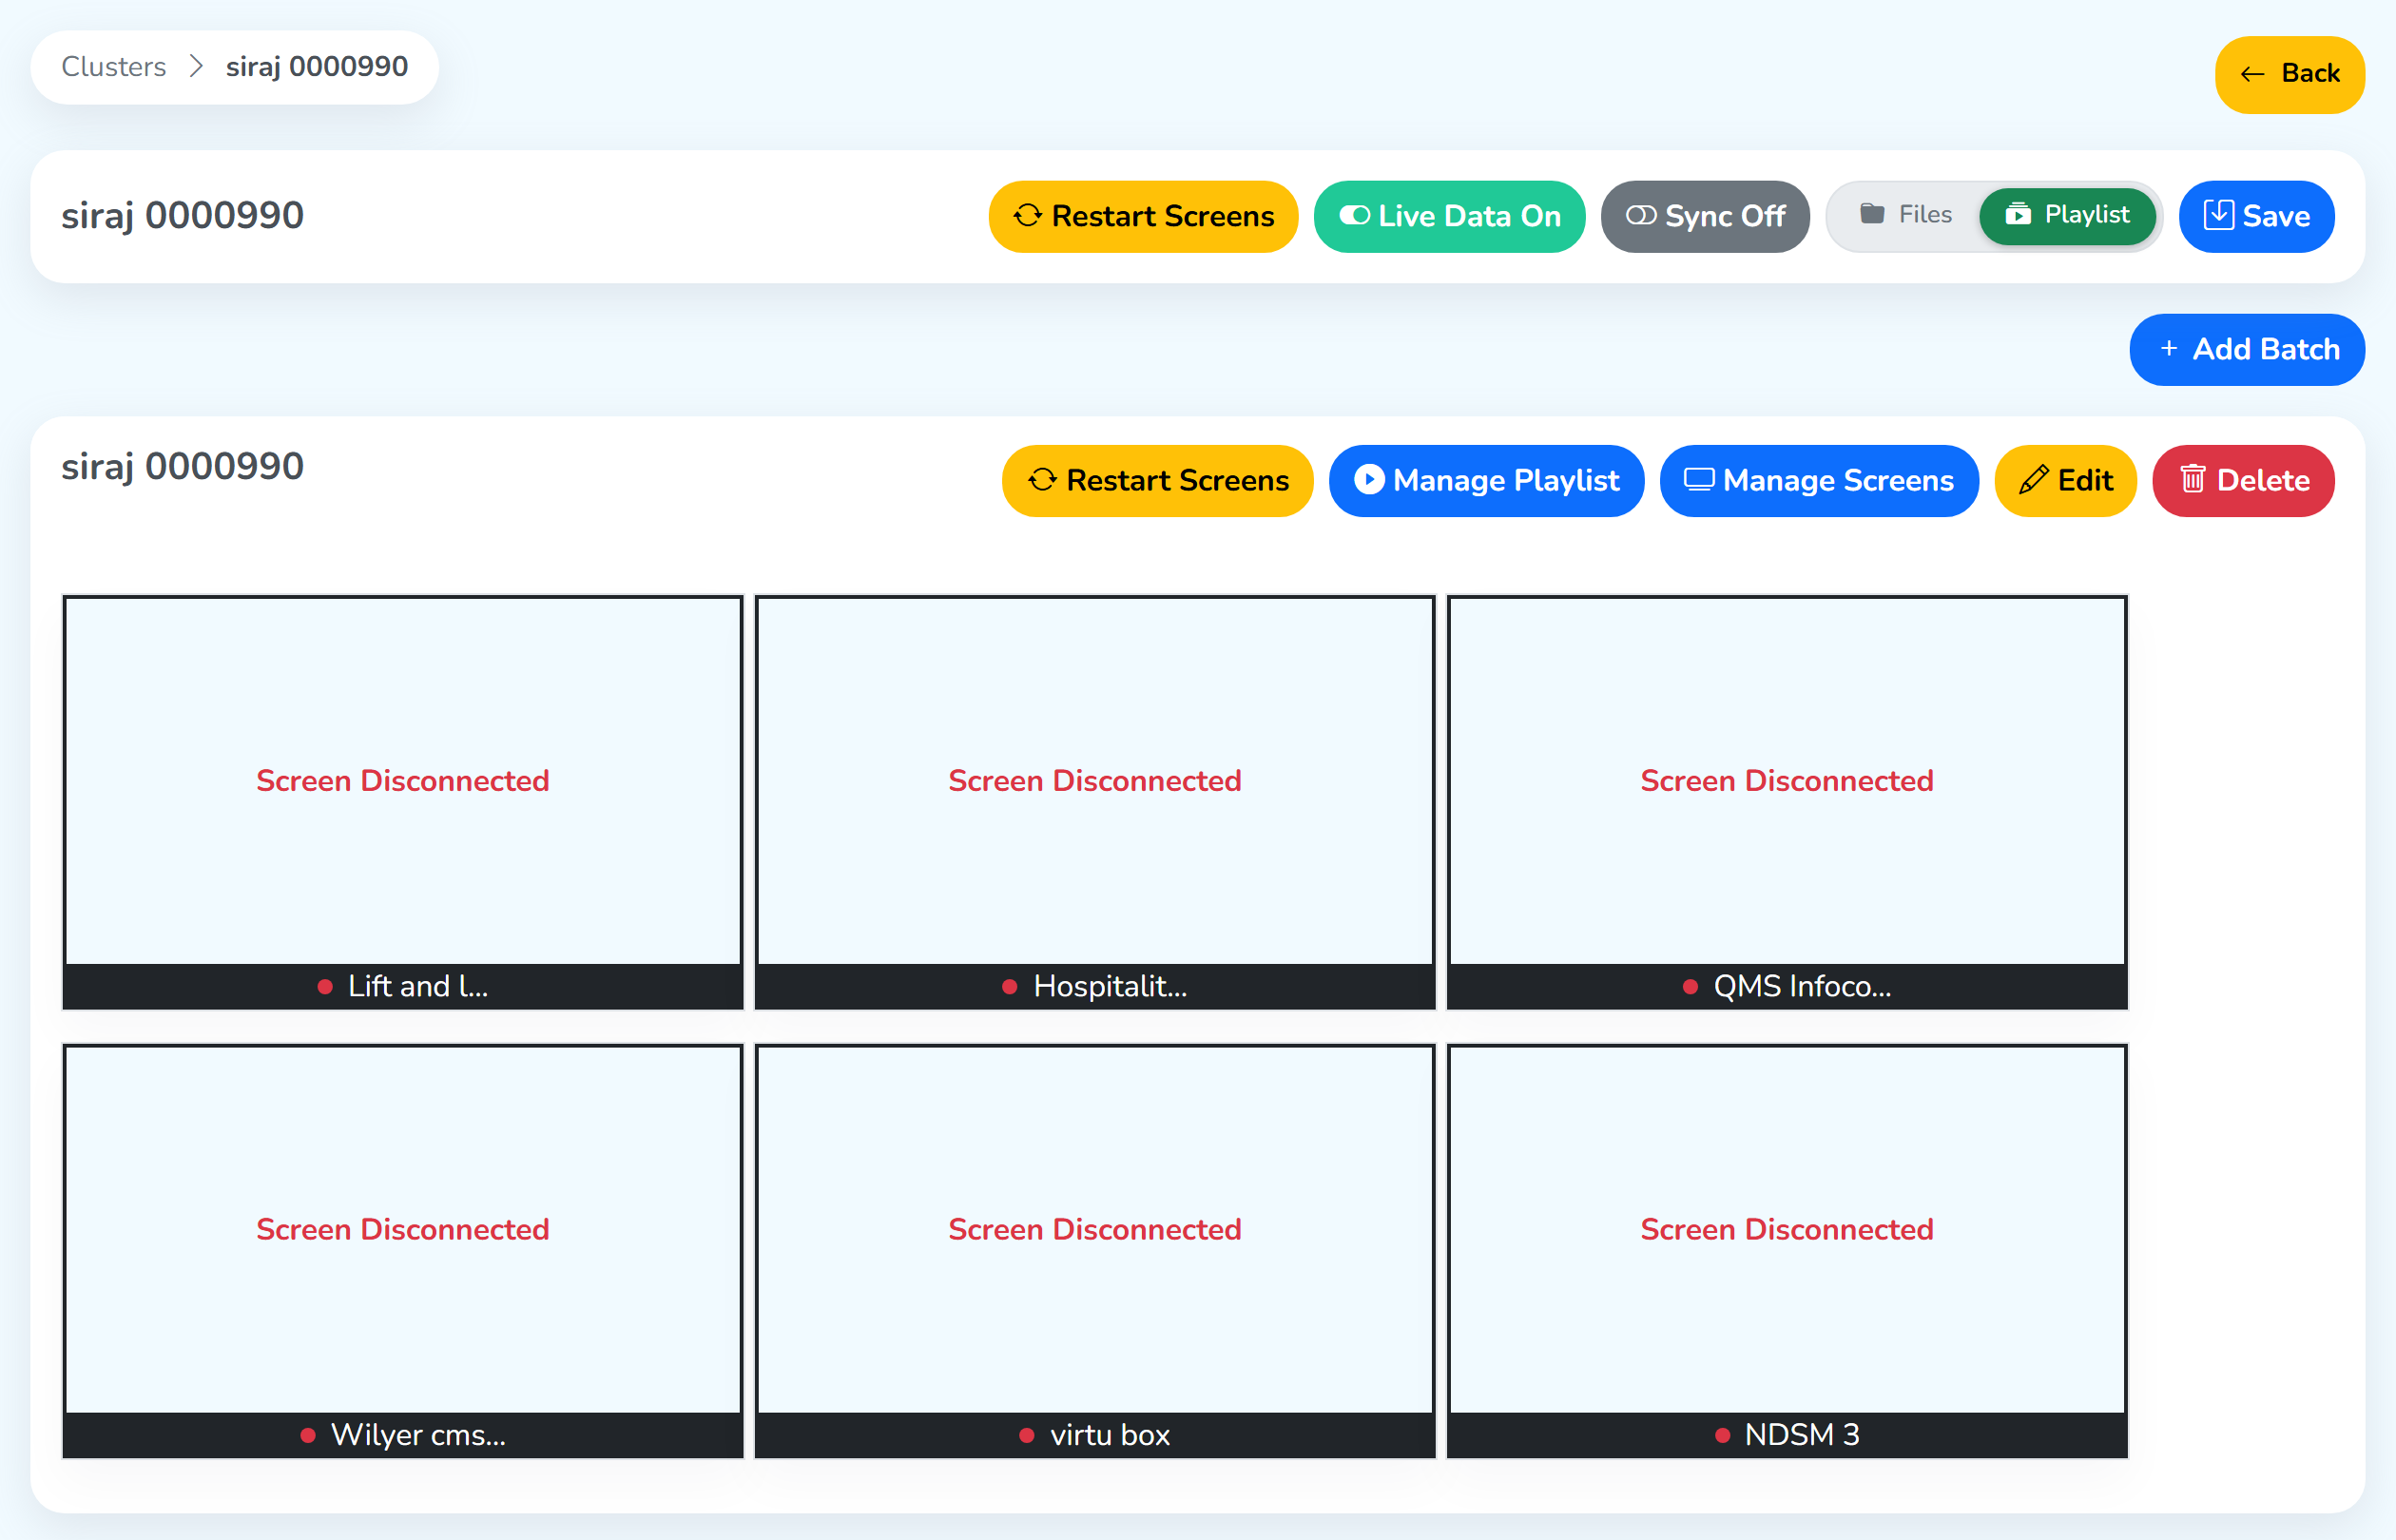 What each screen showsOne tile for each screen
Remove a batch
A batch’s Delete button removes it after a confirmation; its screens leave the batch and stay on the account.
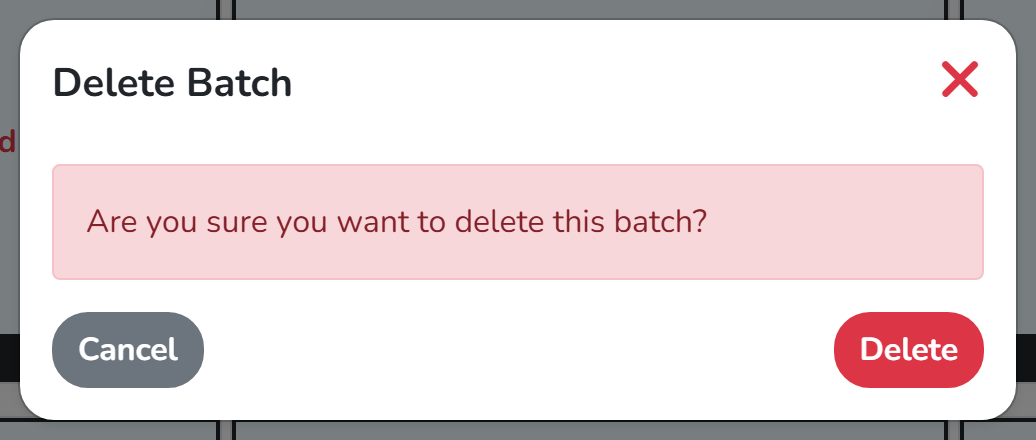 Keeps the batchRemoves it
See also: Clusters overview · Groups.