Create a New User
This page walks through the whole flow: creating a role, assigning it to a new member, and seeing one example of how Maker-Checker permissions play out.
Create a new role
- For creating a new member, an existing role can be assigned to them, or a new one can be created; here, we’ll create a new one.
- All of this is covered in detail on the Roles & Permissions page.
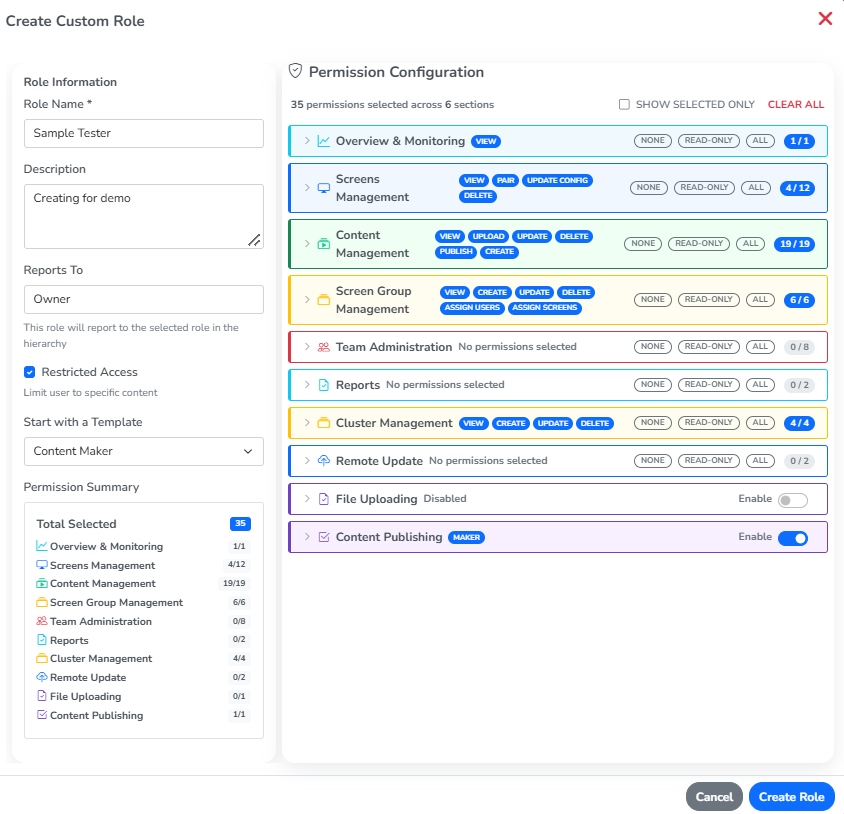
- A role is created, and the
Content Makertemplate is picked for it, which automatically fills in its permissions on the right, in Permission Configuration. Restricted Accessis also given to this role. This means once a member holds it, they’ll only see what’s inside the groups they’re part of.- Clicking
Create Rolefinishes it.
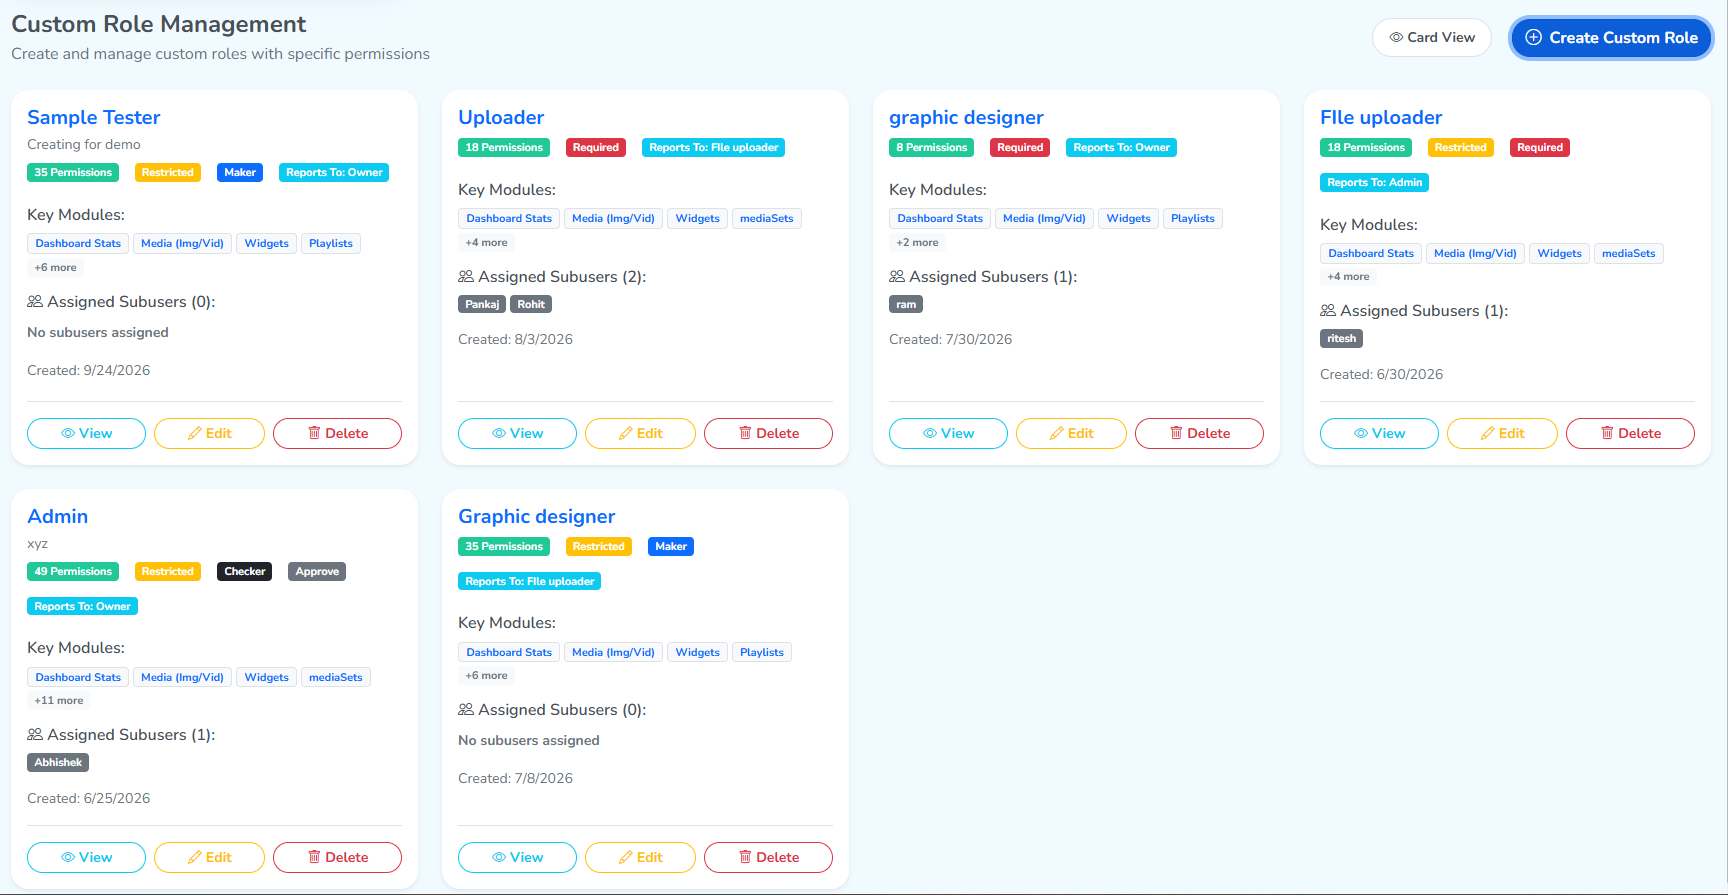
- The new role now shows up on the
Rolestab, alongside every other role.
Create a new user with the new role
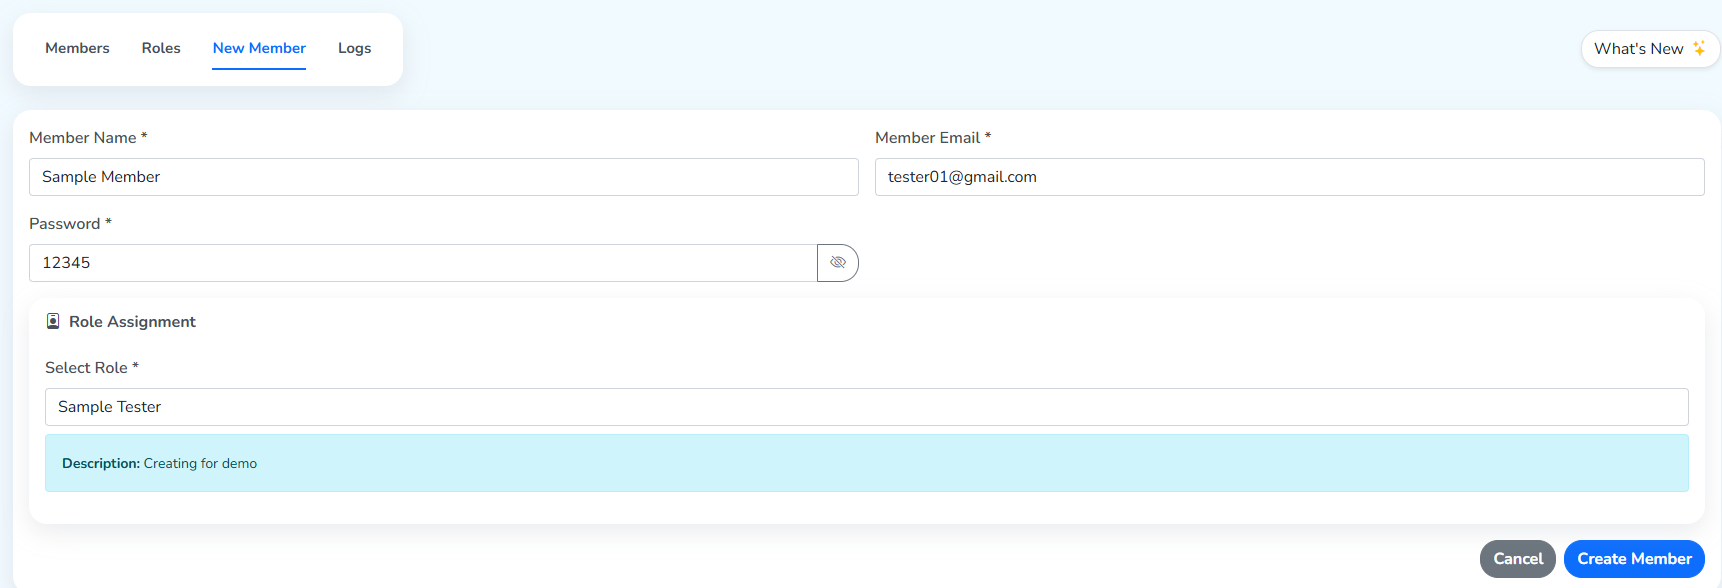
- On the
New Membertab, a name, email and password are given for the new member, the password being what they’ll use to log in. - The role just created is assigned under
Select Role. - Clicking
Create Memberadds them to the account.
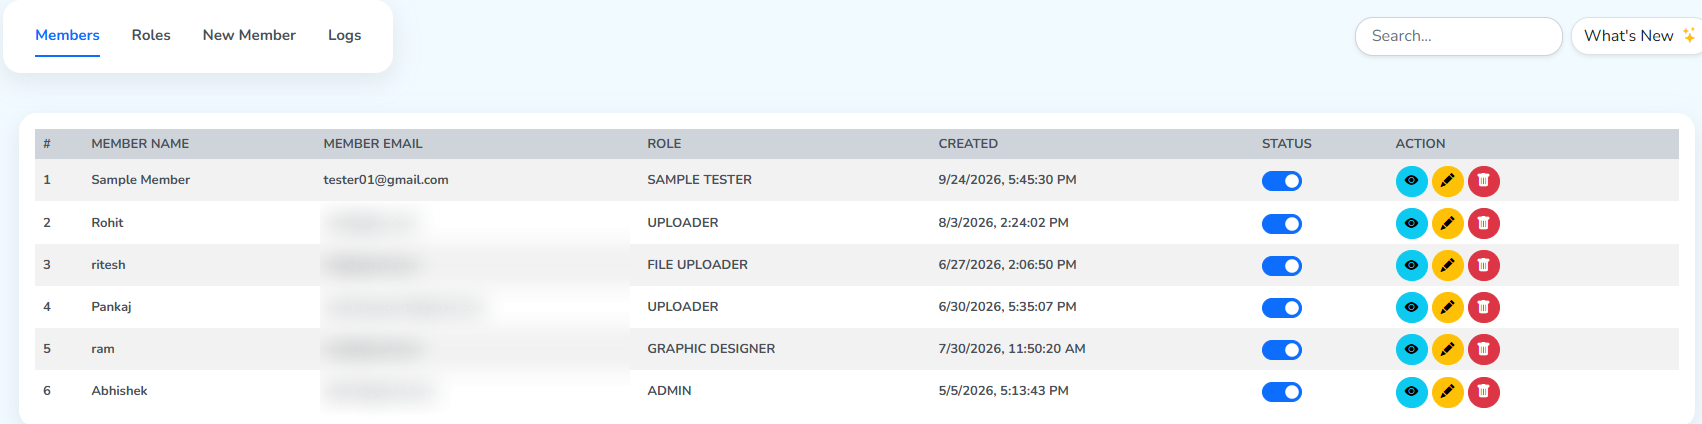
- The new member now appears on the
Memberstab, with the role just created assigned to them.
Add the user to a group
- Inside a group,
Team Accessis what gives a member access to it.
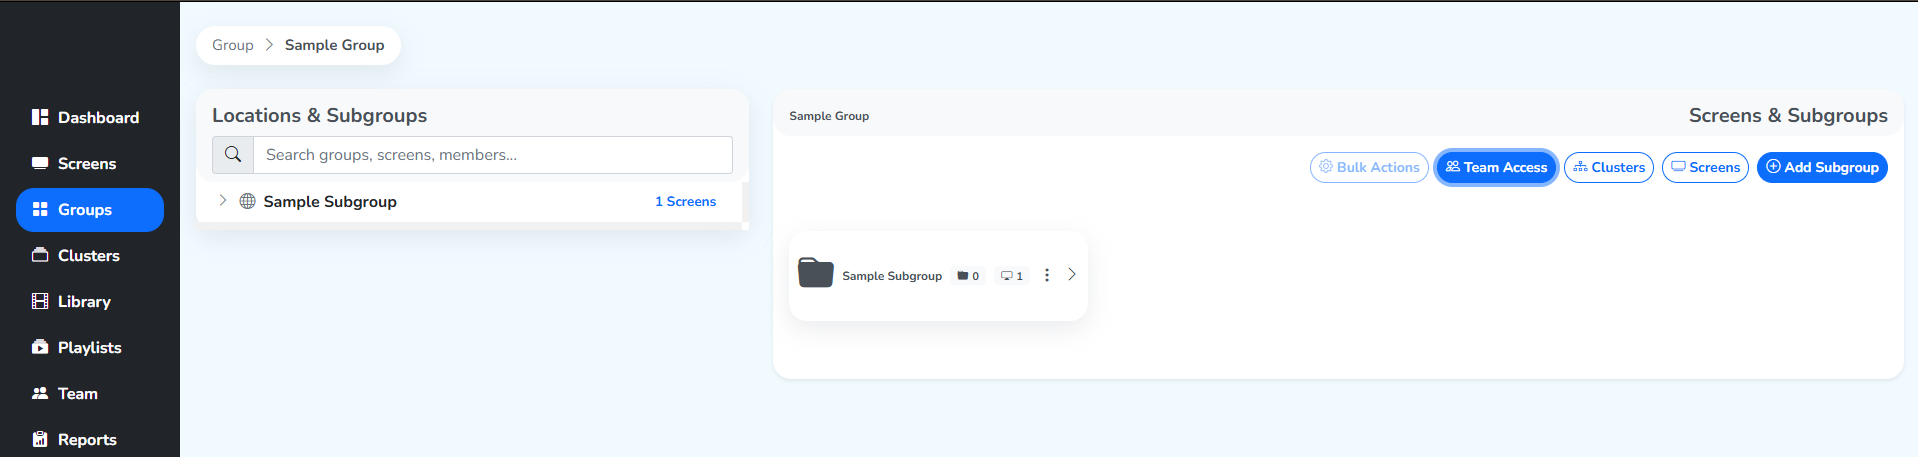
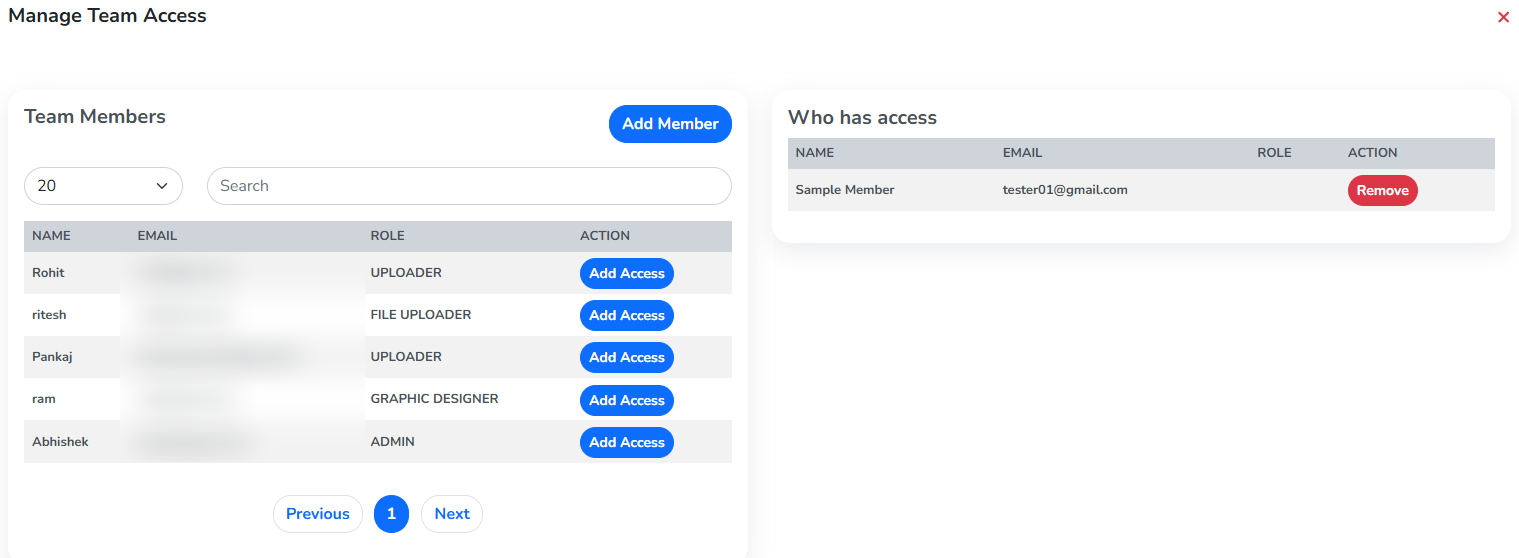
- Clicking it opens this panel.
Add Access, on a member’s row, moves them intoWho has accesson the right, giving them access to the group.
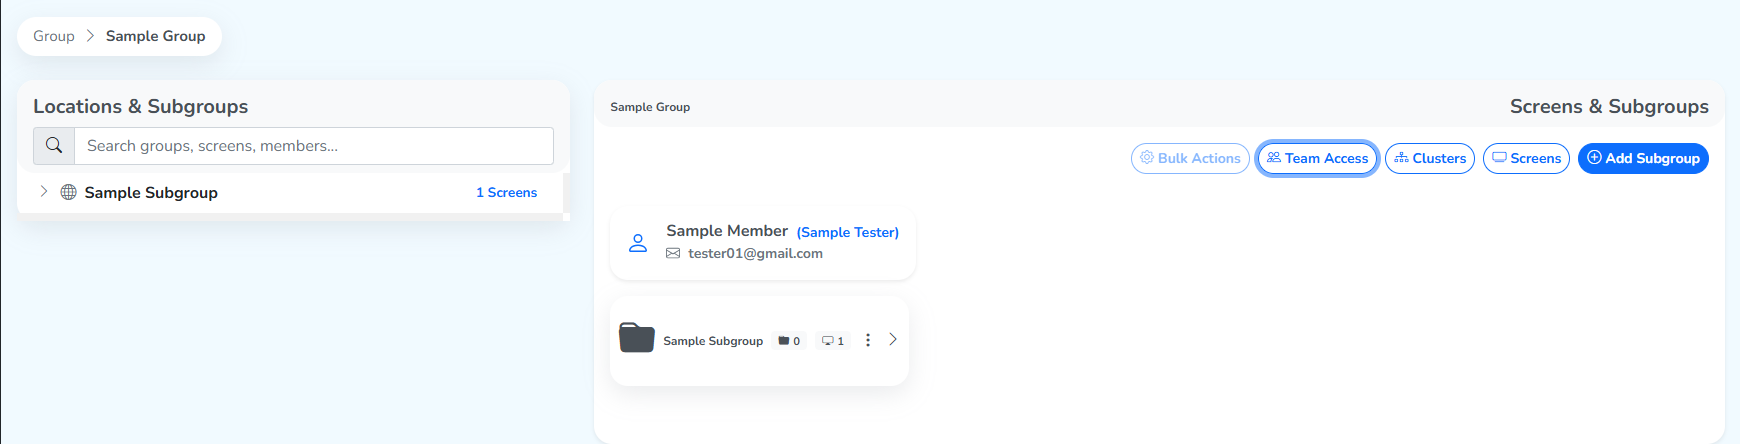
- The member now shows up in the group itself, outside the subgroup, so anyone opening this group sees them here too.
What the new user sees
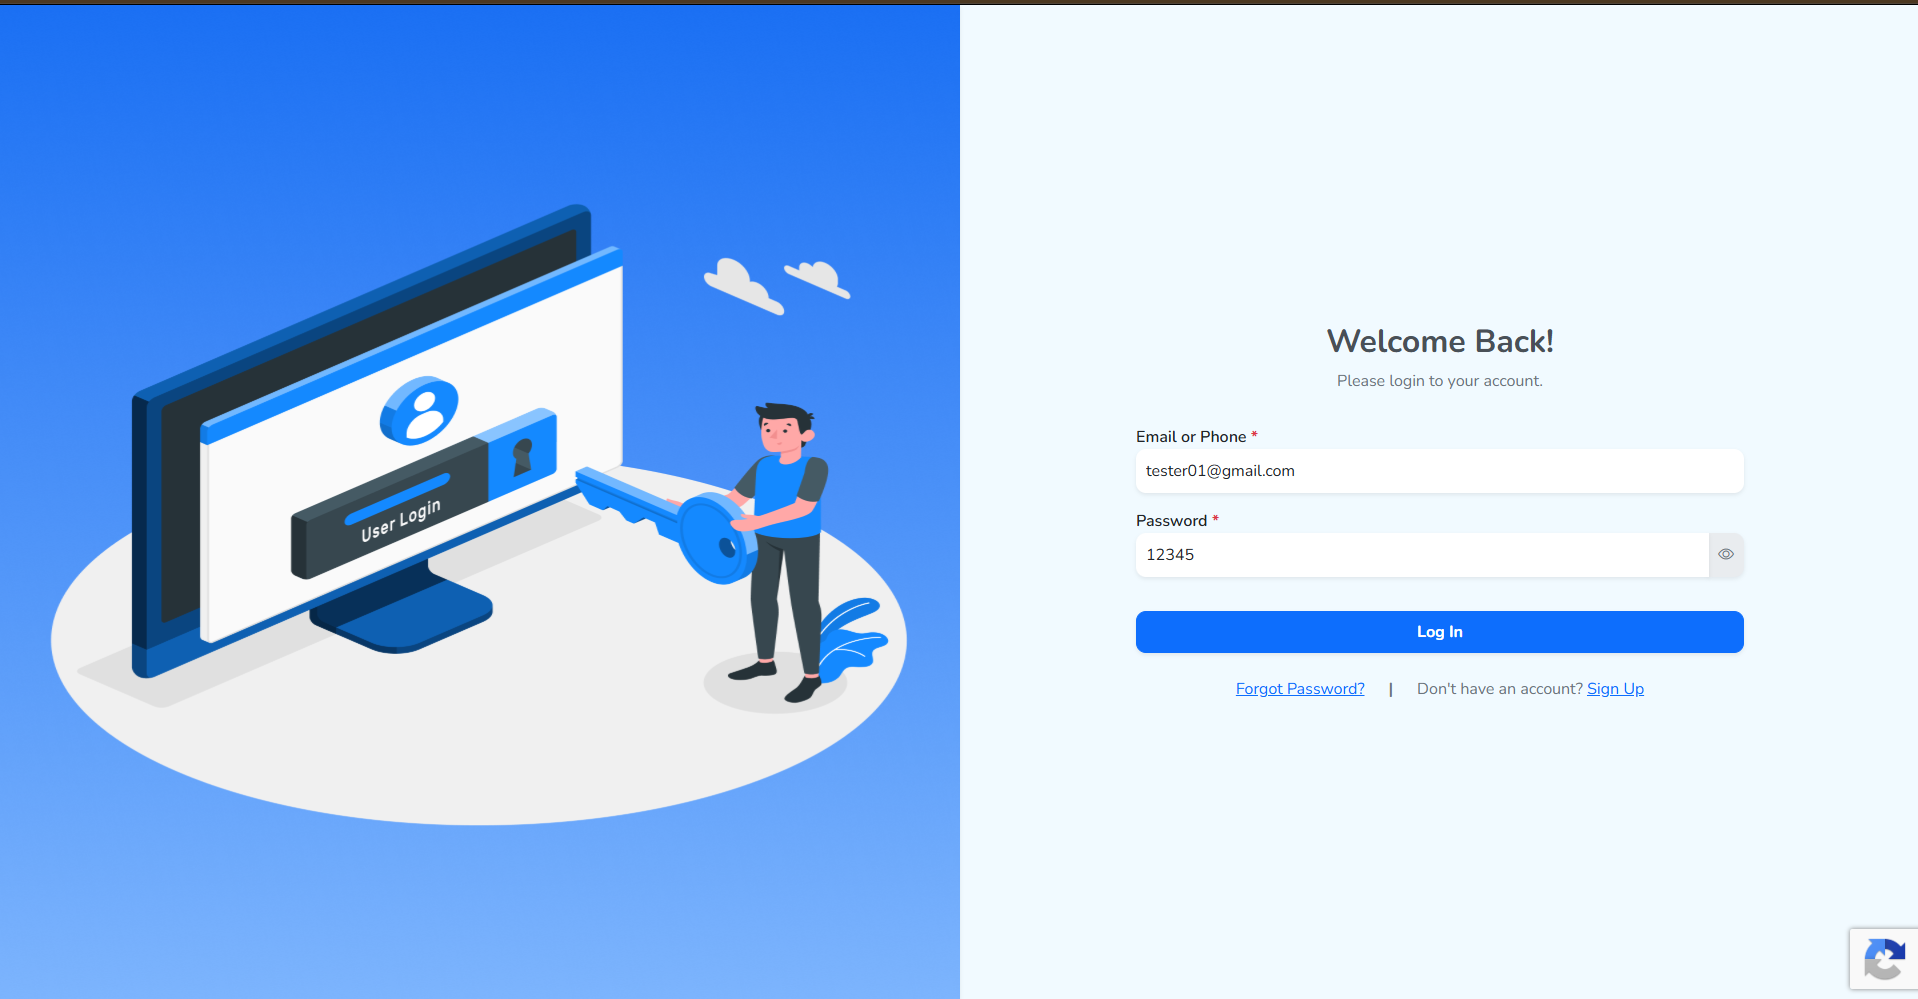
- This is the login page, and we’re entering the credentials assigned to the new user.
- Logged in as the new user: since their role’s permissions are restricted, and they’re only assigned to Sample Group, this is how their Groups section looks now.
- There is no
Teamsection in the left panel asTeam Administrationpermissions are not selected in restricted access.
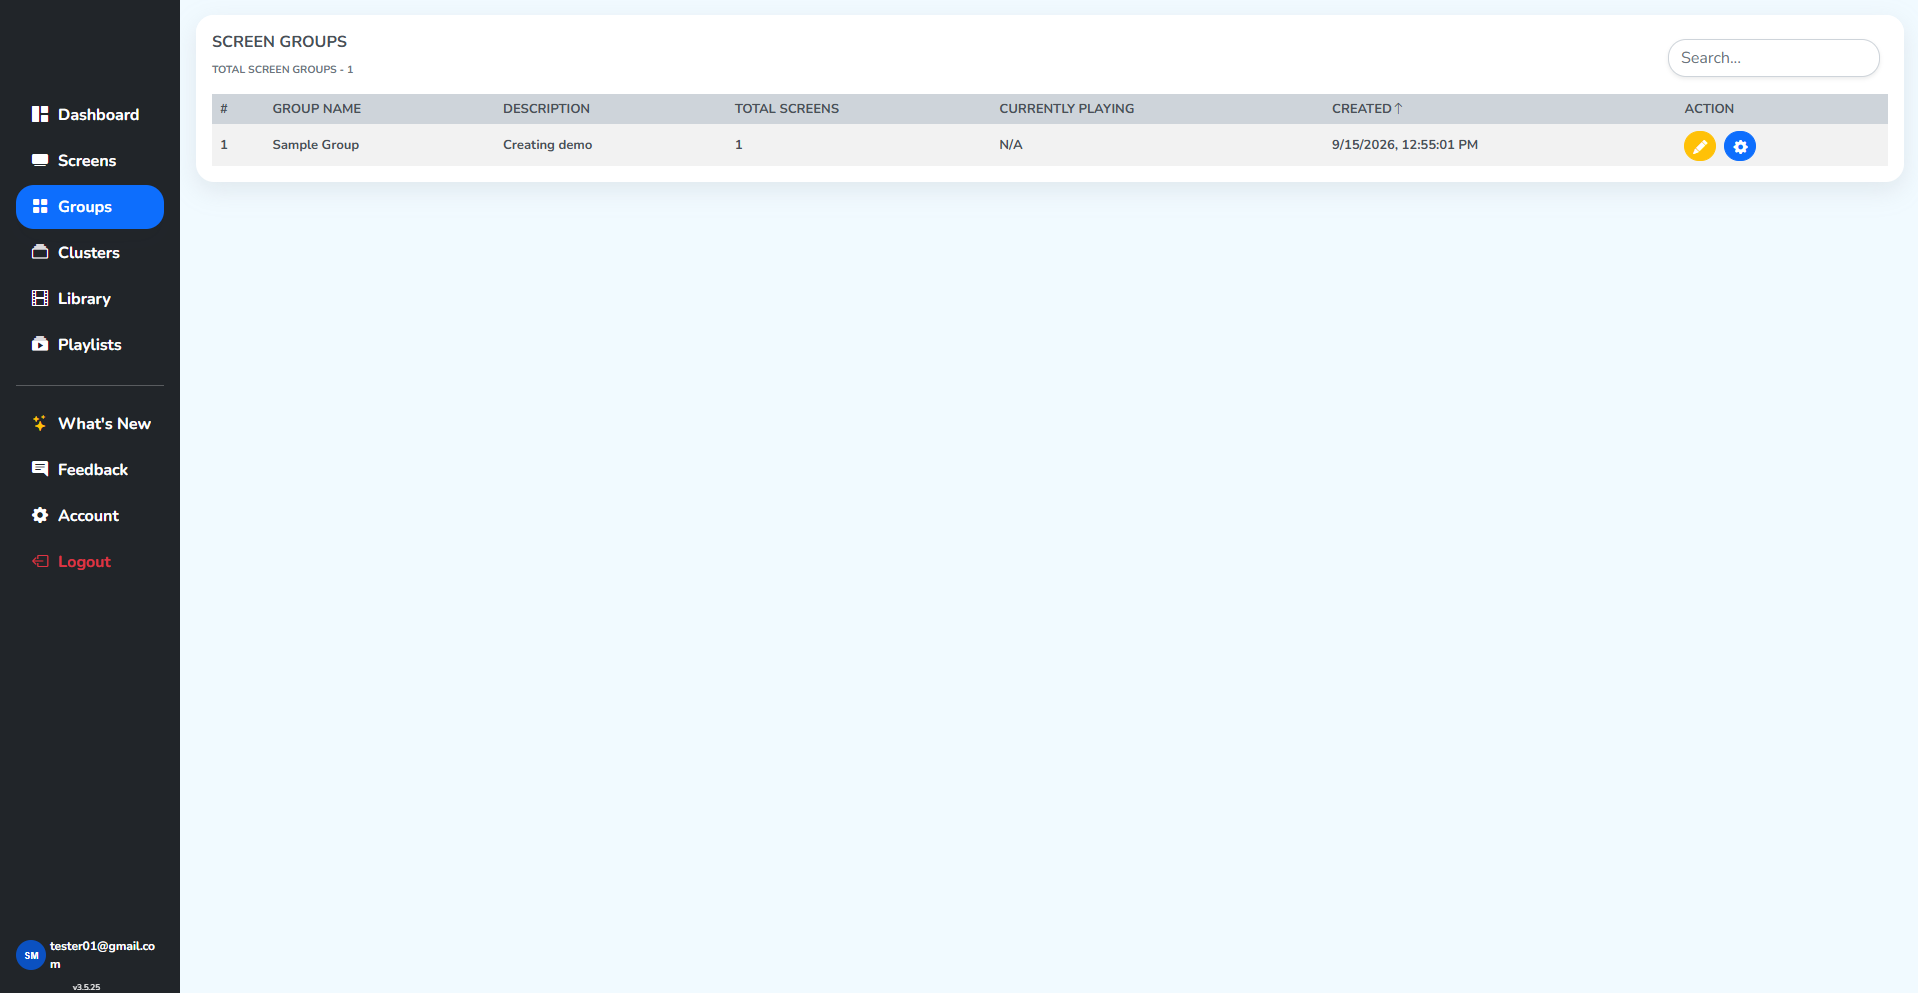
Maker-Checker permission
- The only playlist inside
Sample Groupsits further in, underSample Subgroup; see Locating your playlist for finding a playlist inside a folder.
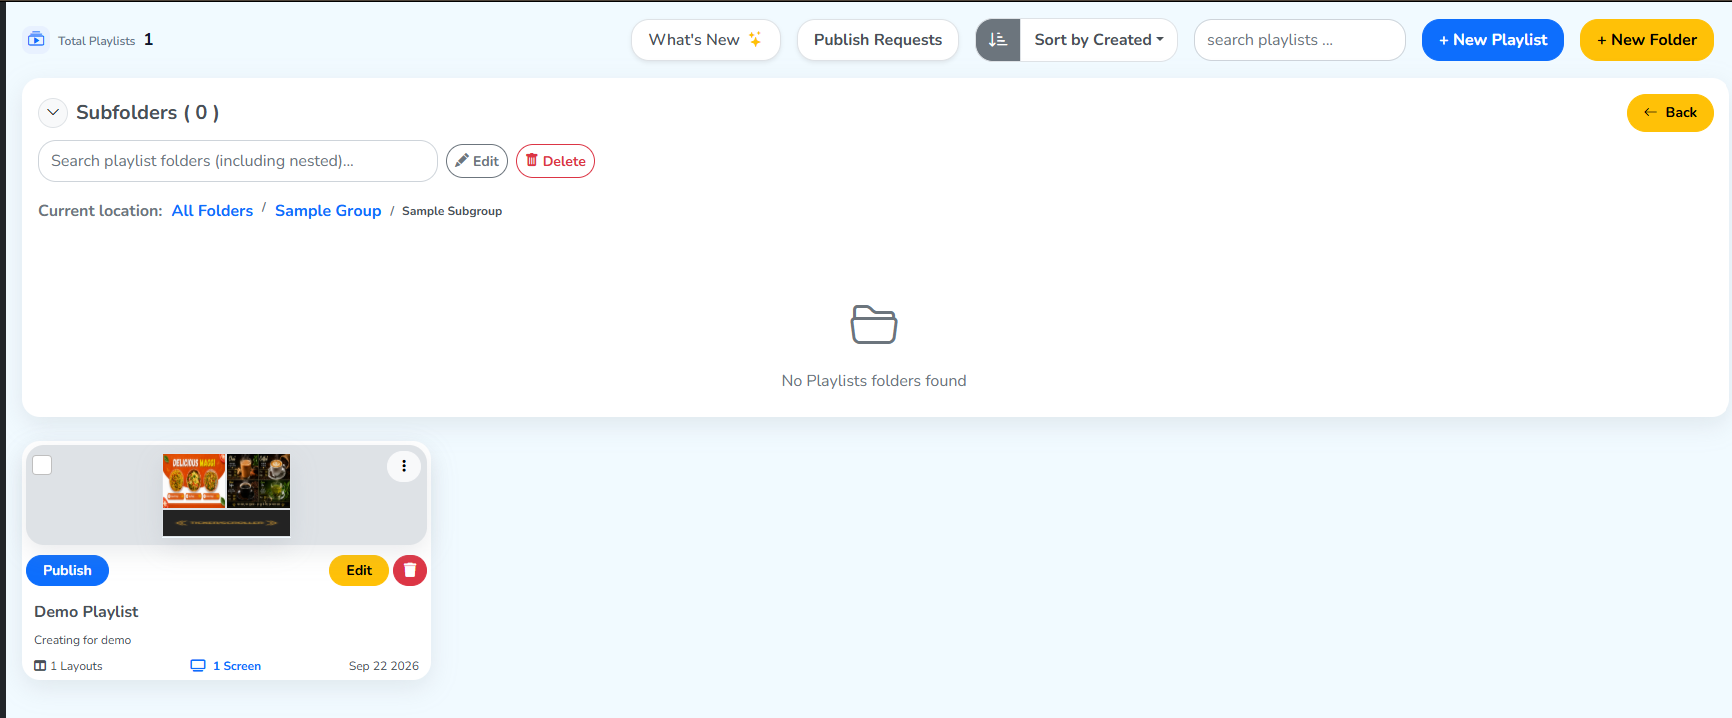
- Trying to publish this playlist now, on a screen newly paired to this account.
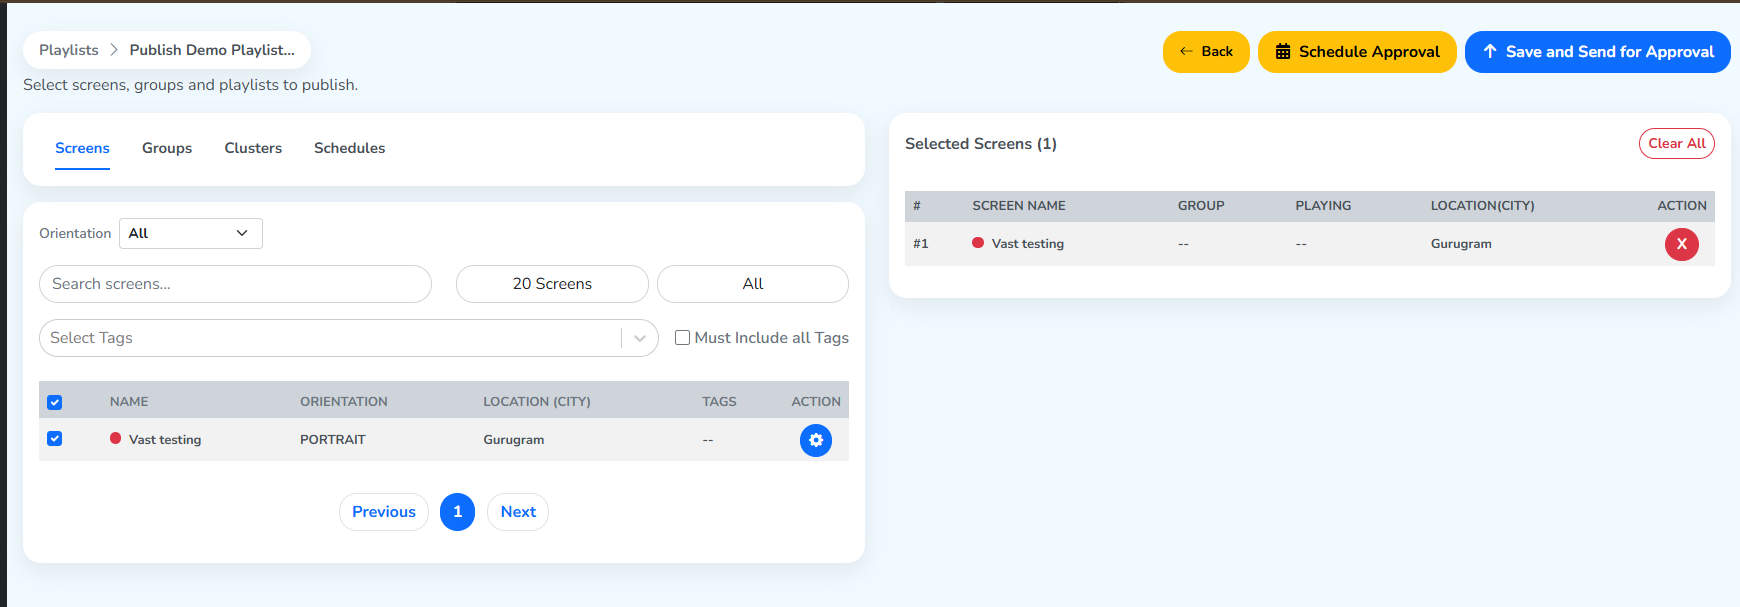 New paired screenMake a publish request
- Clicking
Save and Send for Approvalsends the request. This is the panel the maker, the new user, sees right after.

- This role reports to Owner, so the same request also shows up on the Owner’s account - under
Publish Requestsin thePlaylistssection, now carrying the greenApproveaction.
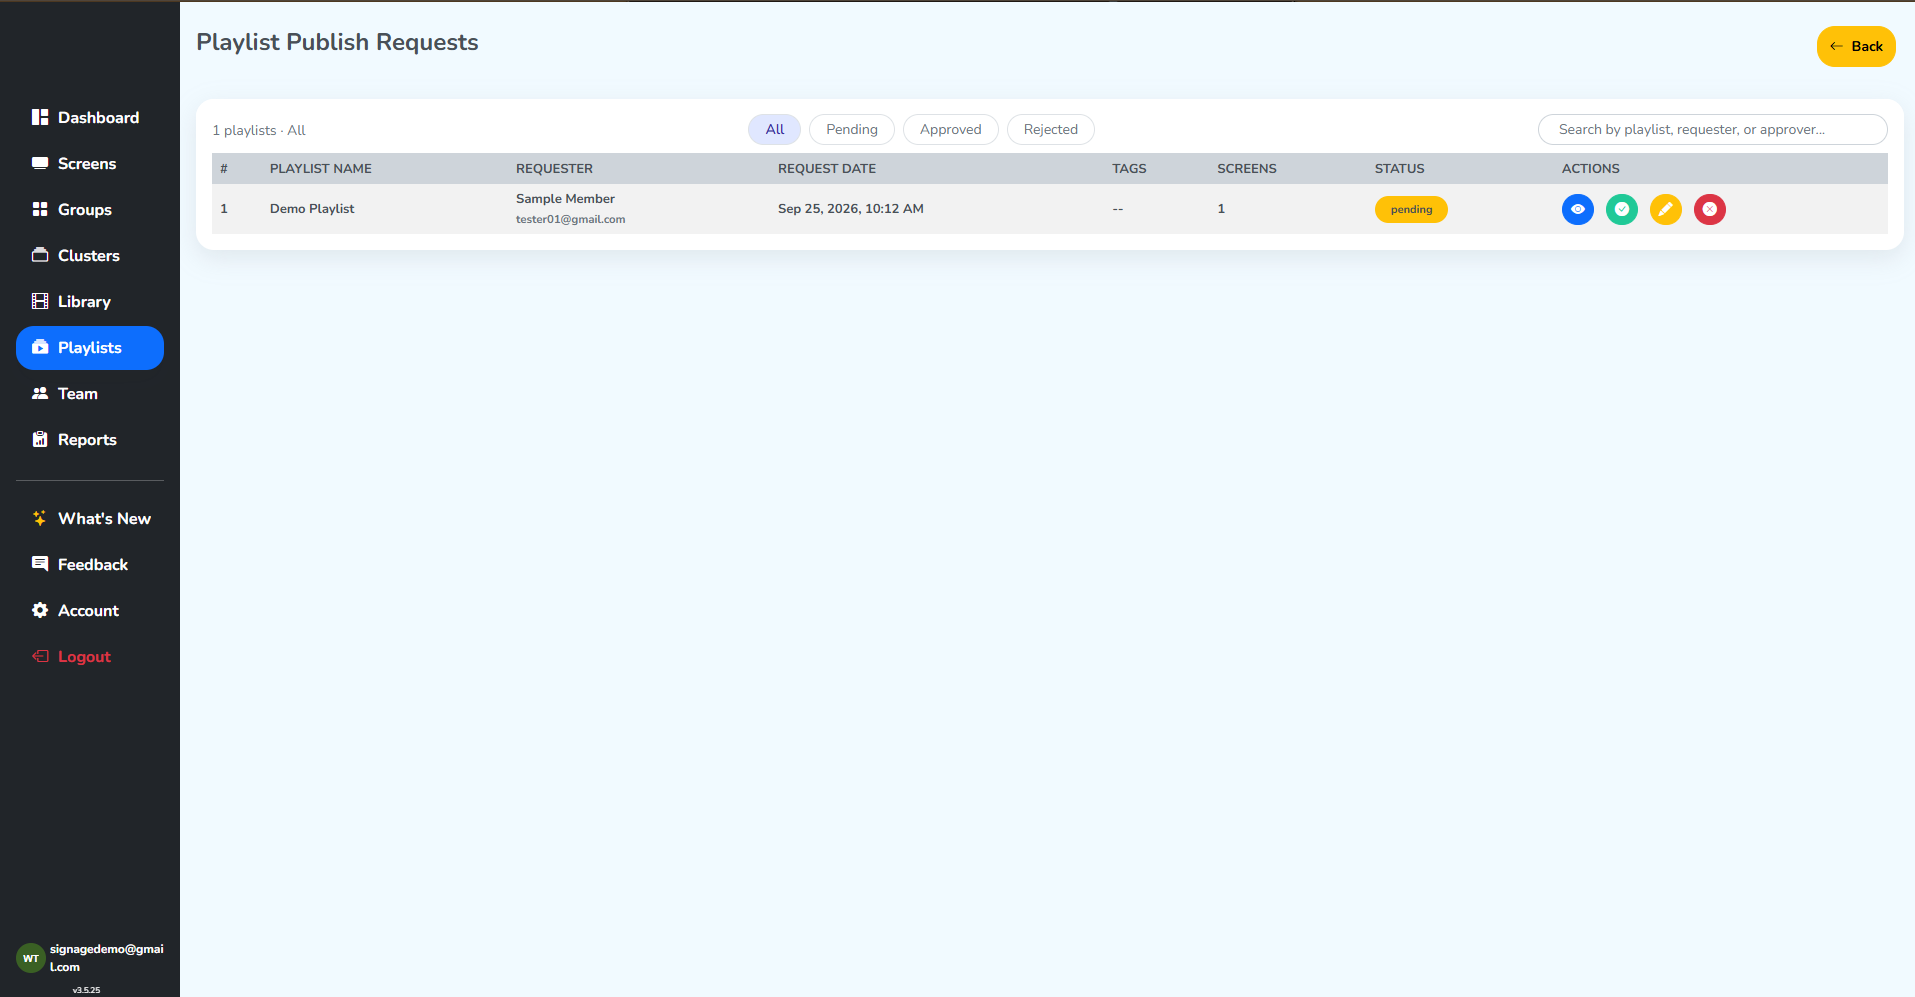 Approve