Customize your playlist
We’d exited the sample playlist created in Create a new playlist. Let’s understand every option you encounter while customizing a playlist through it.
Using the search bar finds the playlist.
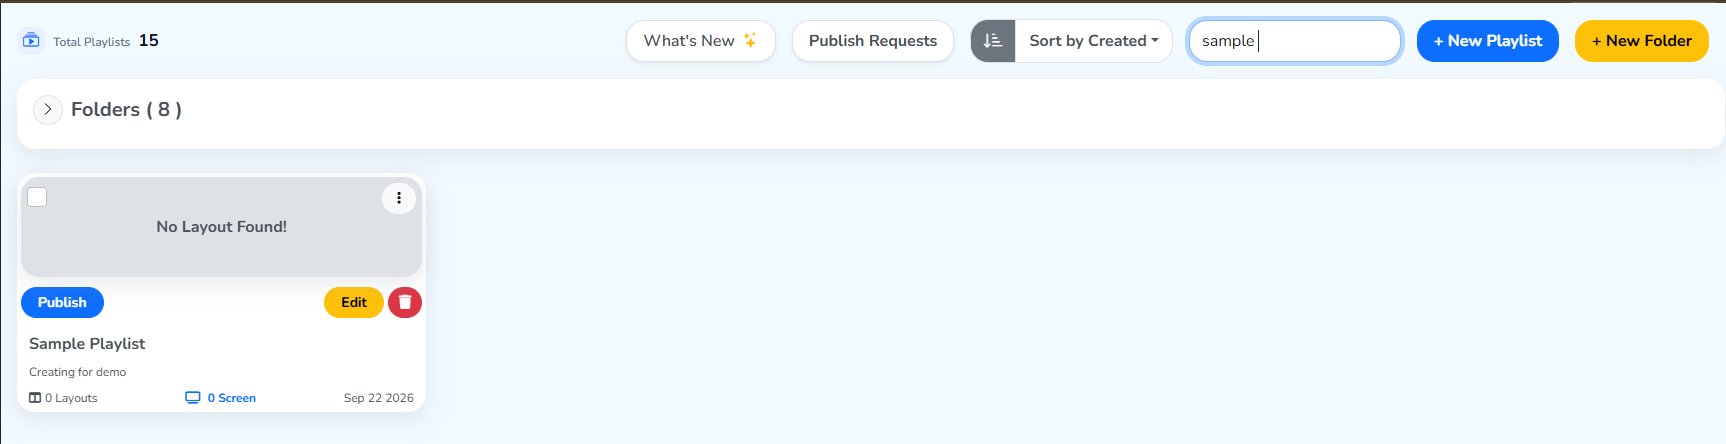
Clicking Edit opens it back in the customizing panel.
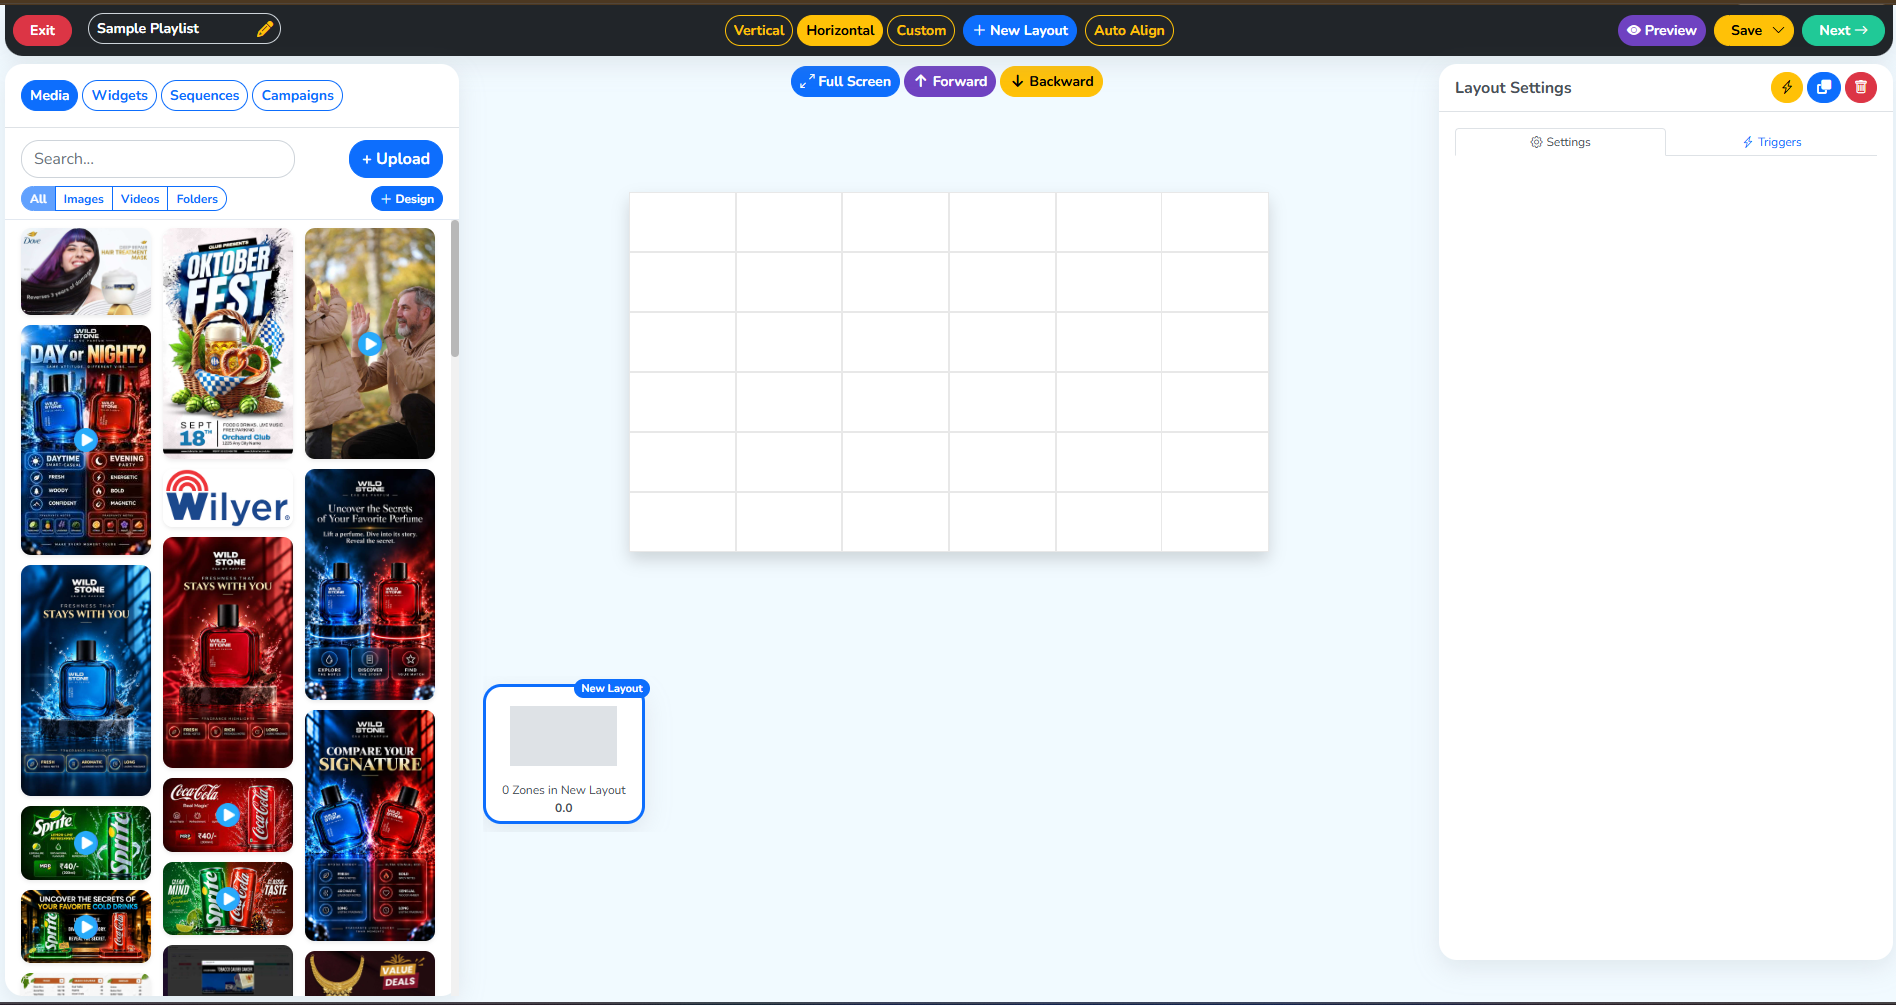
Now we’ll discuss this panel.
Starting with a media file
Media lists every file uploaded to the Library, all files, images and videos, and the Library’s folders too, tabs below Search.. under Media on the left.
+ Upload, beside the search bar, opens your computer’s file browser to select files and upload them directly here. They appear in the Library too.
+ Design, beside the file-type tabs, opens the same PosterMyWall design editor that Create Design opens from the Library.
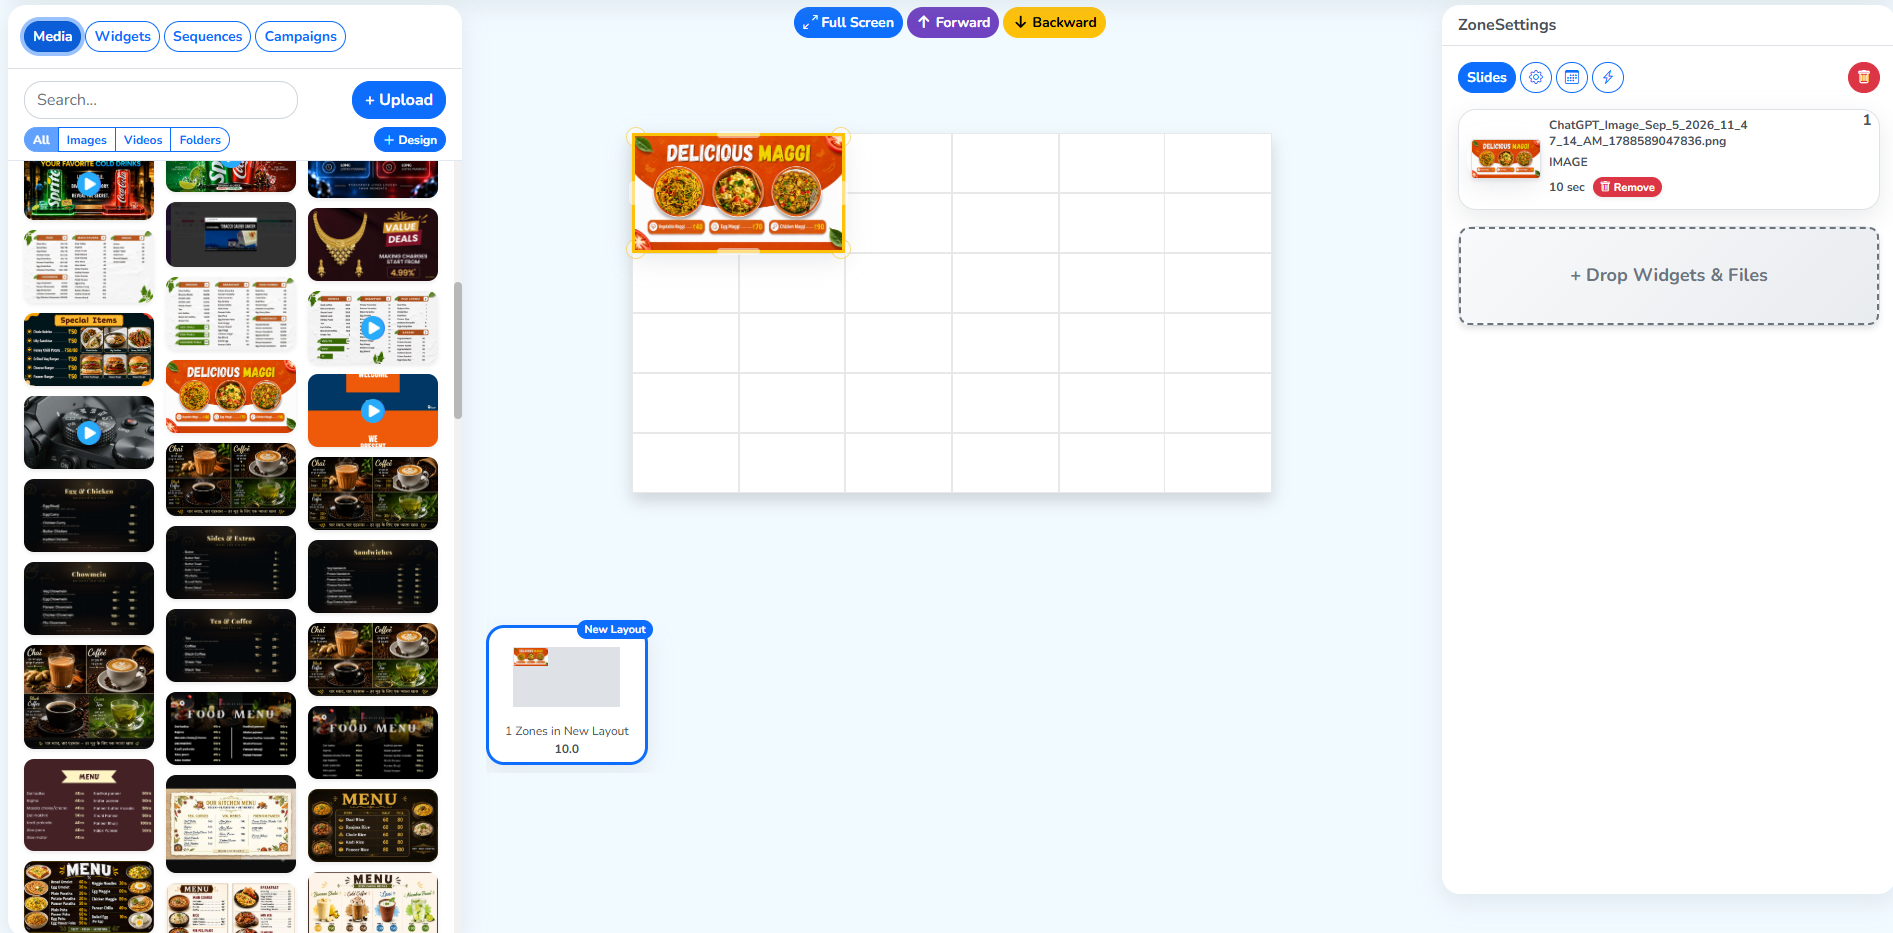
This is the file we selected in the grid, and it’s placed on the layout here.
File we selectedThe blank grid is one layout. Each file placed on it takes one zone. Two files placed take two zones and so on.
1 layout, 1 zoneThe bin beside the uploaded file removes just that file from the layout. The bin above it removes every change made to this layout.
Remove this fileRemove all layout changesFull Screen expands to cover the full layout.
Cover the full layoutThe layout toolbar
Horizontal sets the canvas to landscape.
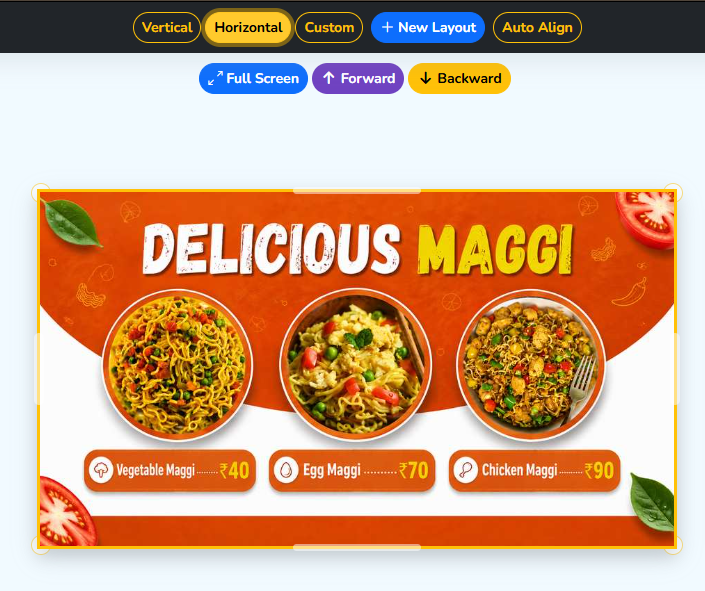
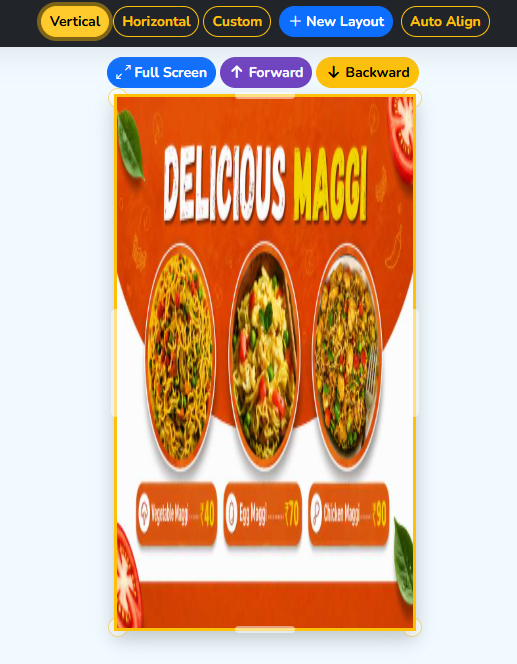
Vertical sets the canvas to portrait.
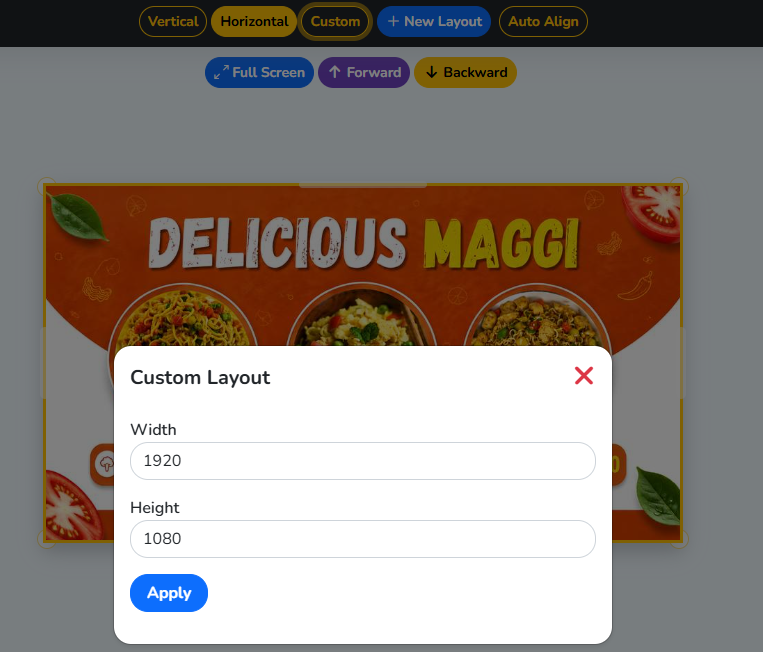
Custom opens a panel to set the canvas to any width and height you choose.
+ New Layout adds another blank grid. The tiles below now show two layouts.
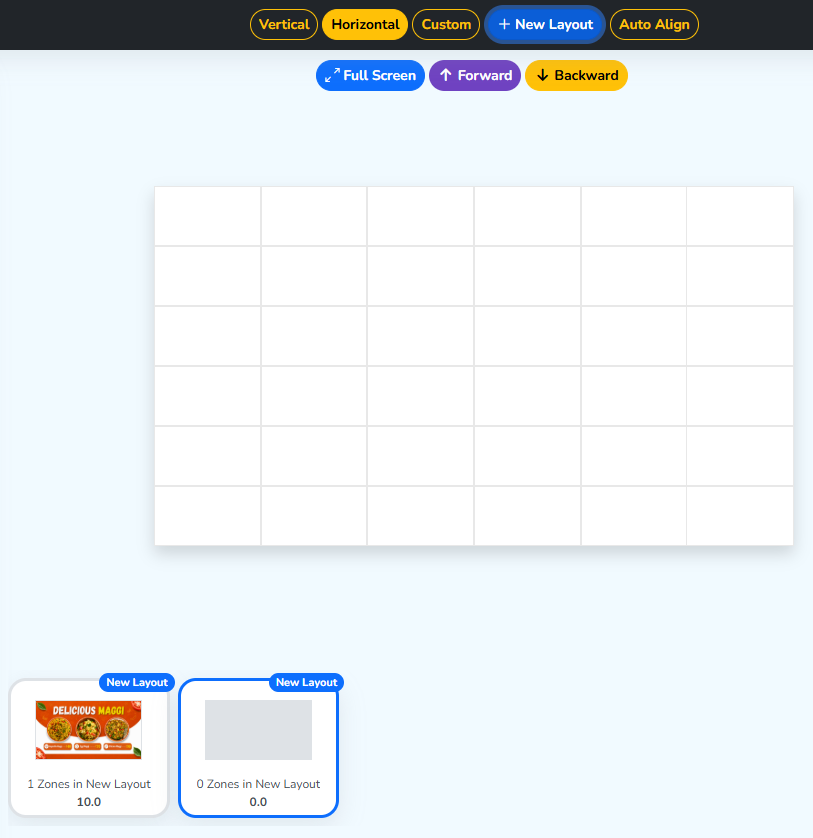 Two layouts now
With Auto Align off, a file’s boundary can sit anywhere, even between grid lines, not aligned to them.
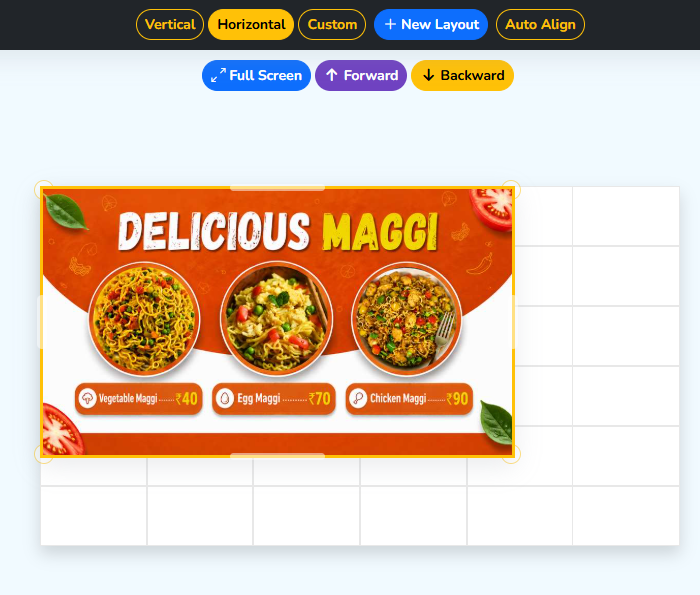
Turning Auto Align on snaps a file’s boundary to the nearest grid line as soon as you drag it there. Click it again to turn it off.
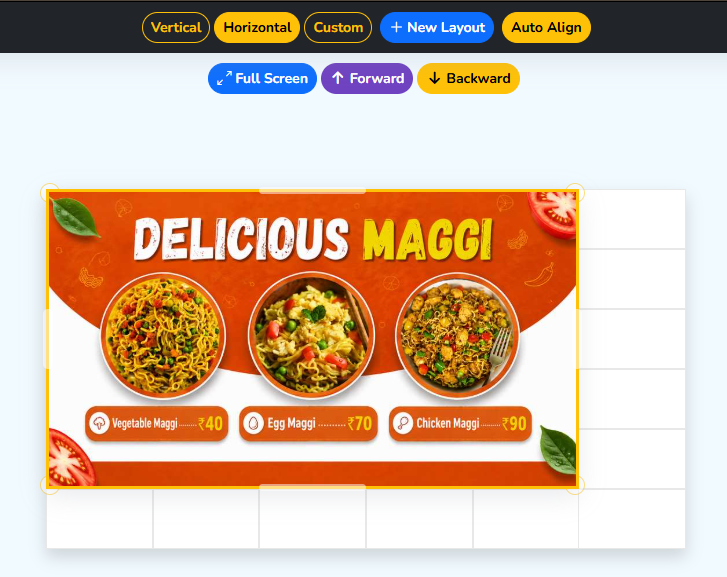
Forward and Backward
With two files placed on the grid, the second one can cover part of the first.
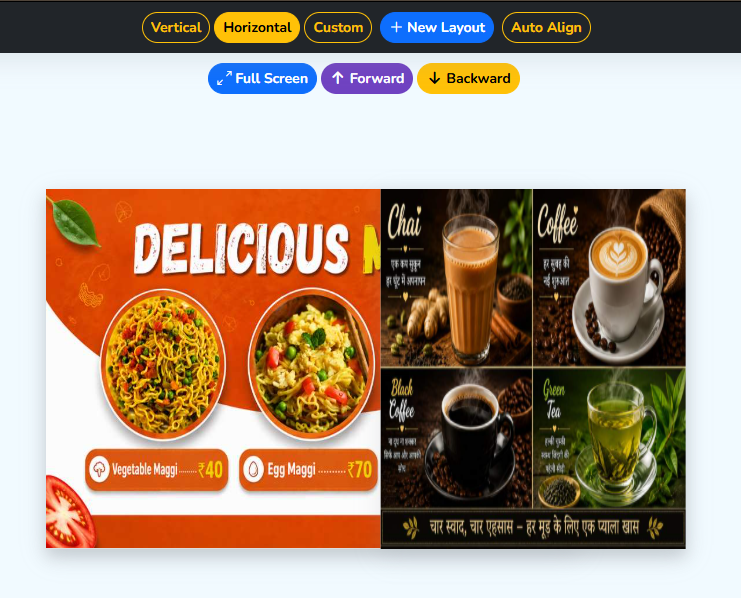
Click the covered file, then click Forward. It moves in front of the other. Click it again and choose Backward to send it back, returning to how it looked before.
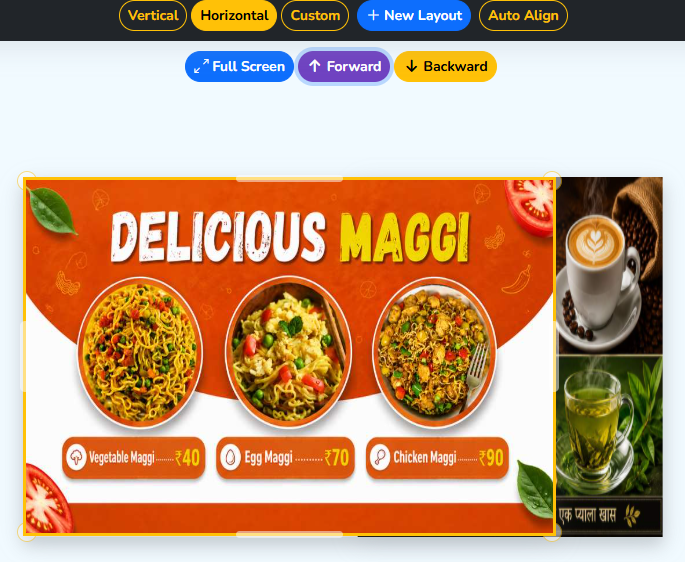 Clicked Forward for Delicious Maggi
Save a playlist
Above the canvas: We have Preview, Save, and an option to edit the playlist’s name here.
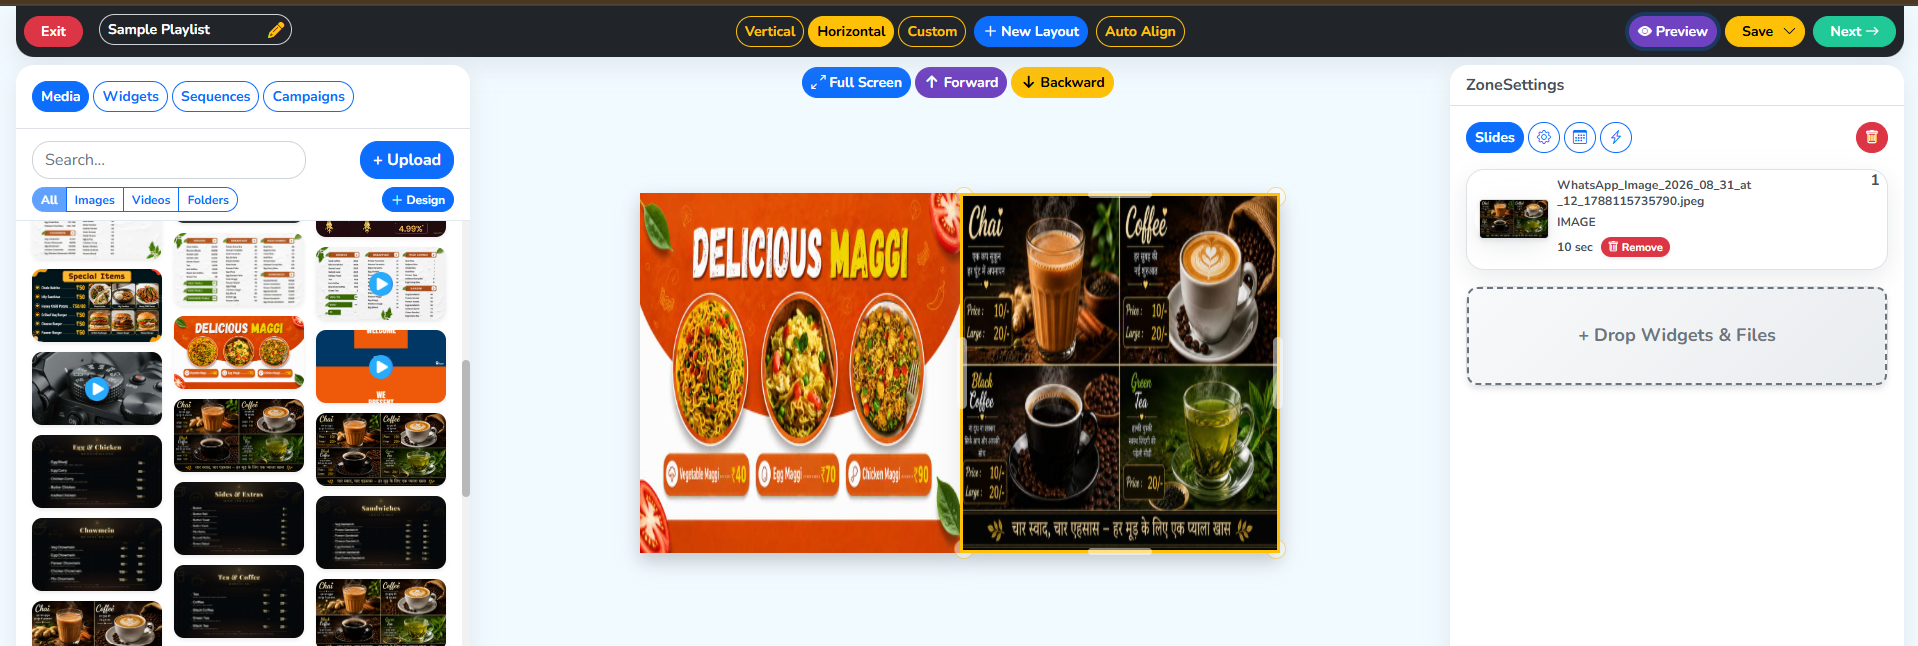
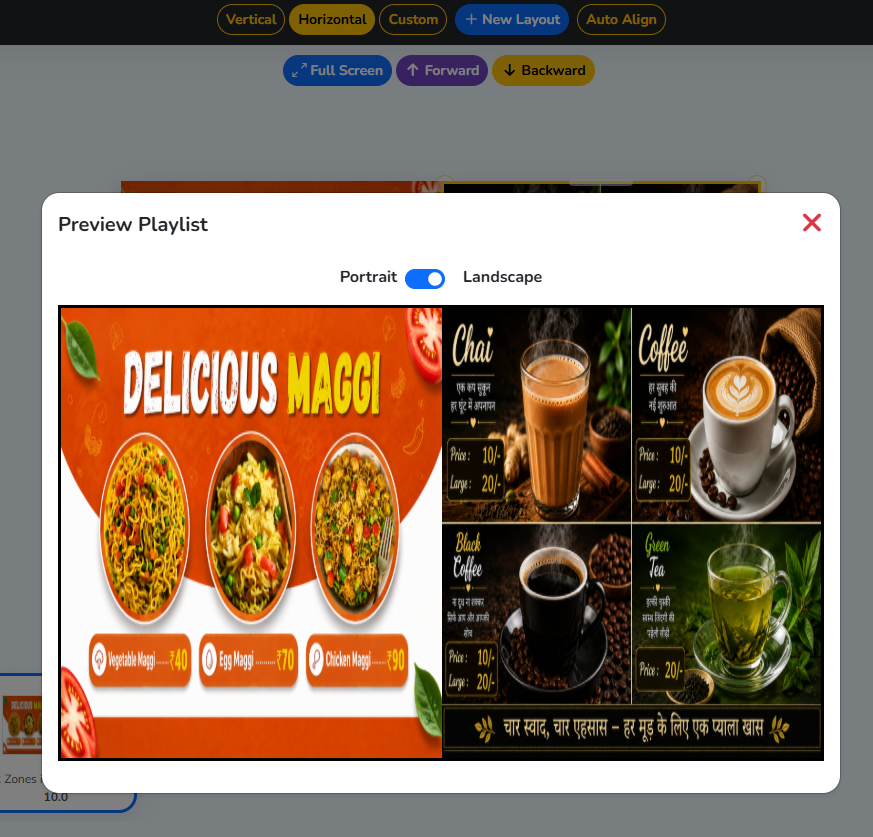
Clicking Preview opens this panel, showing how the playlist will look on the screen, fetching its content from the CMS.
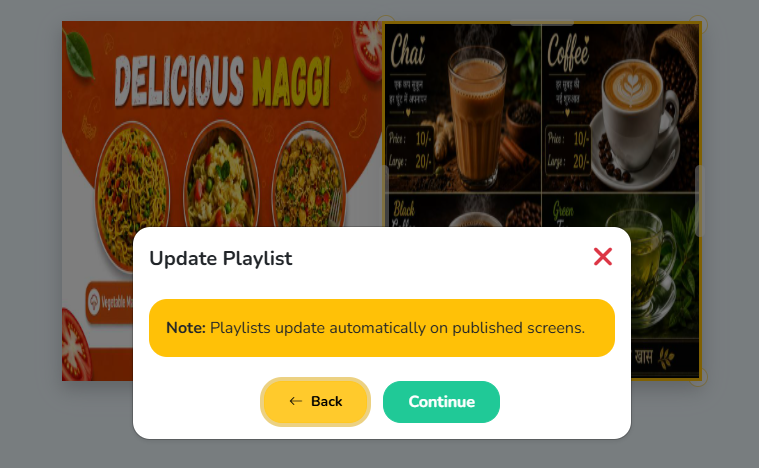
Clicking Save opens this panel. If this playlist was already playing on screens, saving it will update it on the screens too. Click Continue to proceed.
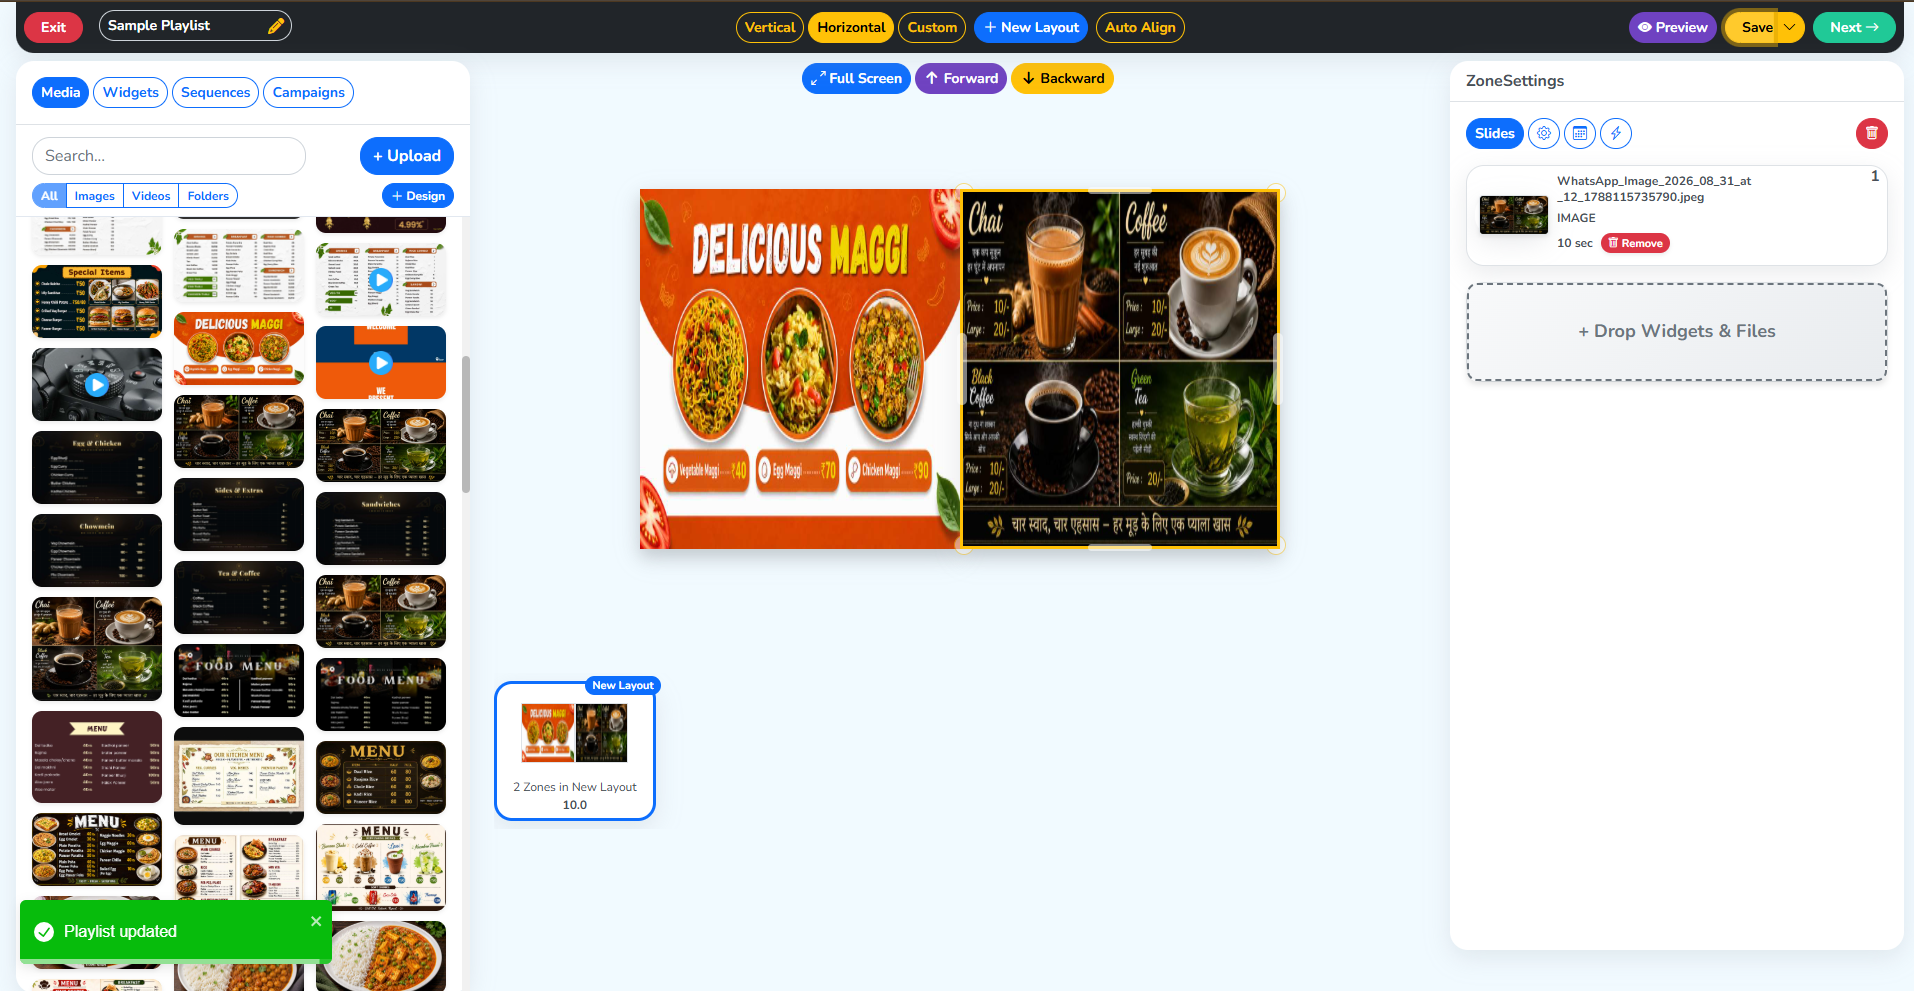
A confirmation in green appears at the bottom left.
Renaming the playlist, from Sample Playlist to Demo Playlist:
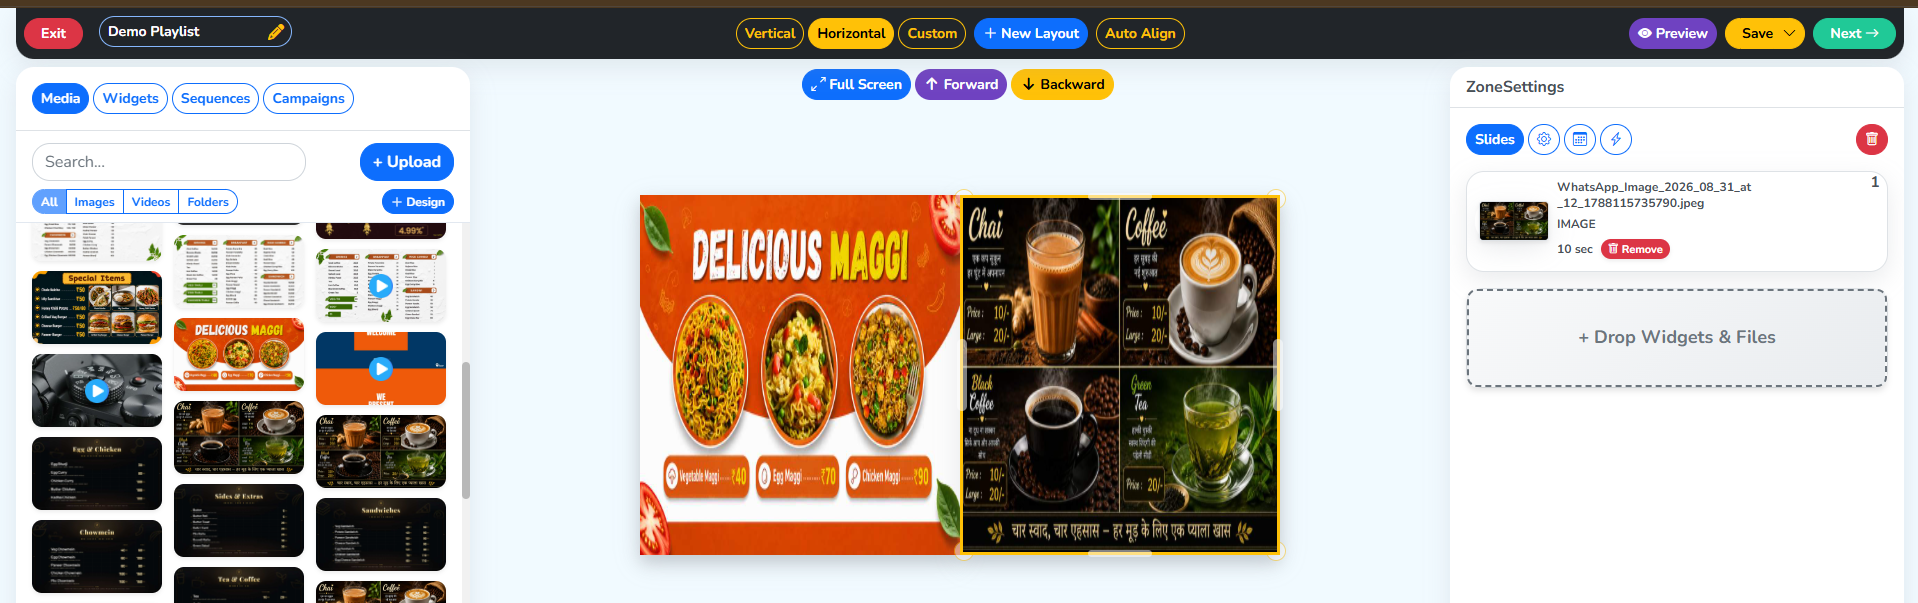
Renaming works only once the playlist also has some content to save.
Clicking Save again updates the name.
Locating your playlist
Back to the Playlists page. Searching for Demo Playlist finds it.
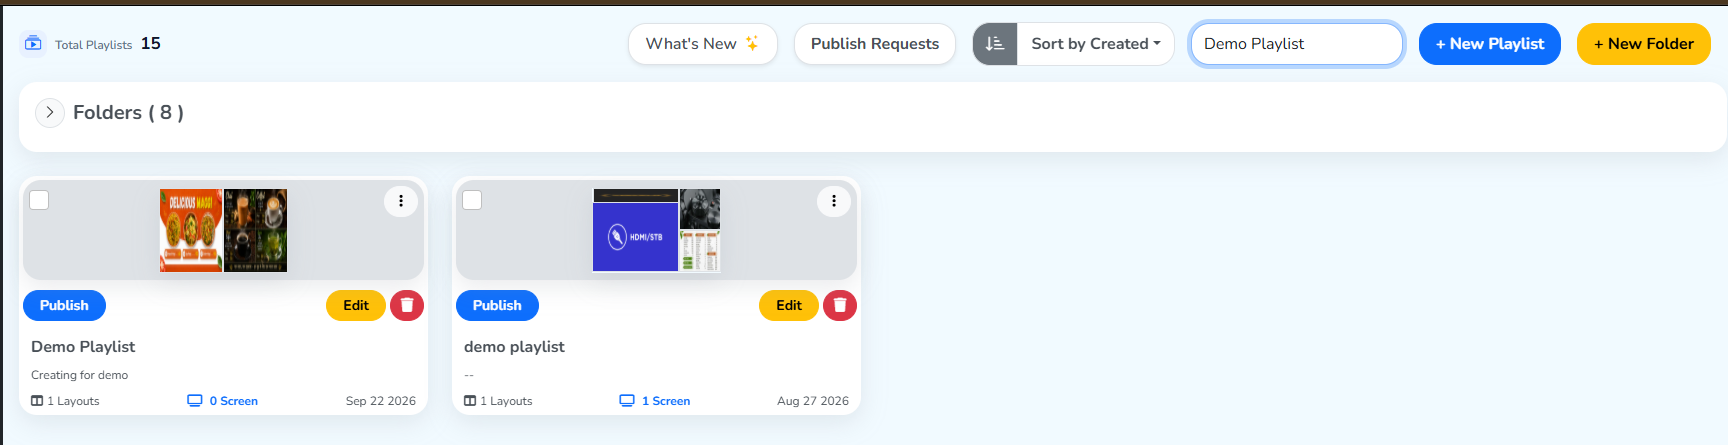 The playlist we created
We had created this playlist inside a group, check Create a new playlist. We need to locate it inside its folder, Sample Group shows it holds one playlist.
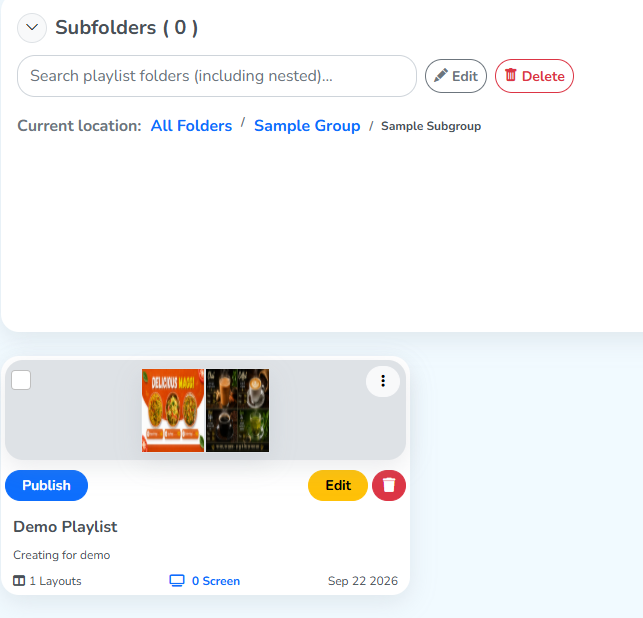
A playlist created inside a folder, like this one inside Sample Group, lives there. Find it by opening that folder, or by searching. The Playlists page’s main list shows only the root path and the playlists created there.
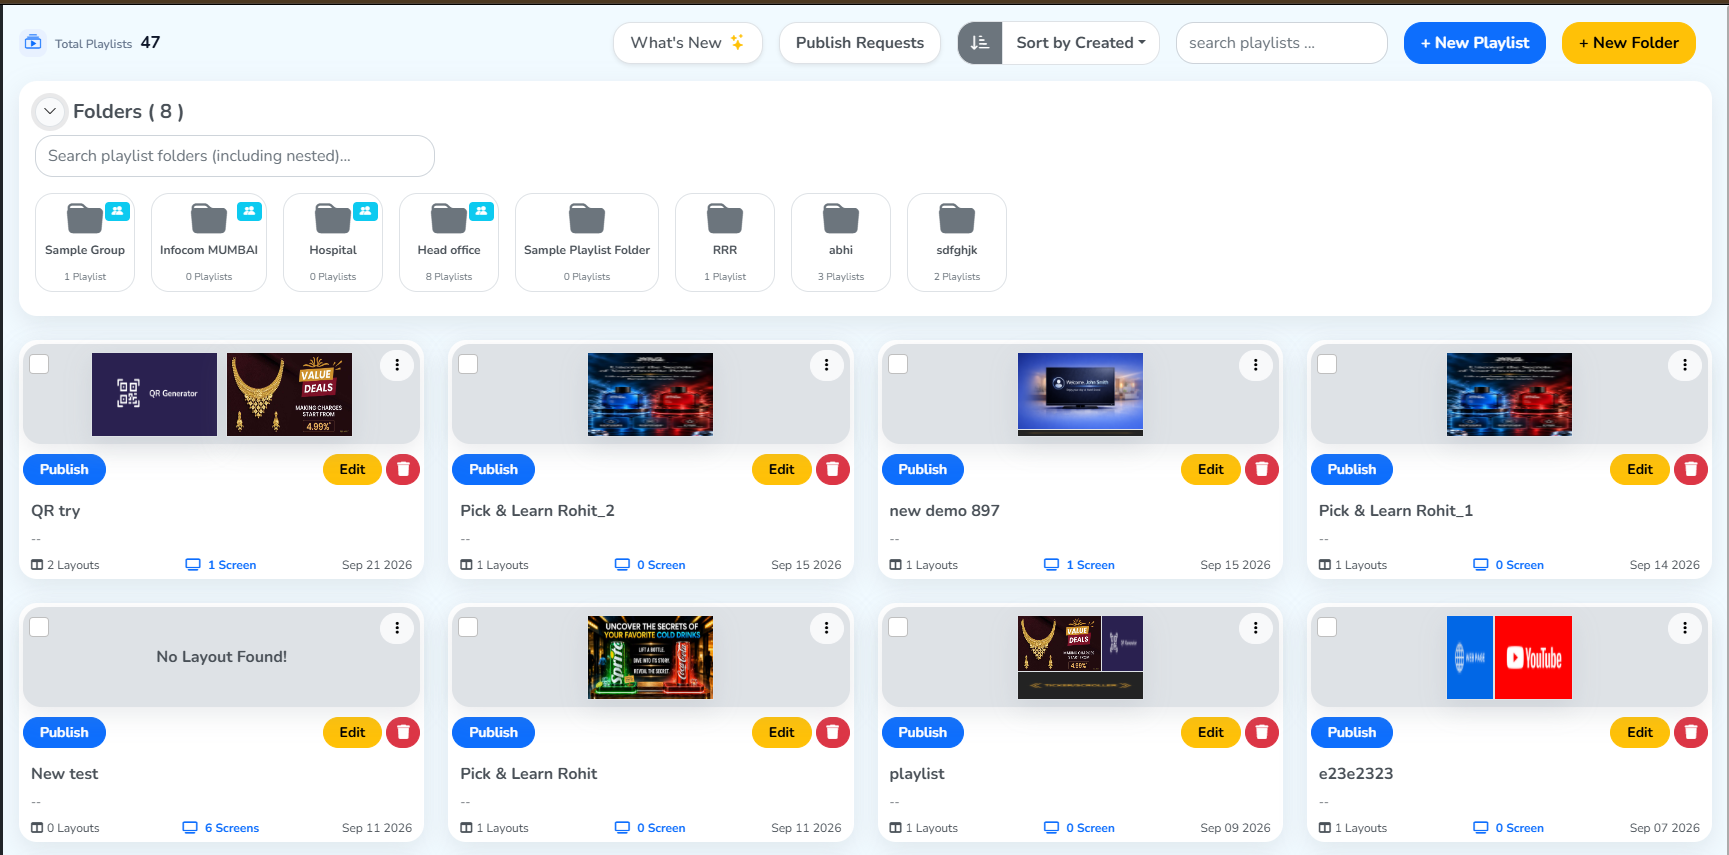 It shows 1 playlist
We’ll find it where we chose to save it, in
Publish your playlist
Don’t forget to save first. Then click Next at the top right to publish the playlist to a screen.
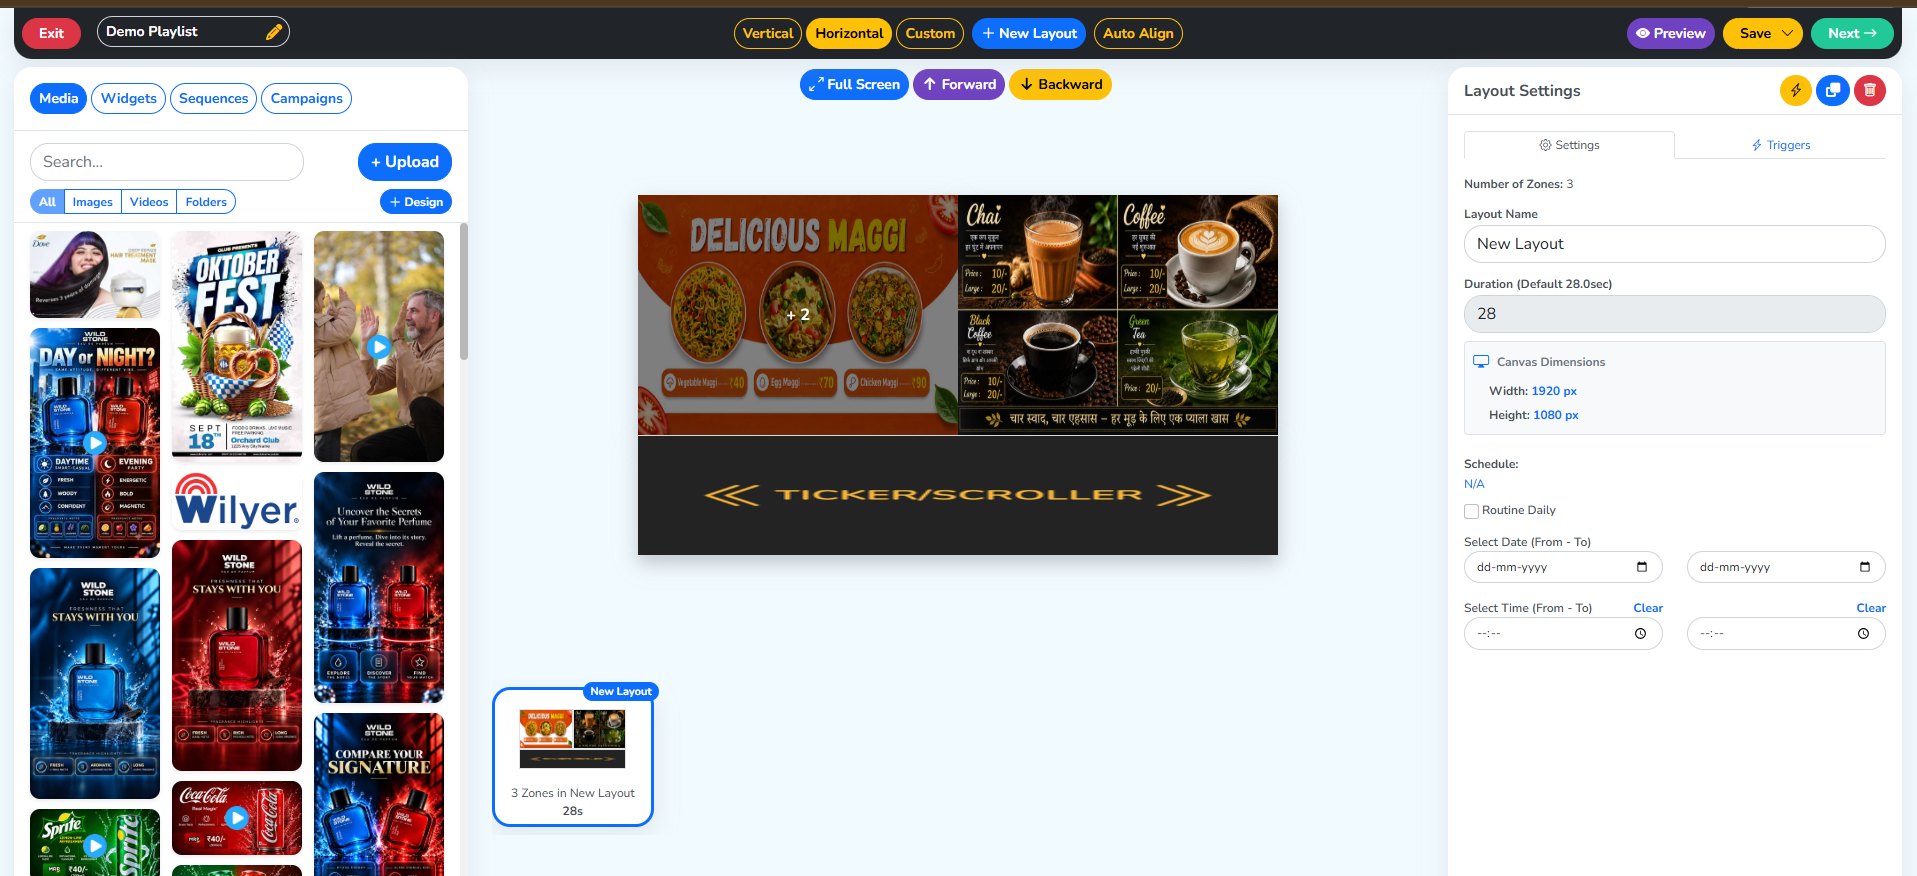
Select screens at the next step. Here, Sample Screen is selected.
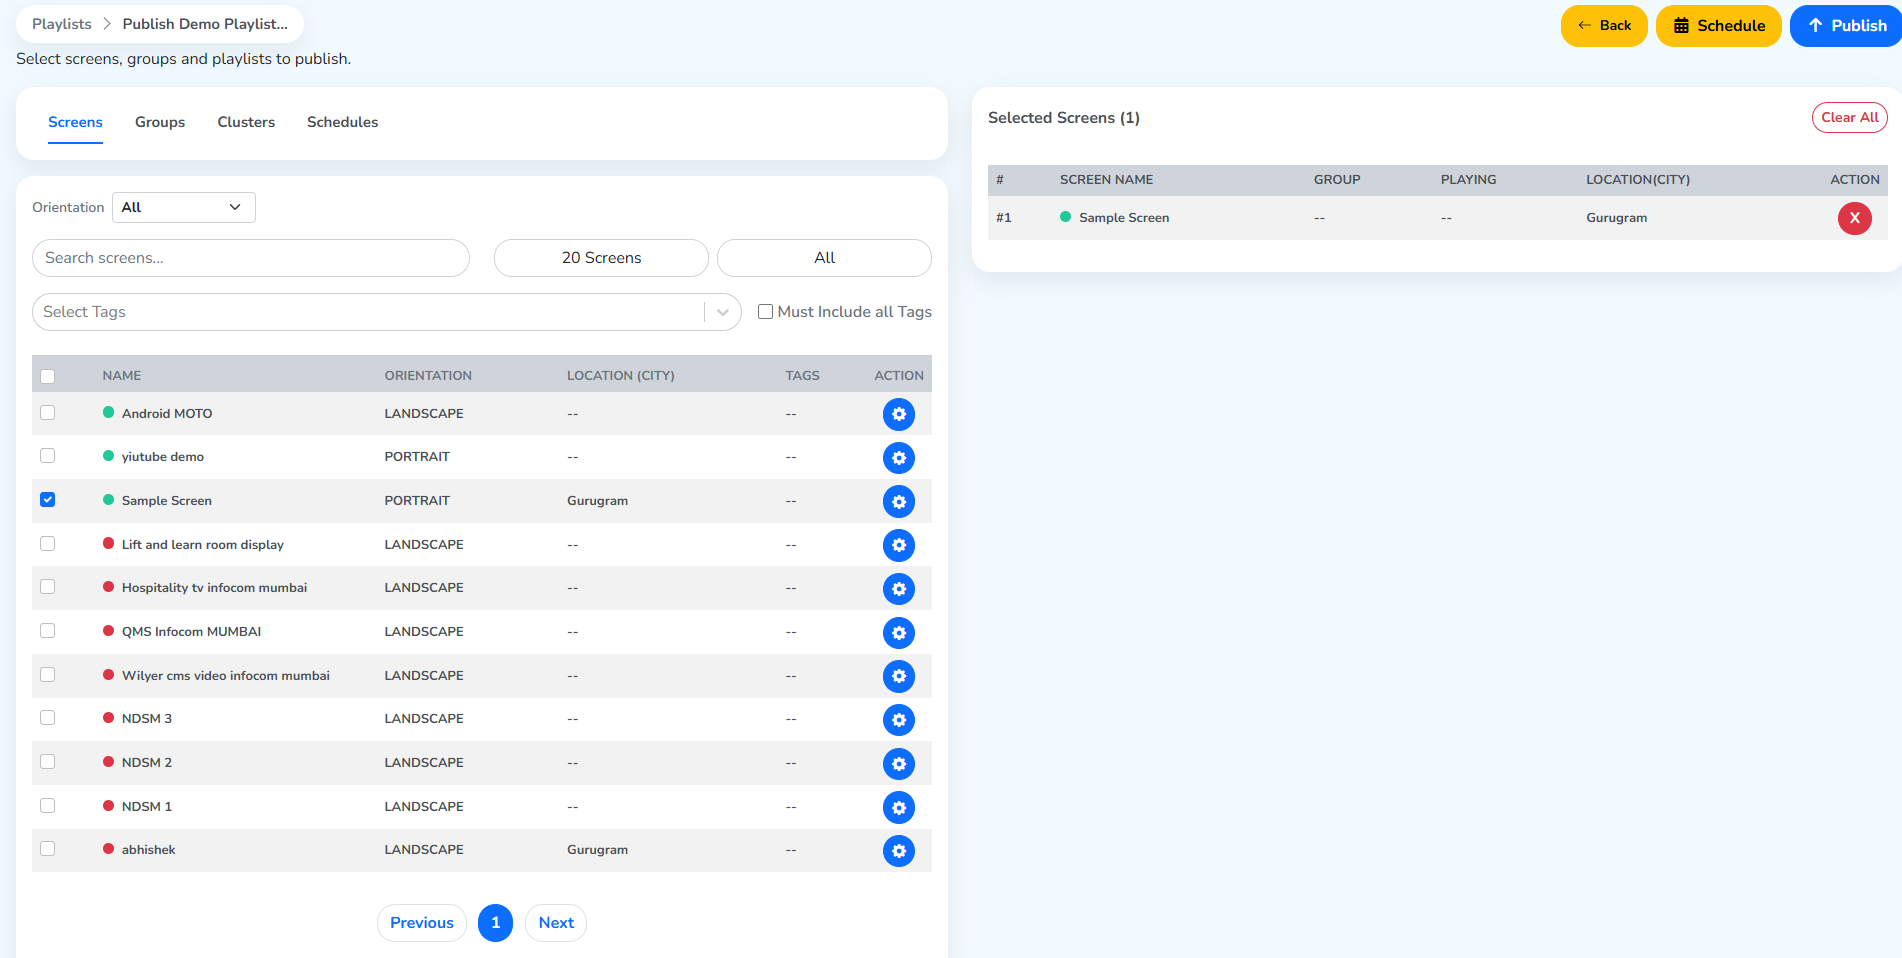 Sample Screen selected
You get the Schedule option here again, giving the entire playlist a date and time when it plays with highest priority.
Click Publish, and your playlist is published to it.
If this playlist was already playing on a screen, saving it updates that screen automatically.
The options beside Media, in the left, are covered in Left Panel. Layout Settings, in the right, is covered in Right Panel.