Media Options
Every media file carries five buttons of its own, Analytics, Edit, Variants (for videos), Publish and Delete, plus a checkbox and a three-dot menu on the tile itself. This document takes each one in depth.
The file
Every tile carries its file name, its type, its size and the number of screens it is currently playing on.
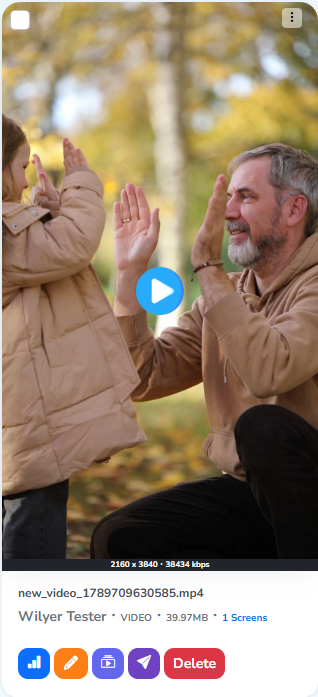 File nameType, size and screens it's on
The Media Options
Every icon below is clickable, and each one is explained further down this page.

Analytics
Analytics opens the same page a publish’s Files → View details reaches, with its four reports: Playback Reports, Delivery Report, Target Screens and Publish History.
Edit
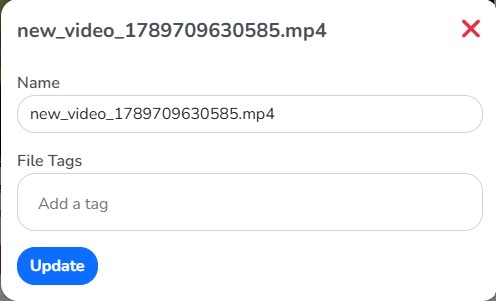
Edit opens a panel with the media’s Name and File Tags. Update saves the change.
Variants
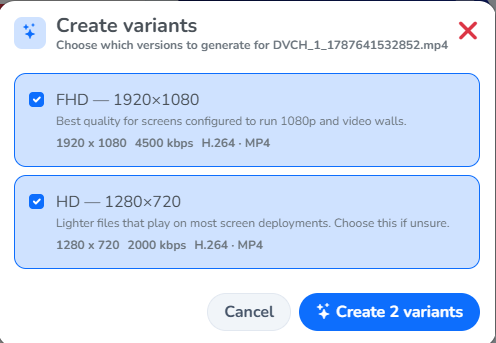
Variants is for videos. A variant is a copy of the same video, re-encoded at a set resolution and bit rate, so screens can play the version that suits them.
Clicking it opens every resolution this video has room for, each with its bitrate and format. Tick the ones you want and Create N variants builds them.
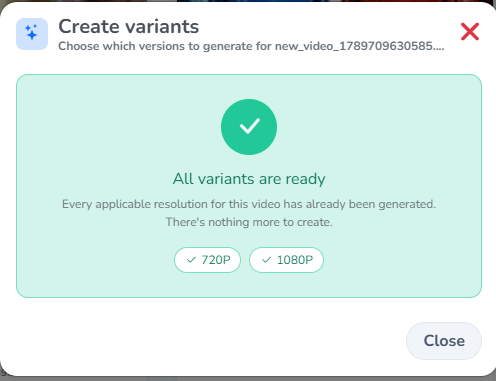
Once every applicable resolution is already generated, the panel shows them as ready, with nothing left to create.
Publish
Publish opens the publish page for that one media, where you drag files from the right and drop them in the left Active Media section and set how long each one plays. Select Screens in the top right carries you to the next step, where you choose the screens that receive it.
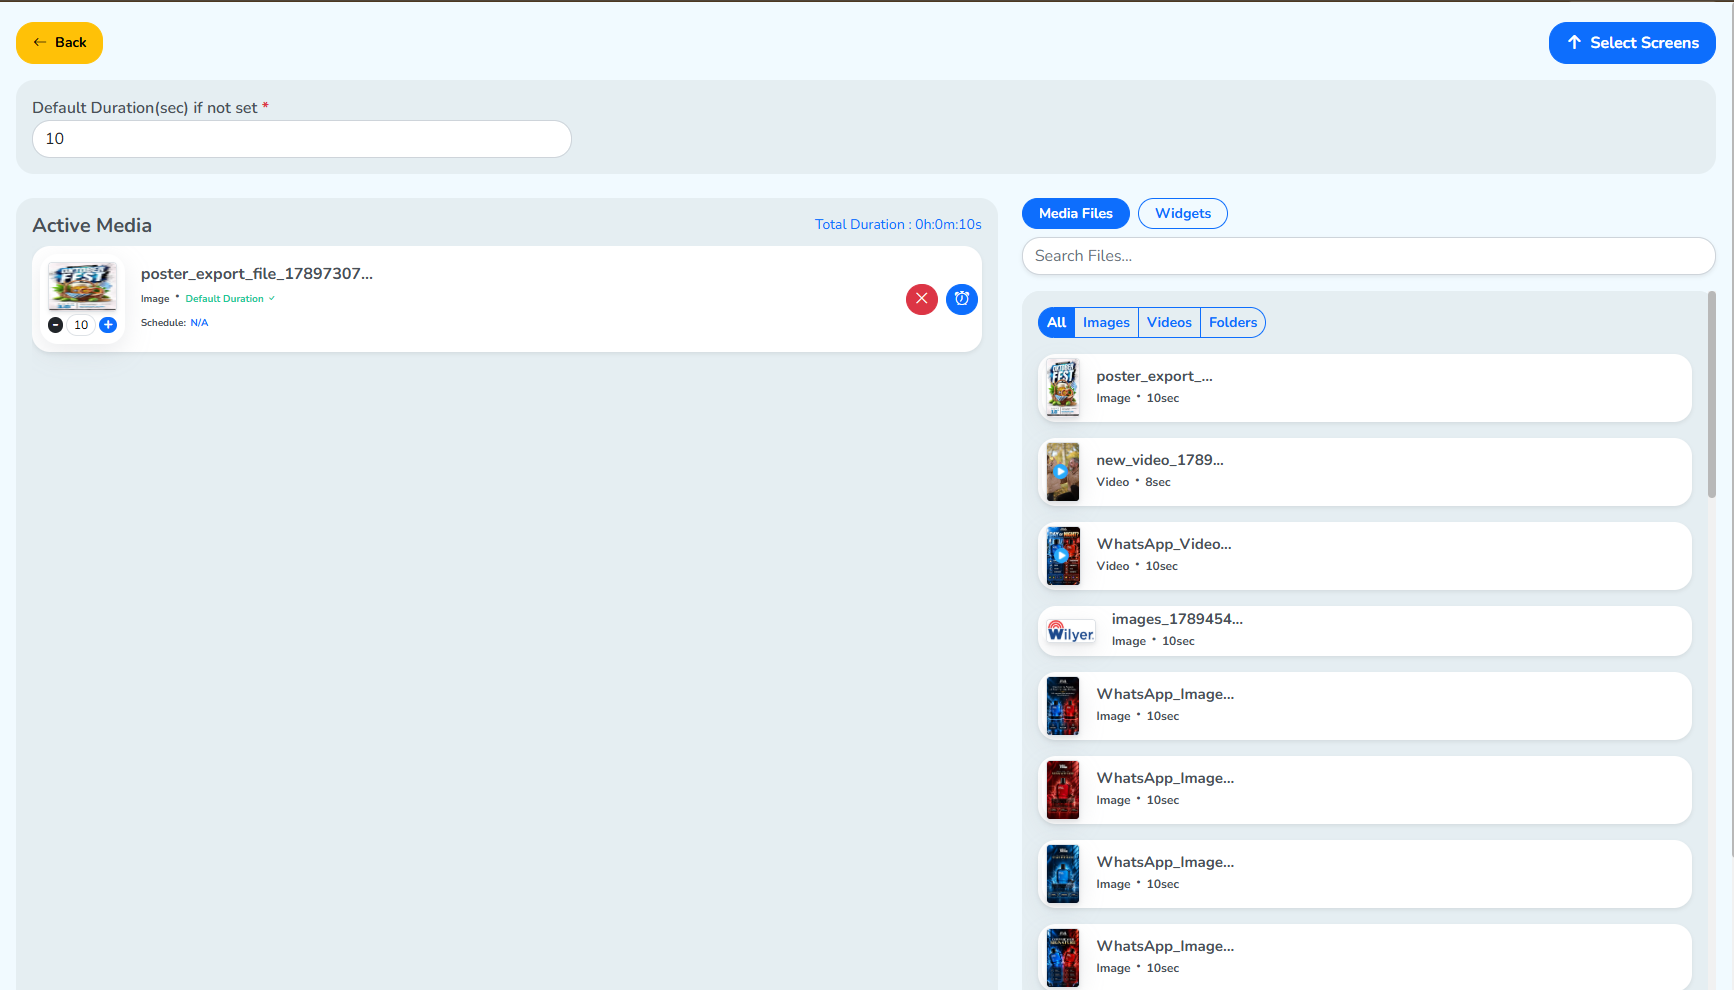 Choose screens for this publish
Delete
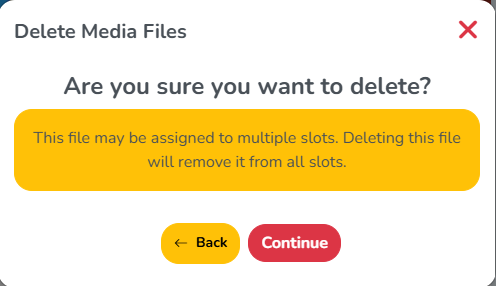
Delete removes the media from the Library for good. Because a file can sit in more than one slot, the warning says deleting it clears every slot that used it.
Replace file and selecting media
Two more controls sit on the same tile: the three dots in its corner, and the checkbox beside it.
Select file from hereReplace File lives hereSelecting Media covers what opens once a checkbox is ticked, and Replace File covers the three dots.