Tabs
The row of tabs under Folders switches what the Library shows. This document takes each tab in depth: the screen it opens, what it holds, and what you can do there.

Media Files
Media Files is the section that opens when you click Library in the left panel. The count beside it is the total number of files uploaded to this CMS account so far, the photos and the videos together.
Widgets
Widgets carries its own count as well. A widget displays content in a style of its own, like the moving text that runs along the bottom of a news channel. Widgets covers the different widget types in depth.
The tab opens on a card for each widget type, with the number of widgets built from that type. The search finds a type by its name.
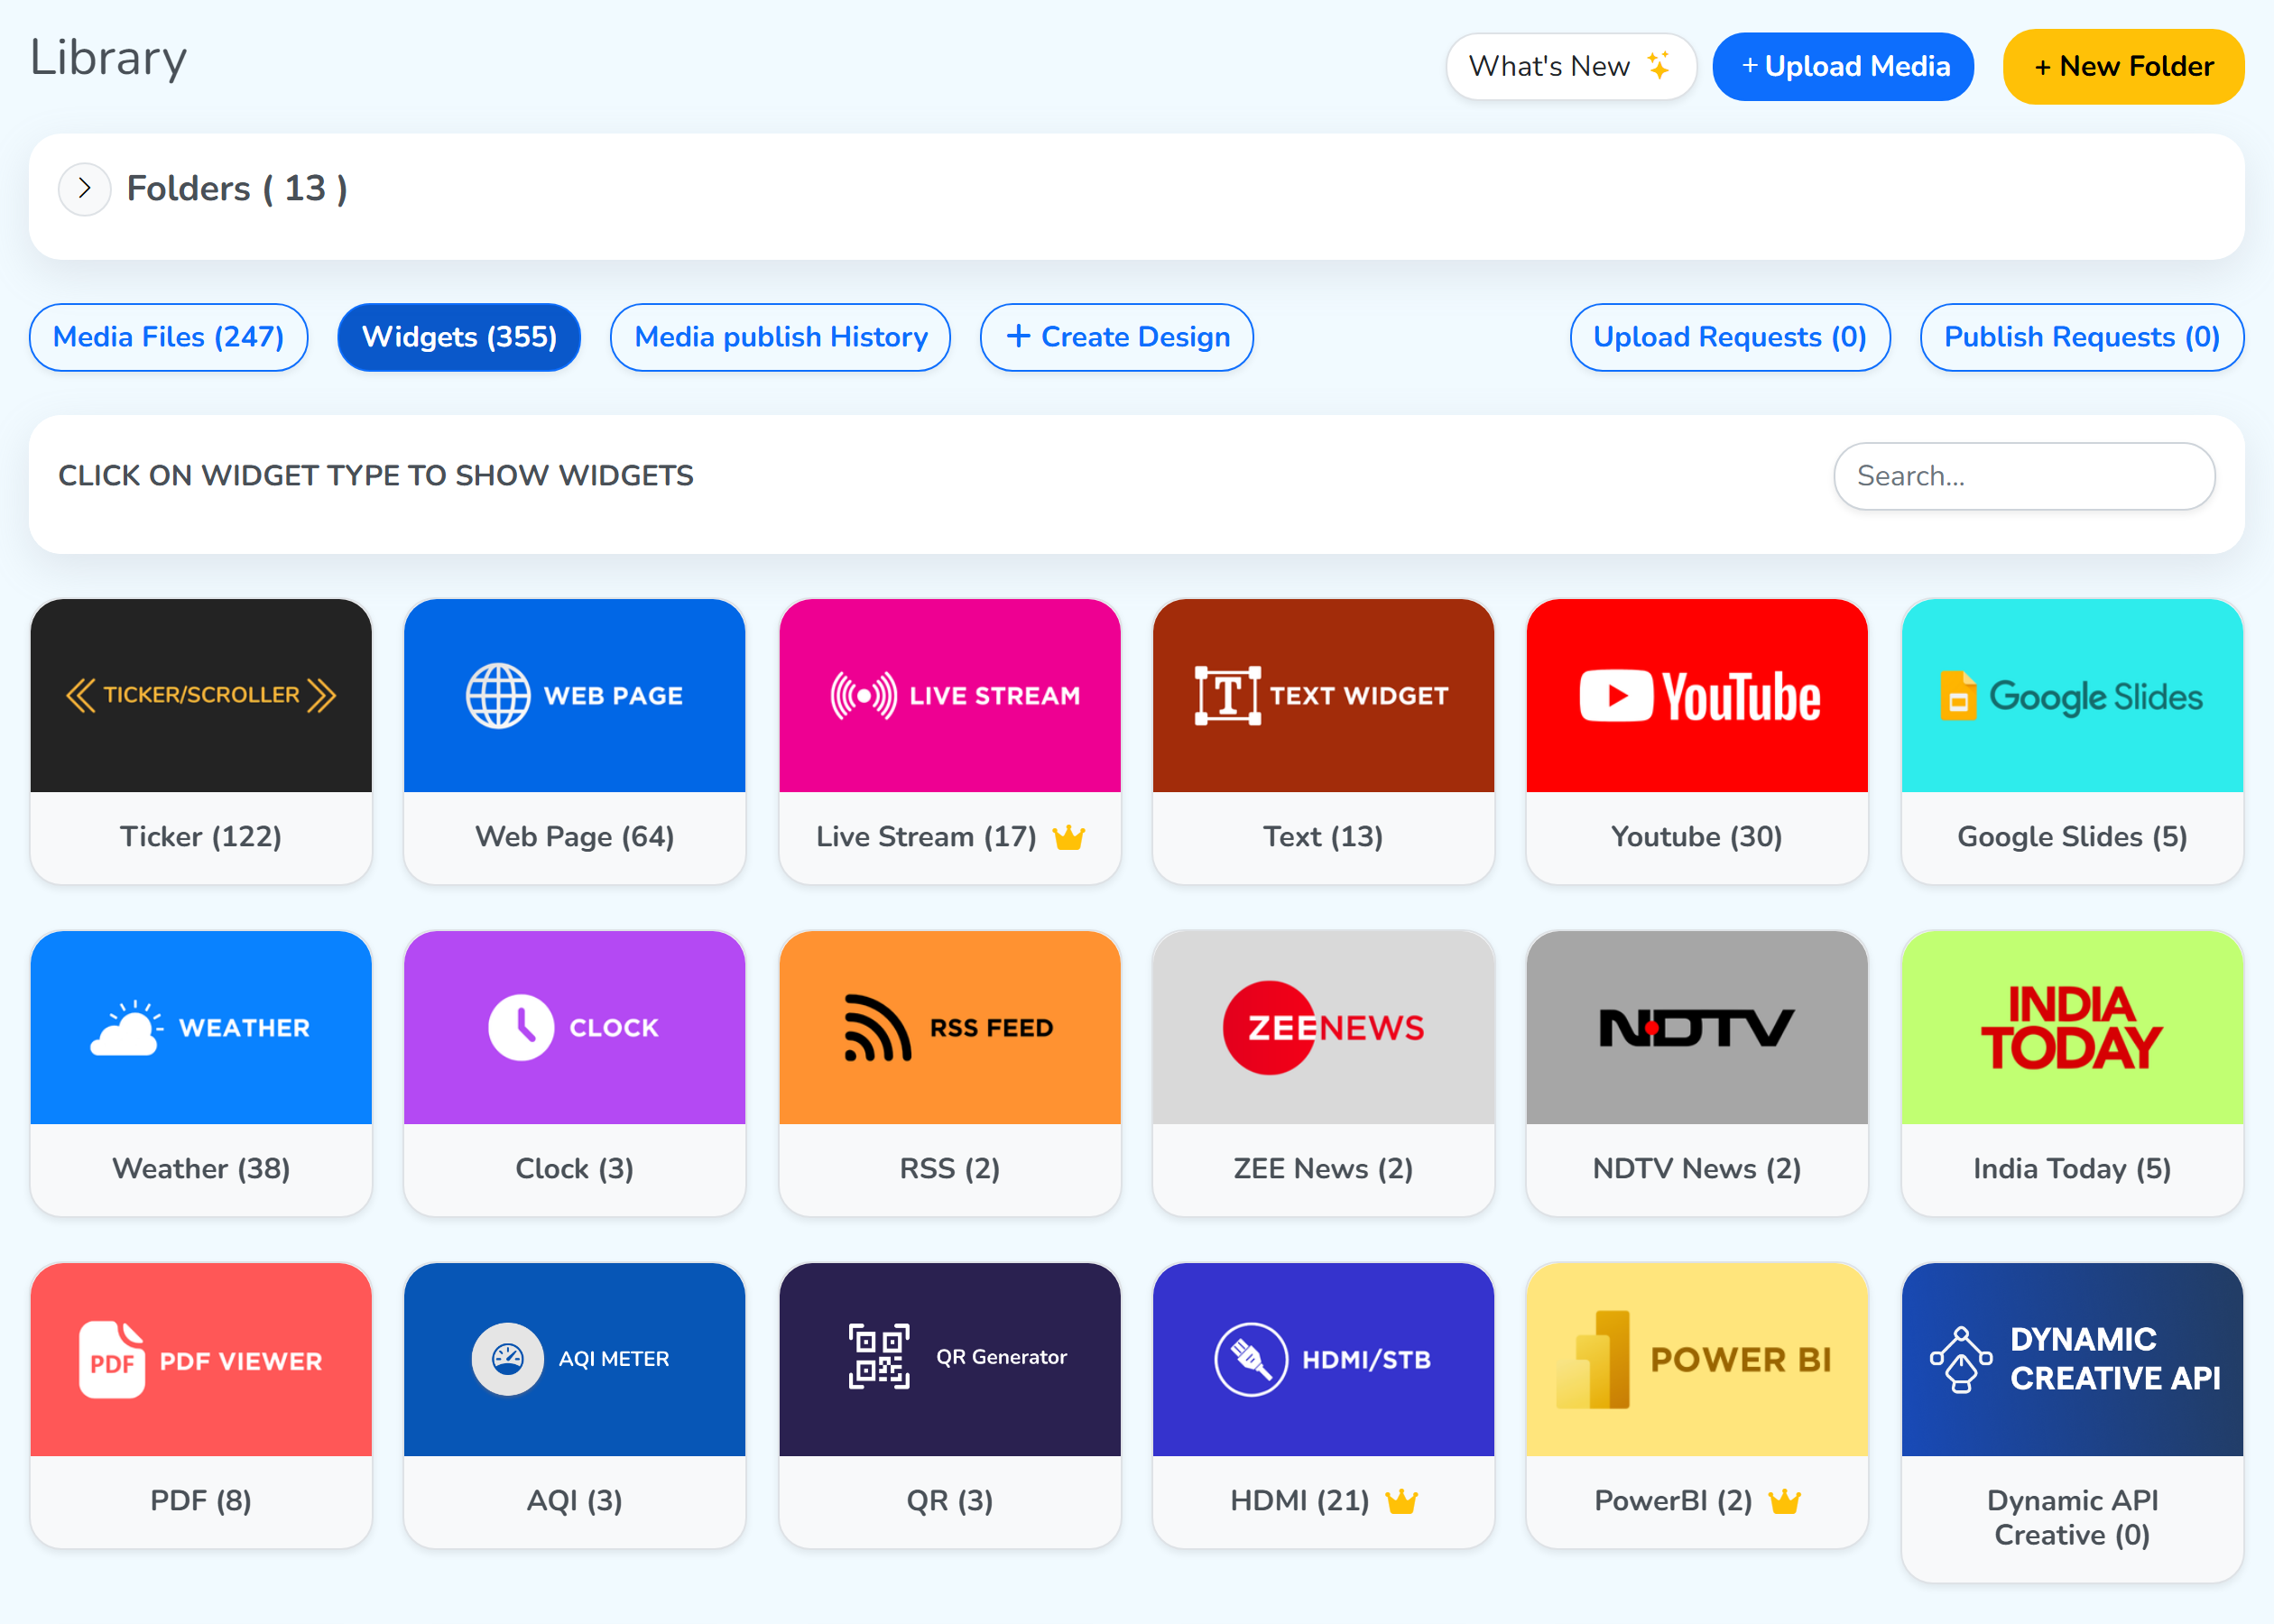 Find a type by nameA type, and how many you built
Open a widget type
Clicking a card opens every widget built from that type, with Add New above them and Back beside it. Here the search finds a widget by the name you gave it.
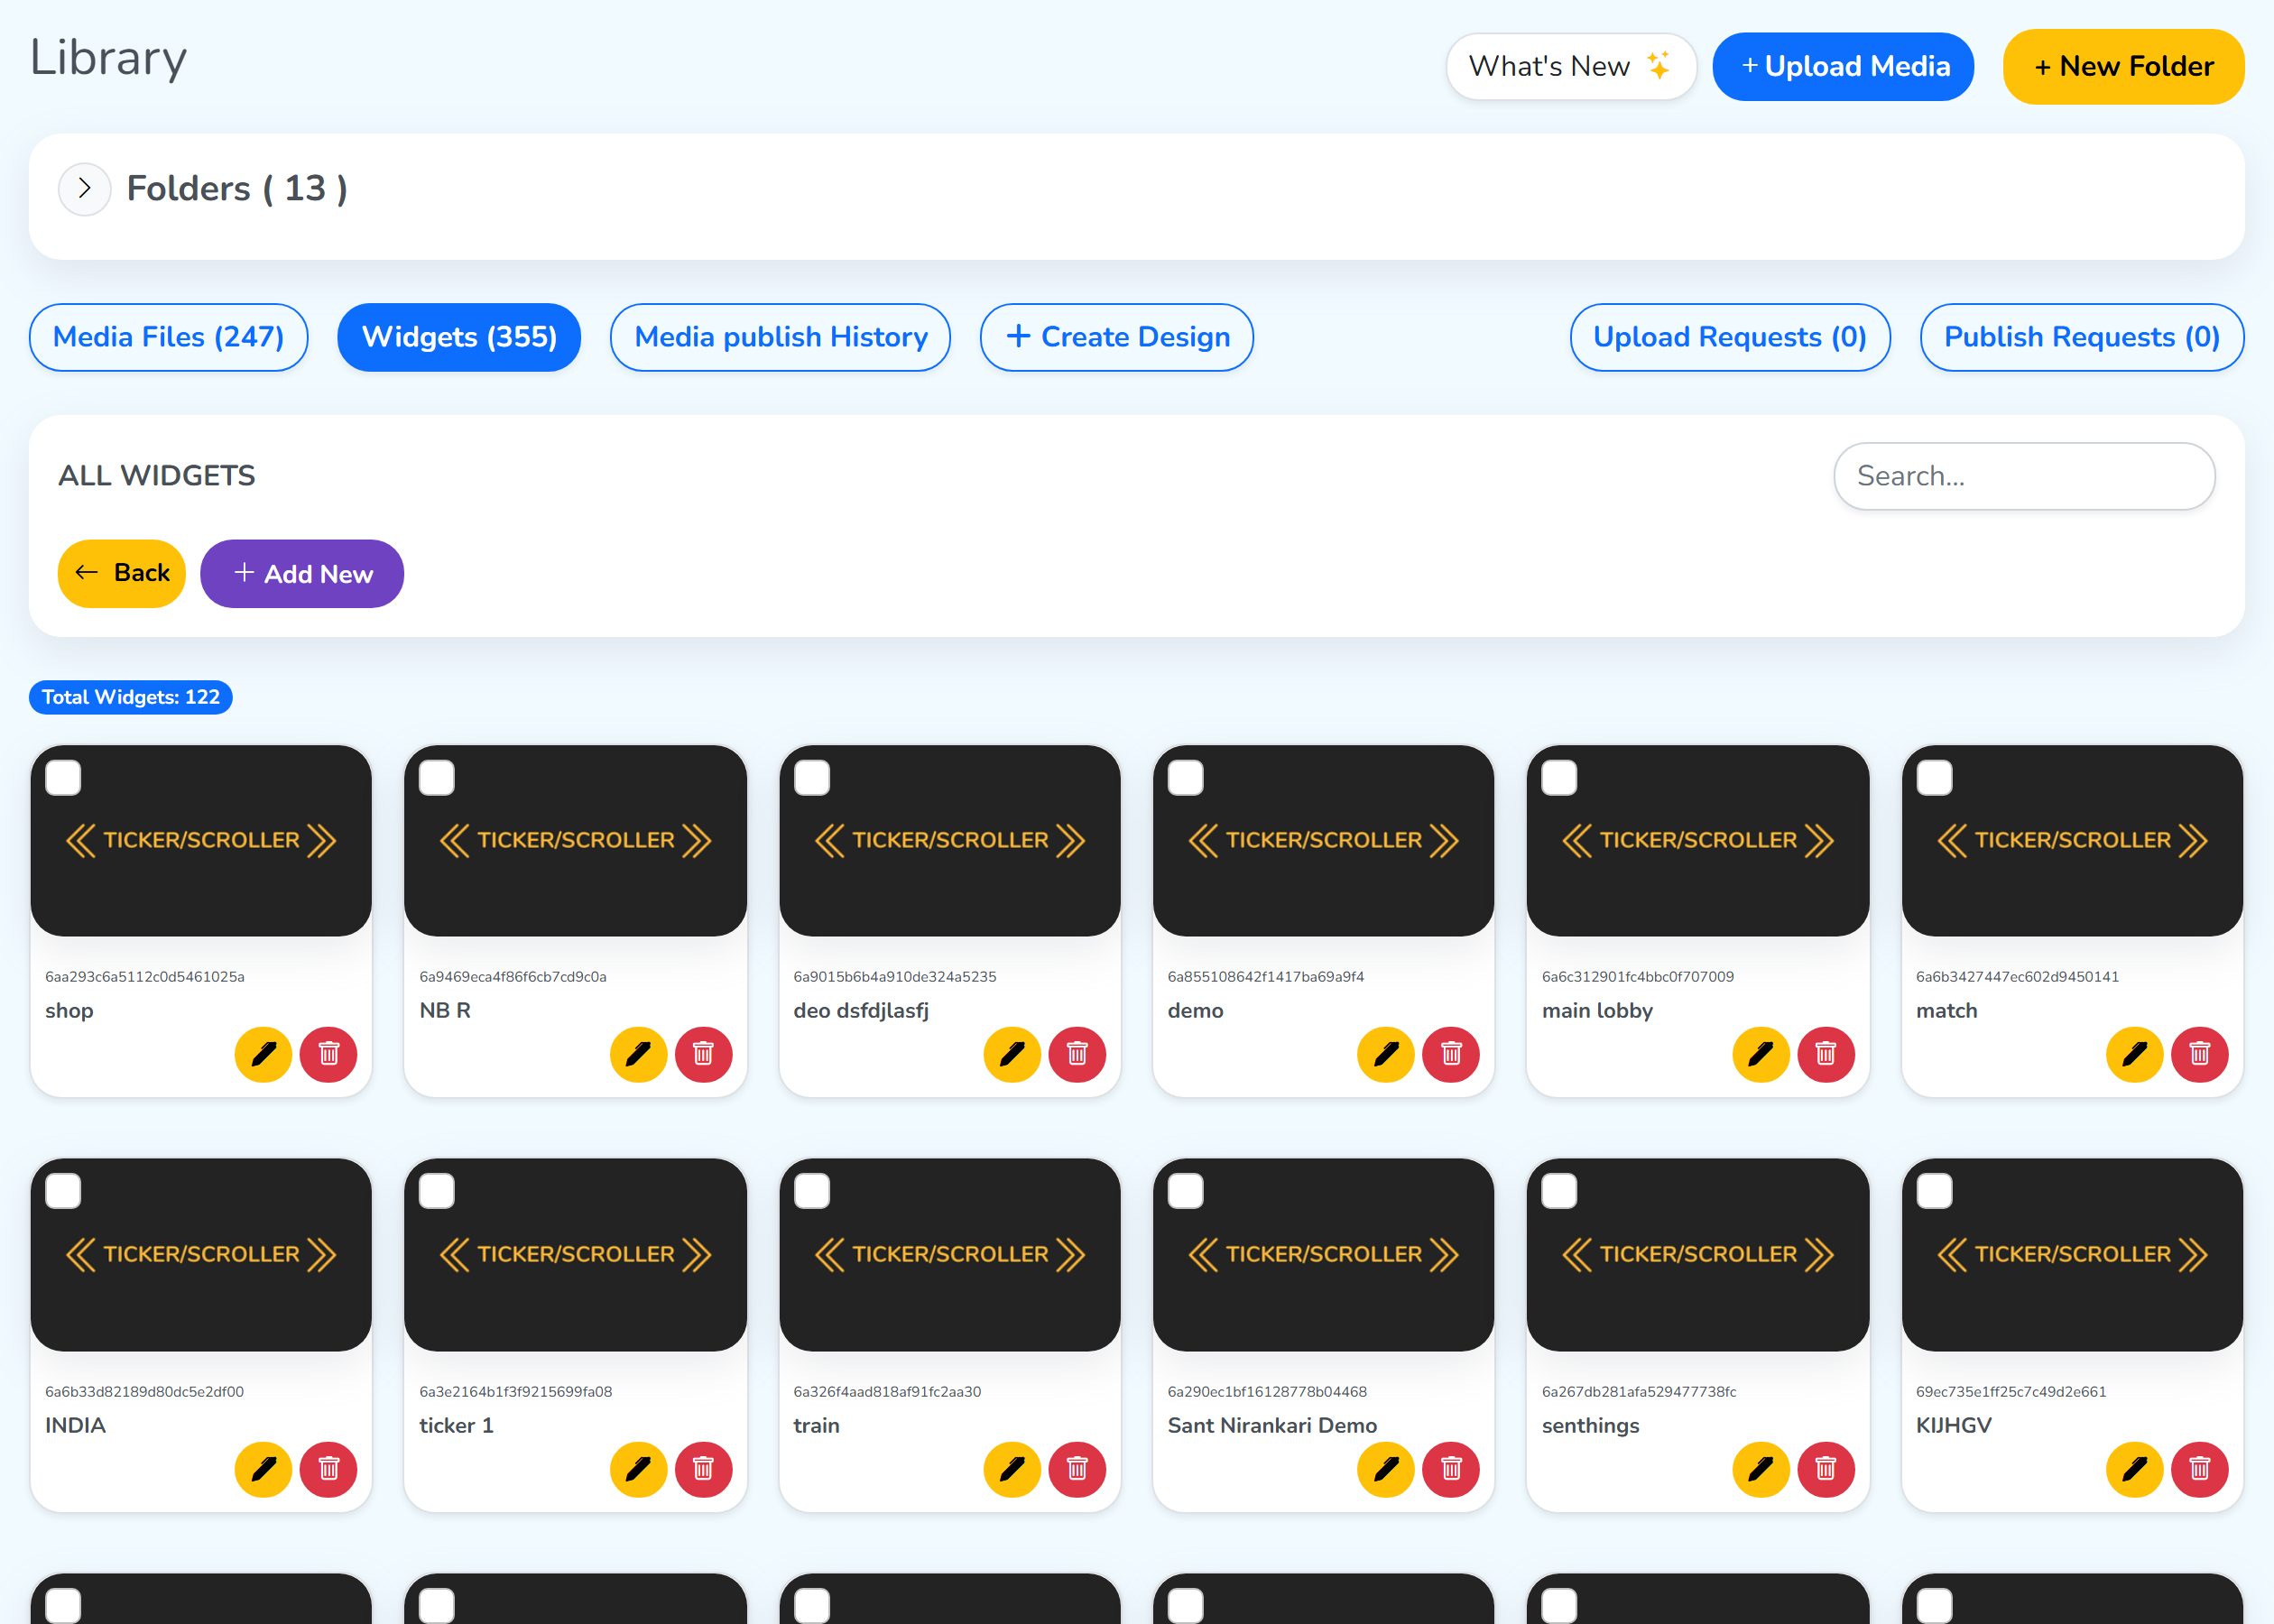 Find one by its nameEach widget you builtBuilds a new one
Add New widget - Ticker/Scroller
Add New opens the form for that widget type. Give the widget a name, write the text it will carry, and the panel on the right plays it back as it will run on the screen.
Lower down are Ticker Speed, Direction and Choose Type, which is either legacy or modern. Save adds the widget to this section.
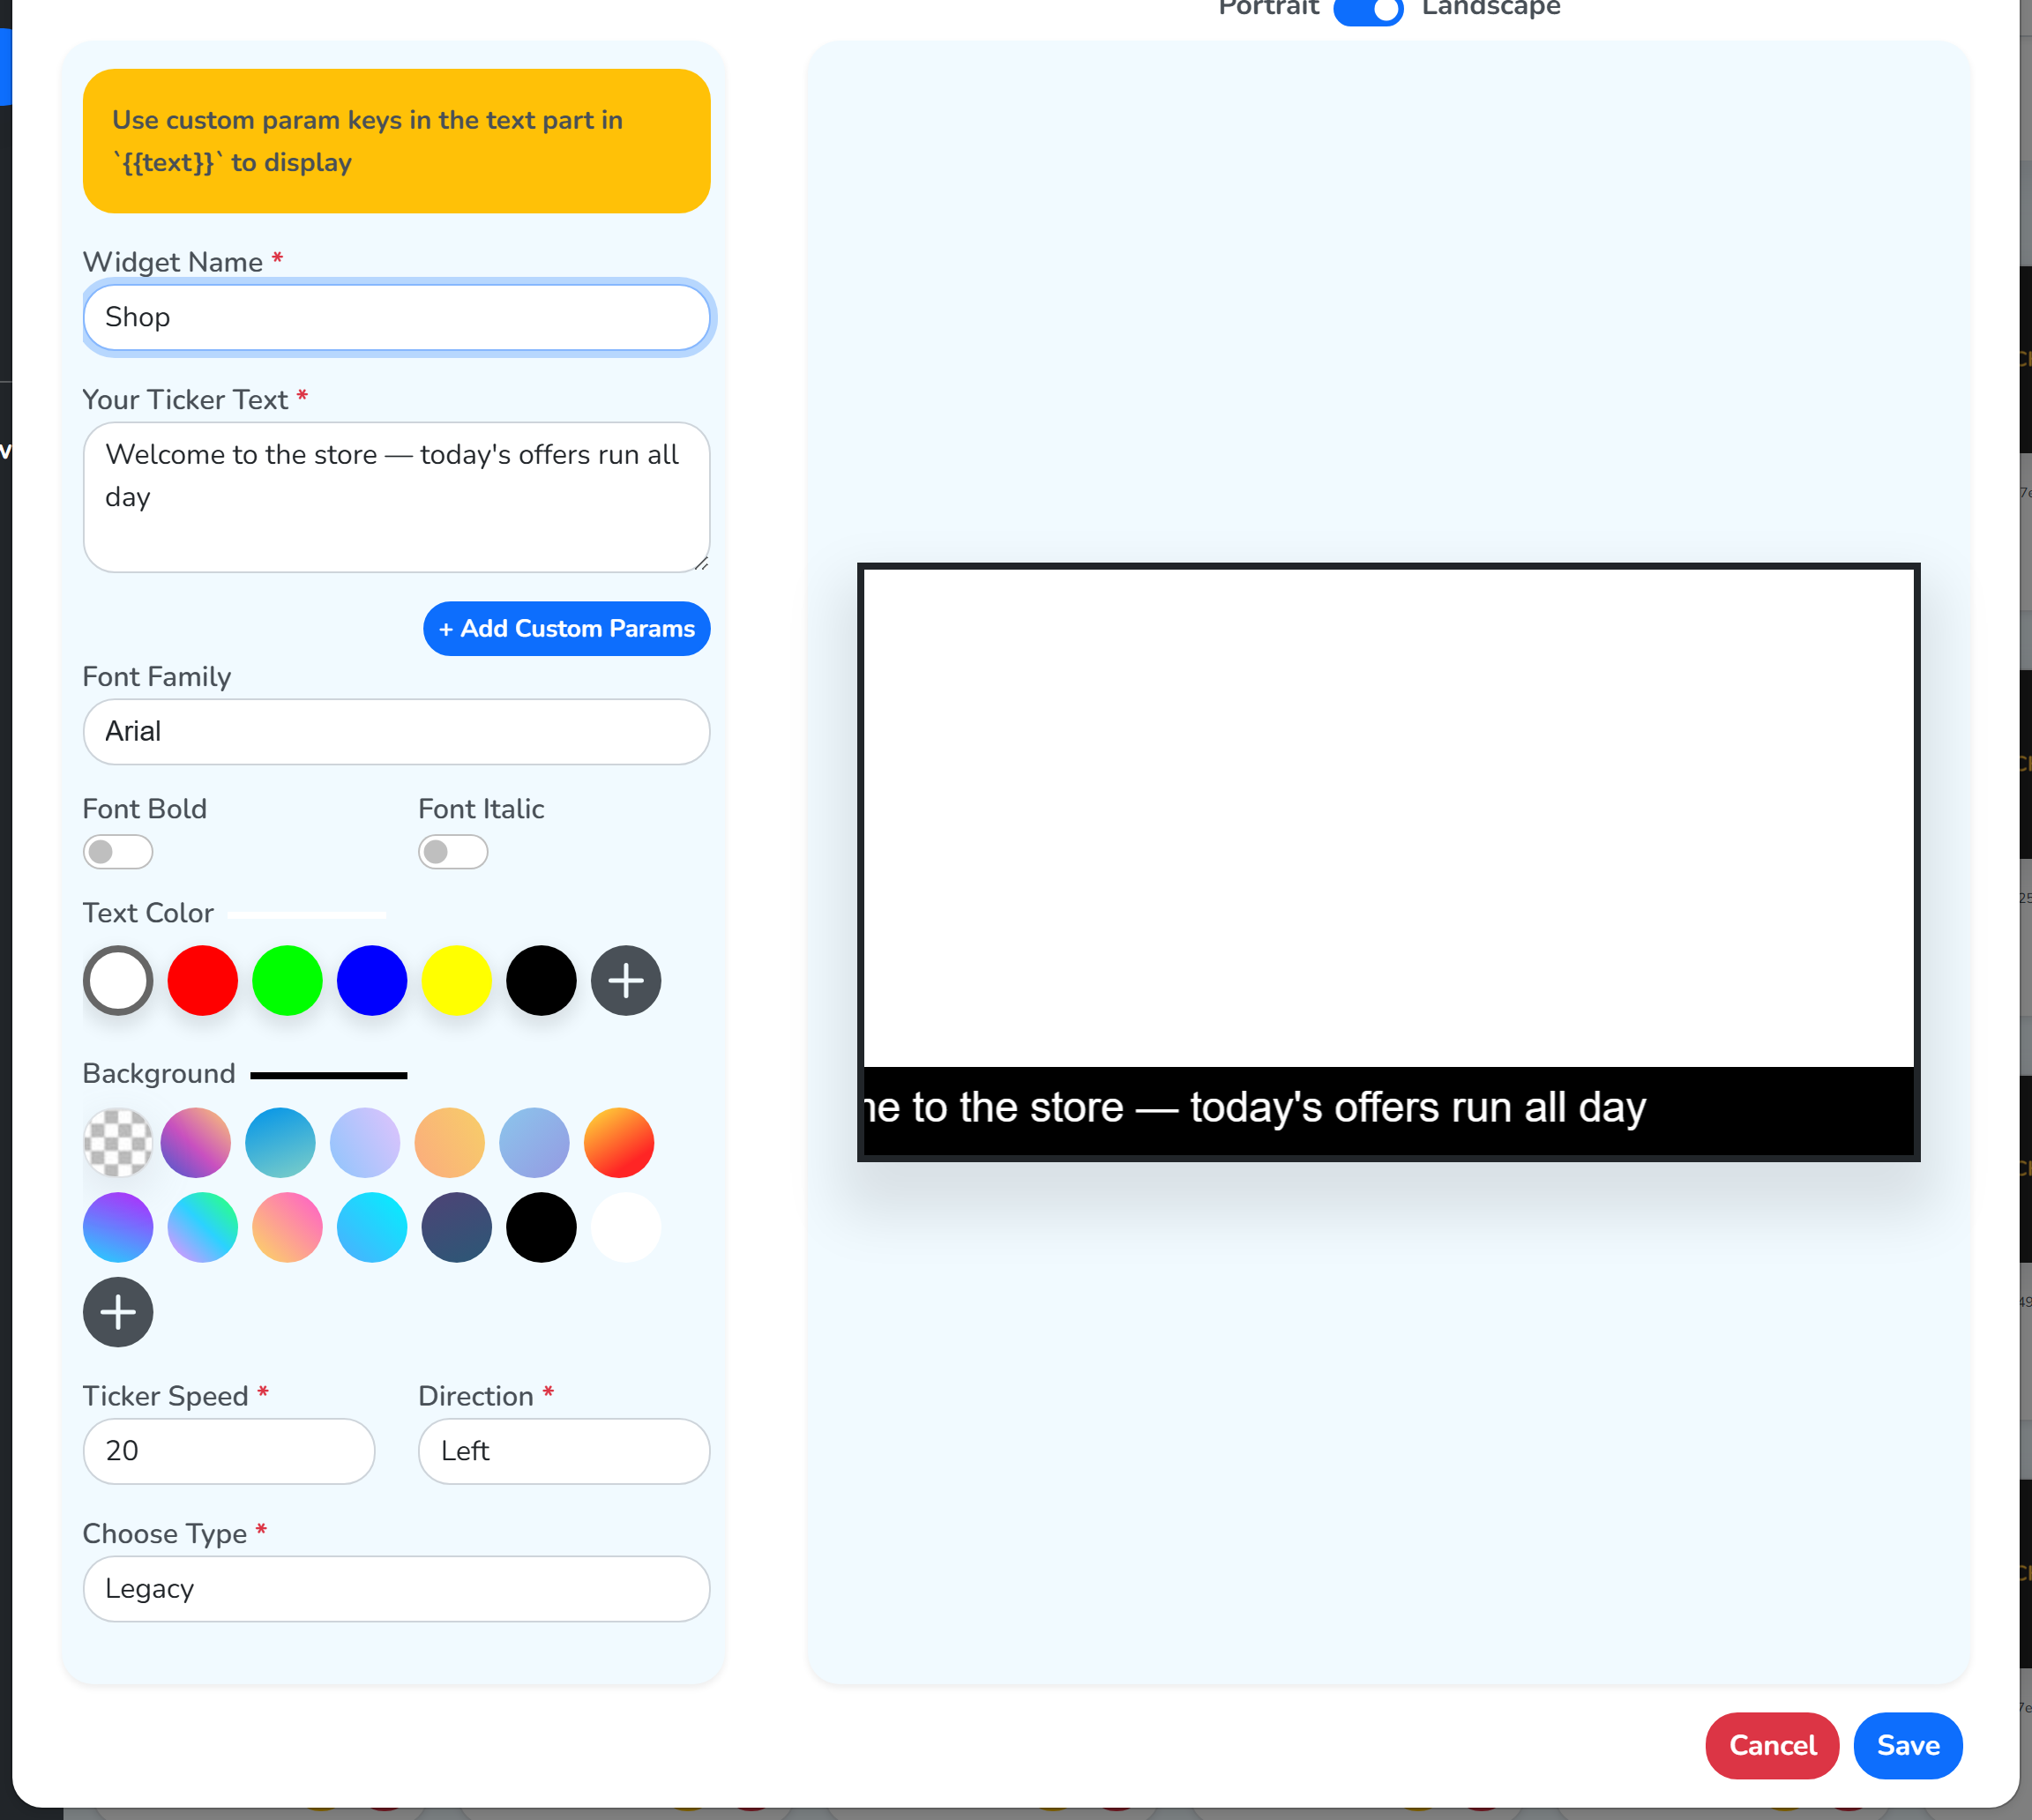 How it will lookAdds it to the Library
Add Custom Params
+ Add Custom Params opens a panel on the right. It lists every screen, the key of each custom param, and the value that key carries on that screen. + Add New adds another key, and Save stores the values from here.
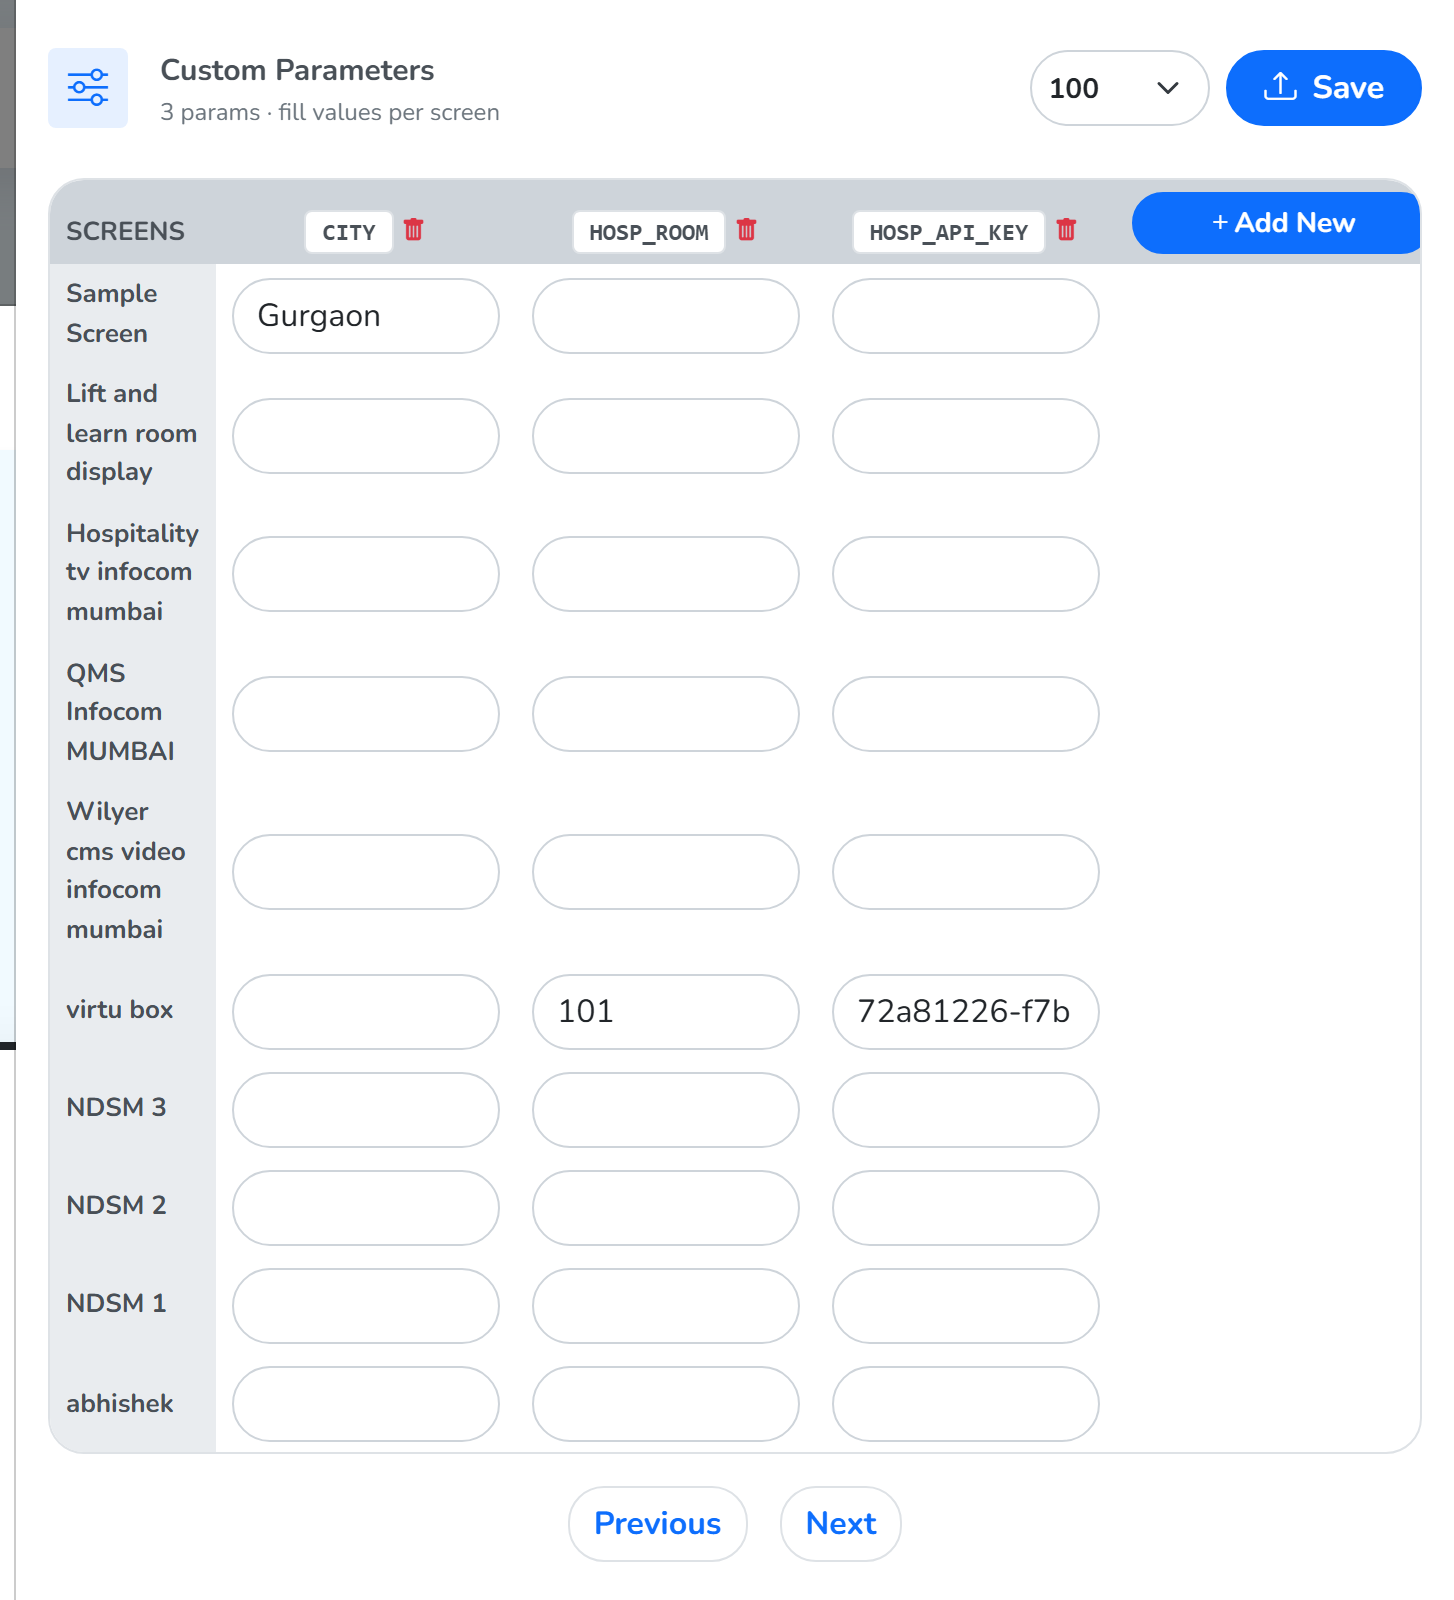 Every screenThe key for each paramAdds another key
Custom Params in Screen Settings covers how a custom param works.
A saved widget appears in this section, ready to go into a playlist: the playlist editor offers widgets alongside media when you fill a zone. Left rail – Media / Widgets / Sequences covers that.
Media publish History
Media publish History sorts what you published by when it happened. The time of the action is what the page is built around. Every row carries Revert and View.
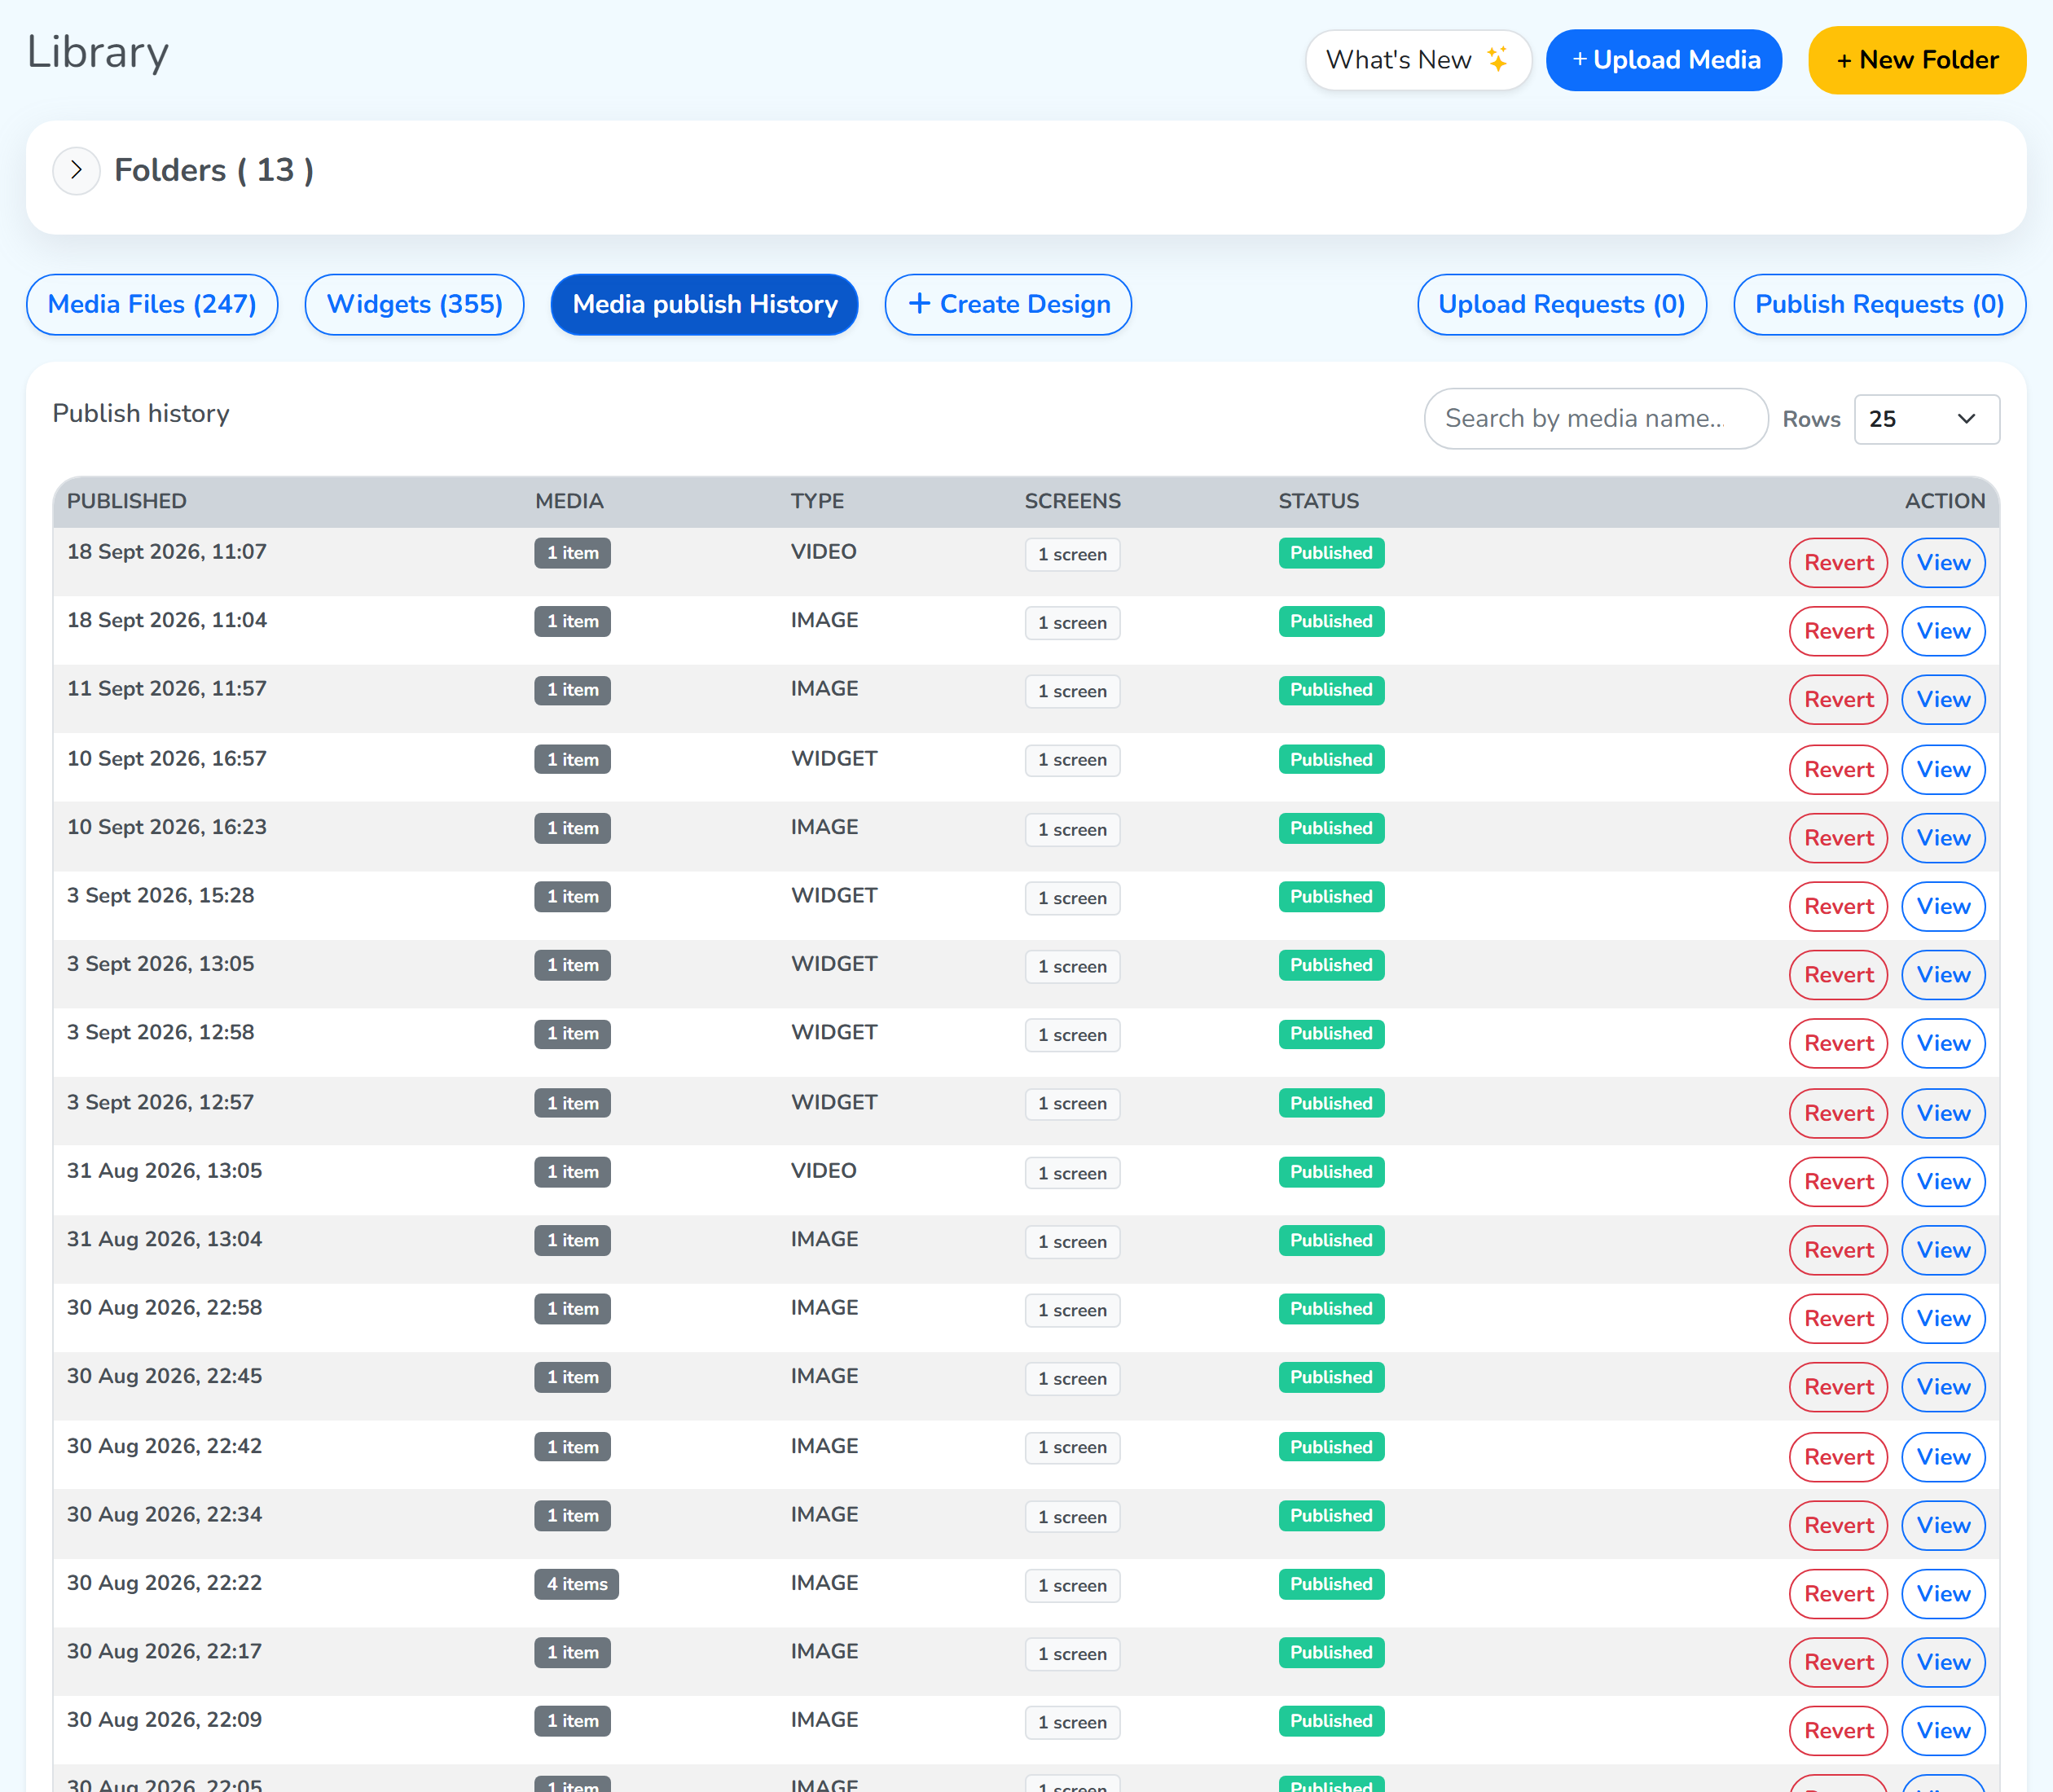
View, Delivery Status
View opens the report for that publish. It opens on Delivery Status, which names the screen the publish reached. The arrow beside the screen name opens the file that went to it, and Settings carries you to that screen’s own page.
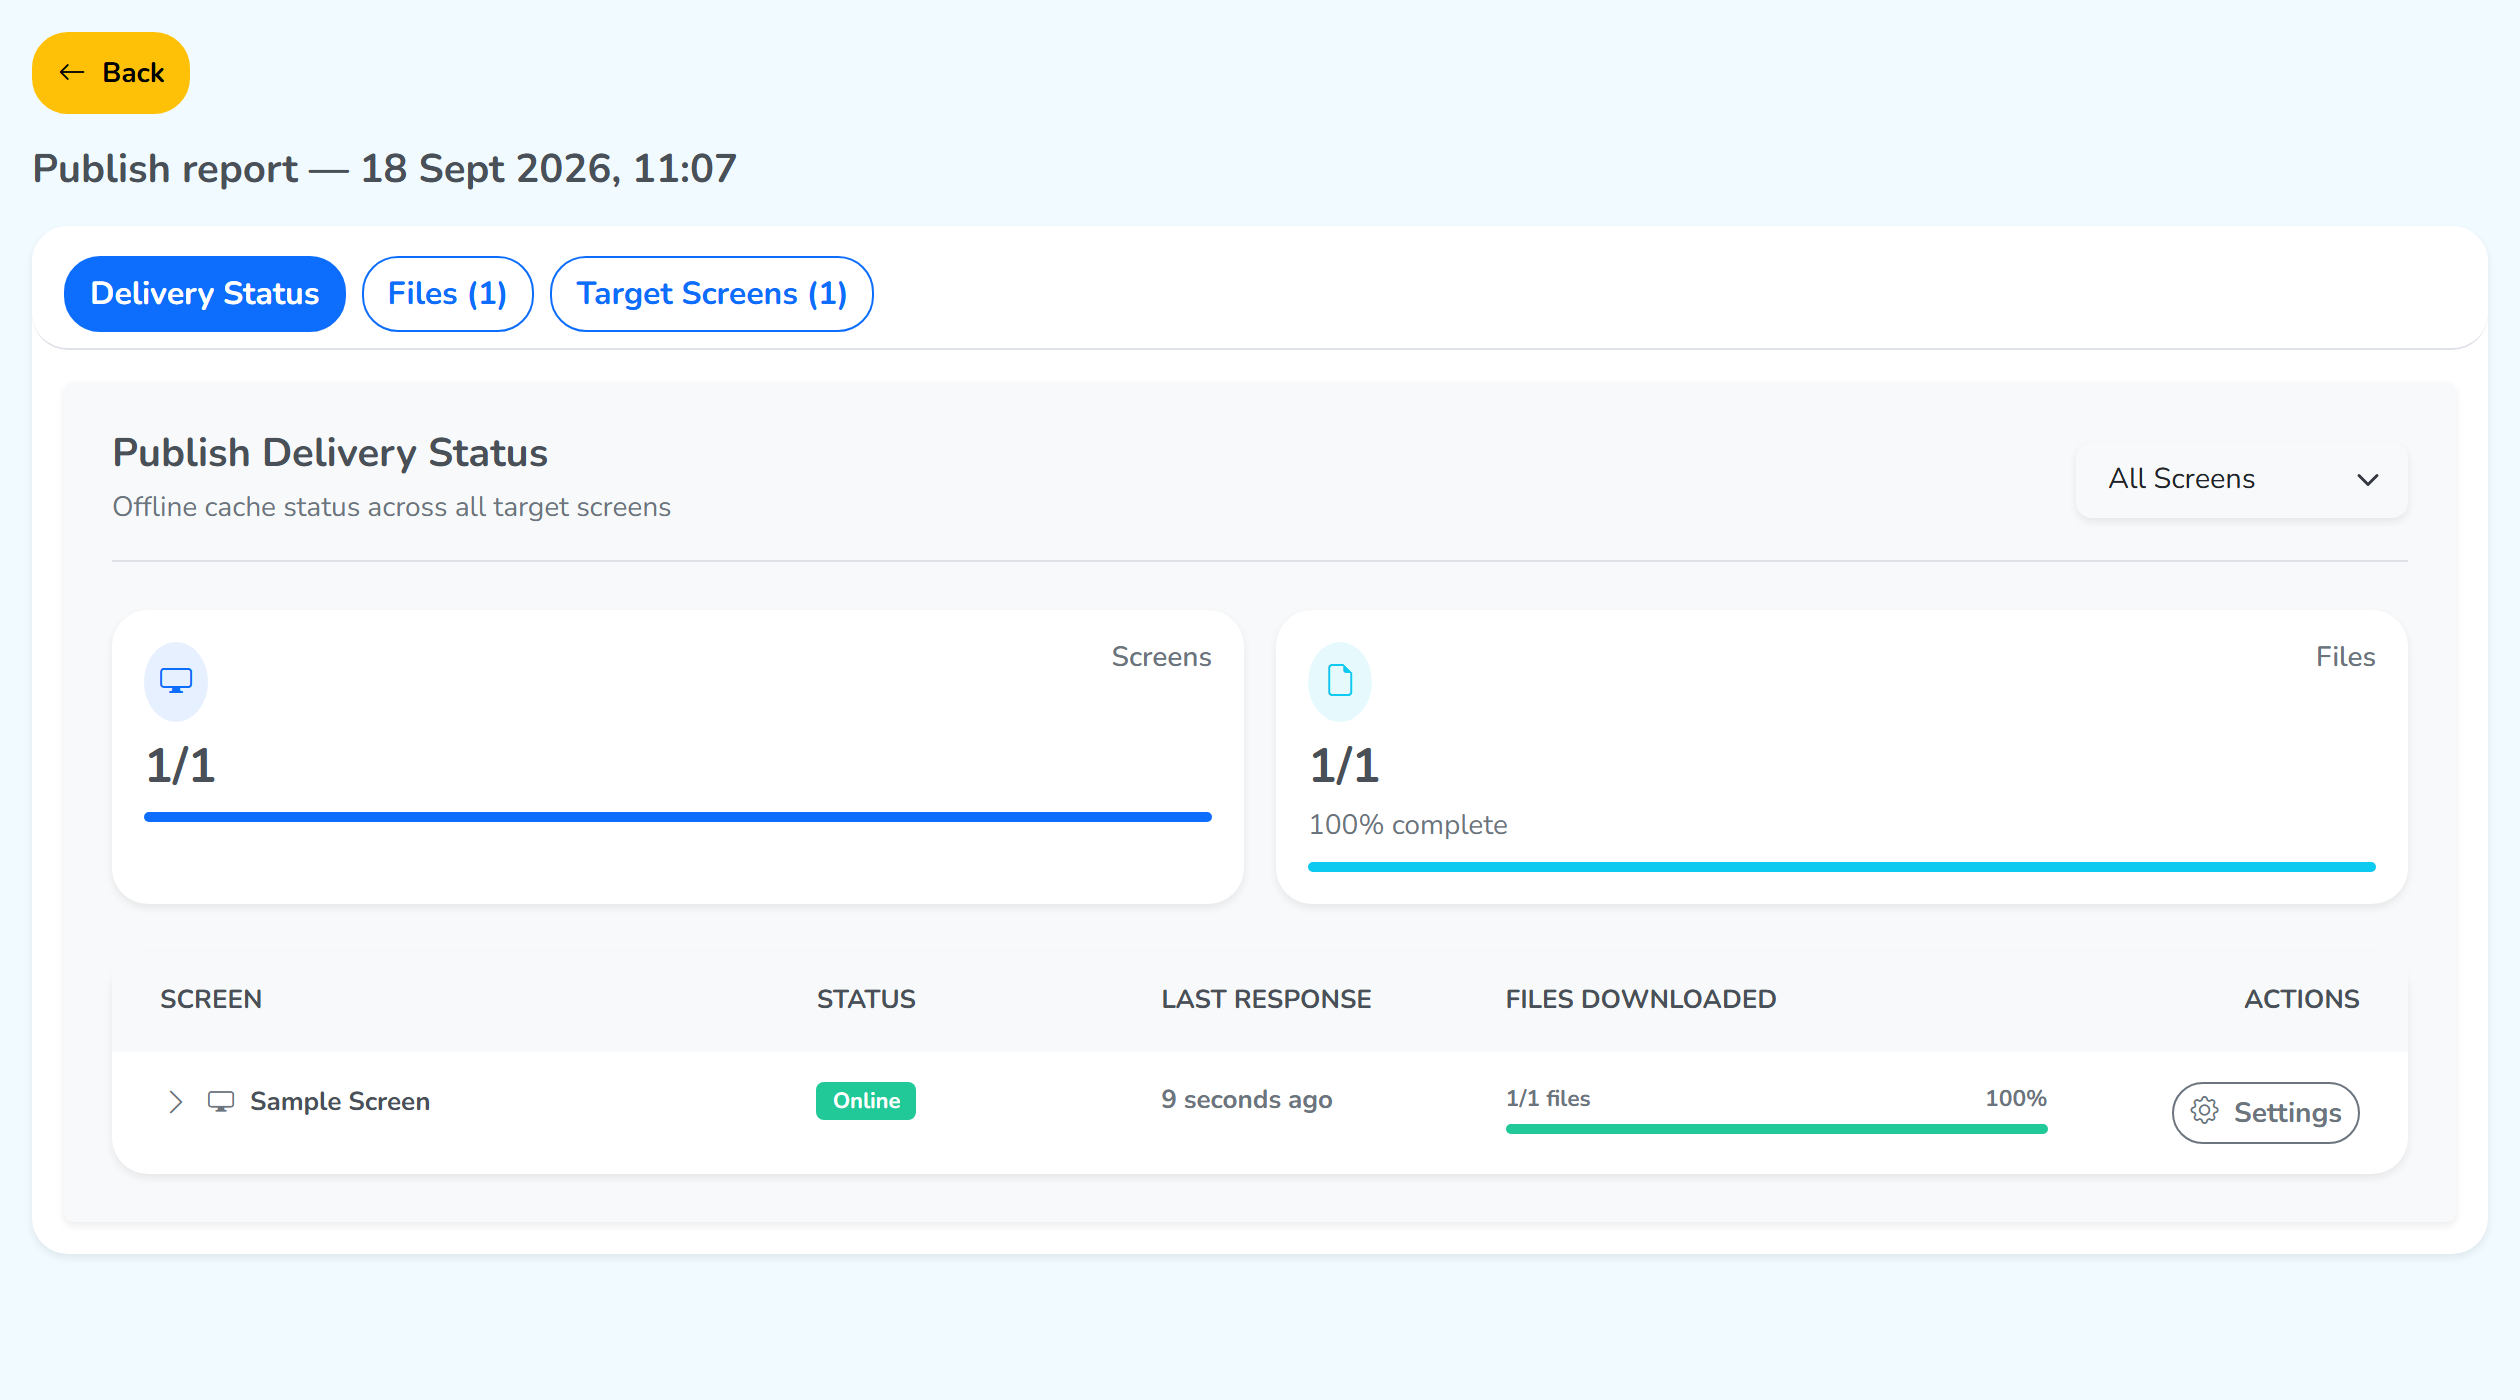 The arrow opens the fileOpens that screen's page
Screen Settings covers the page that button reaches, the same one that View Details opens from the Screens section.
Files
Files, with its count, shows exactly which file was published, along with its type, size, dimensions and duration.
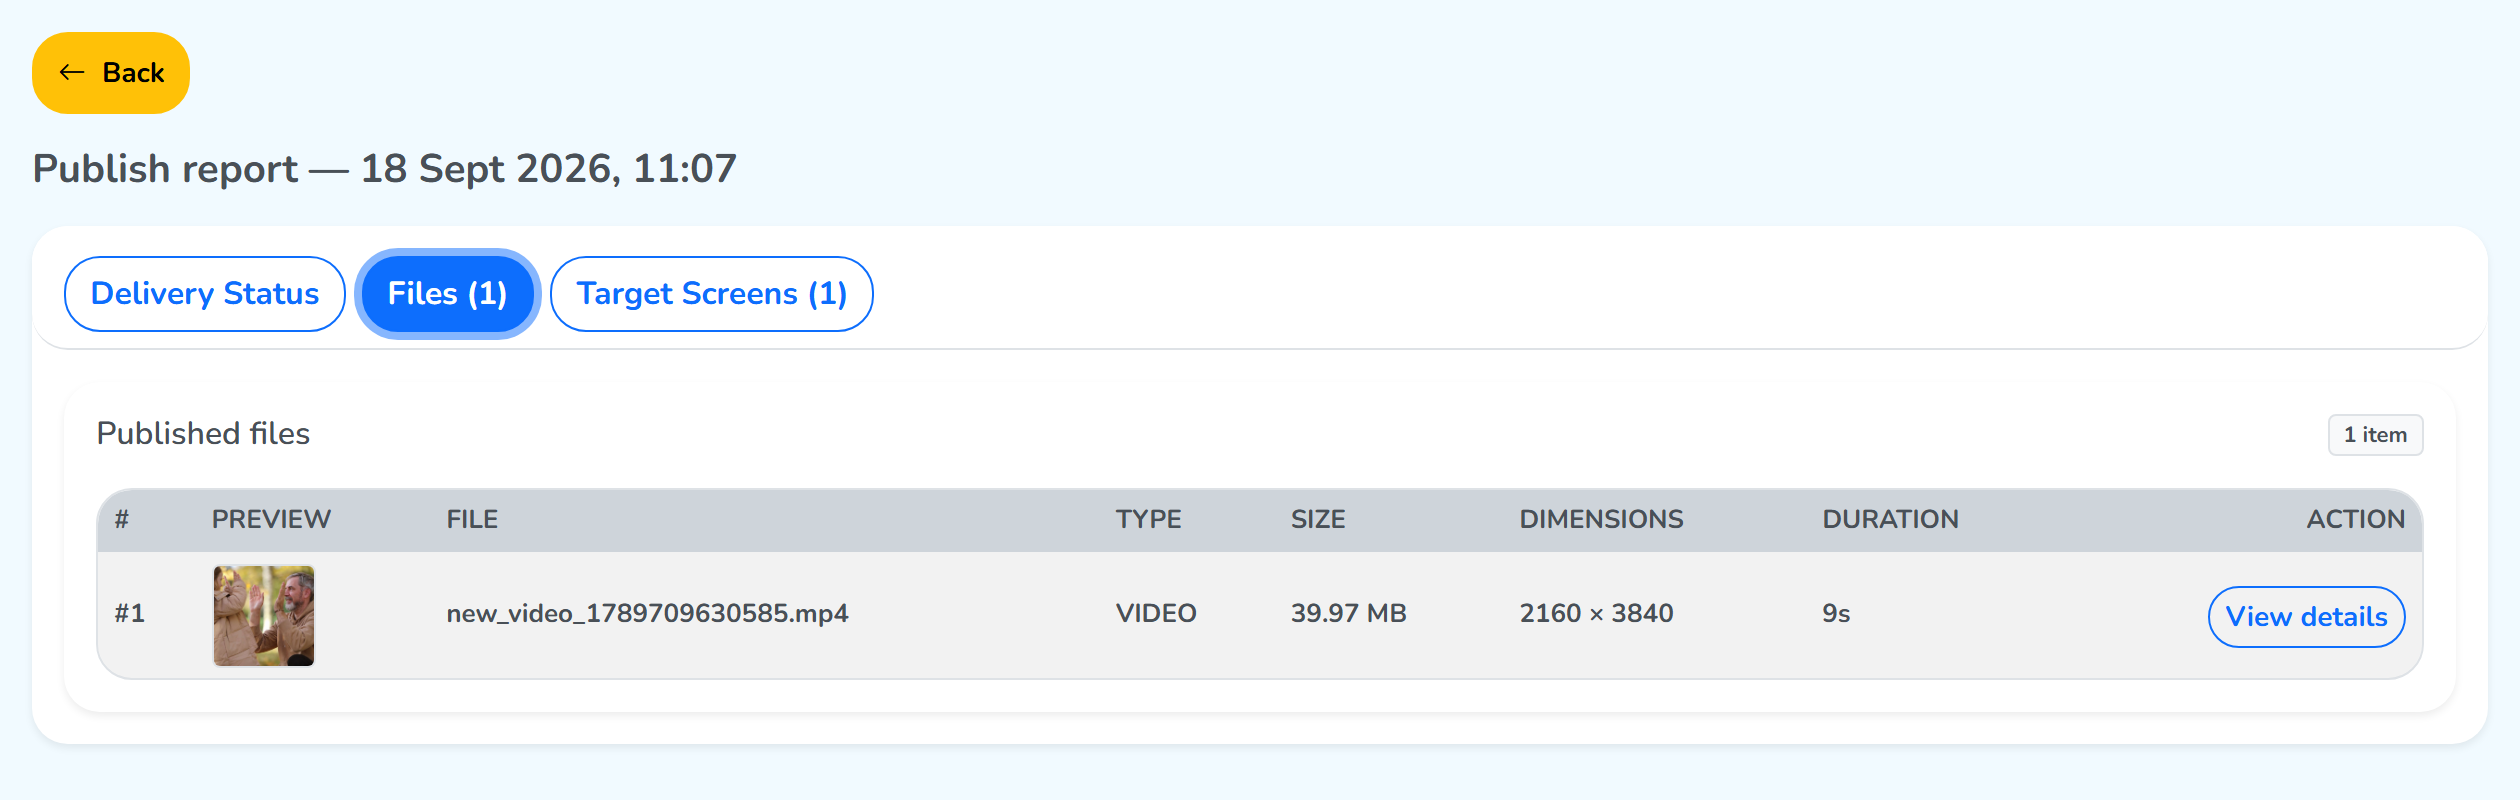 The file's own page
View details opens the file’s own page. It opens on a week of data, and shows the playback count, the screen distribution and the screens that played it most. Four reports sit along the top, and each one follows below.
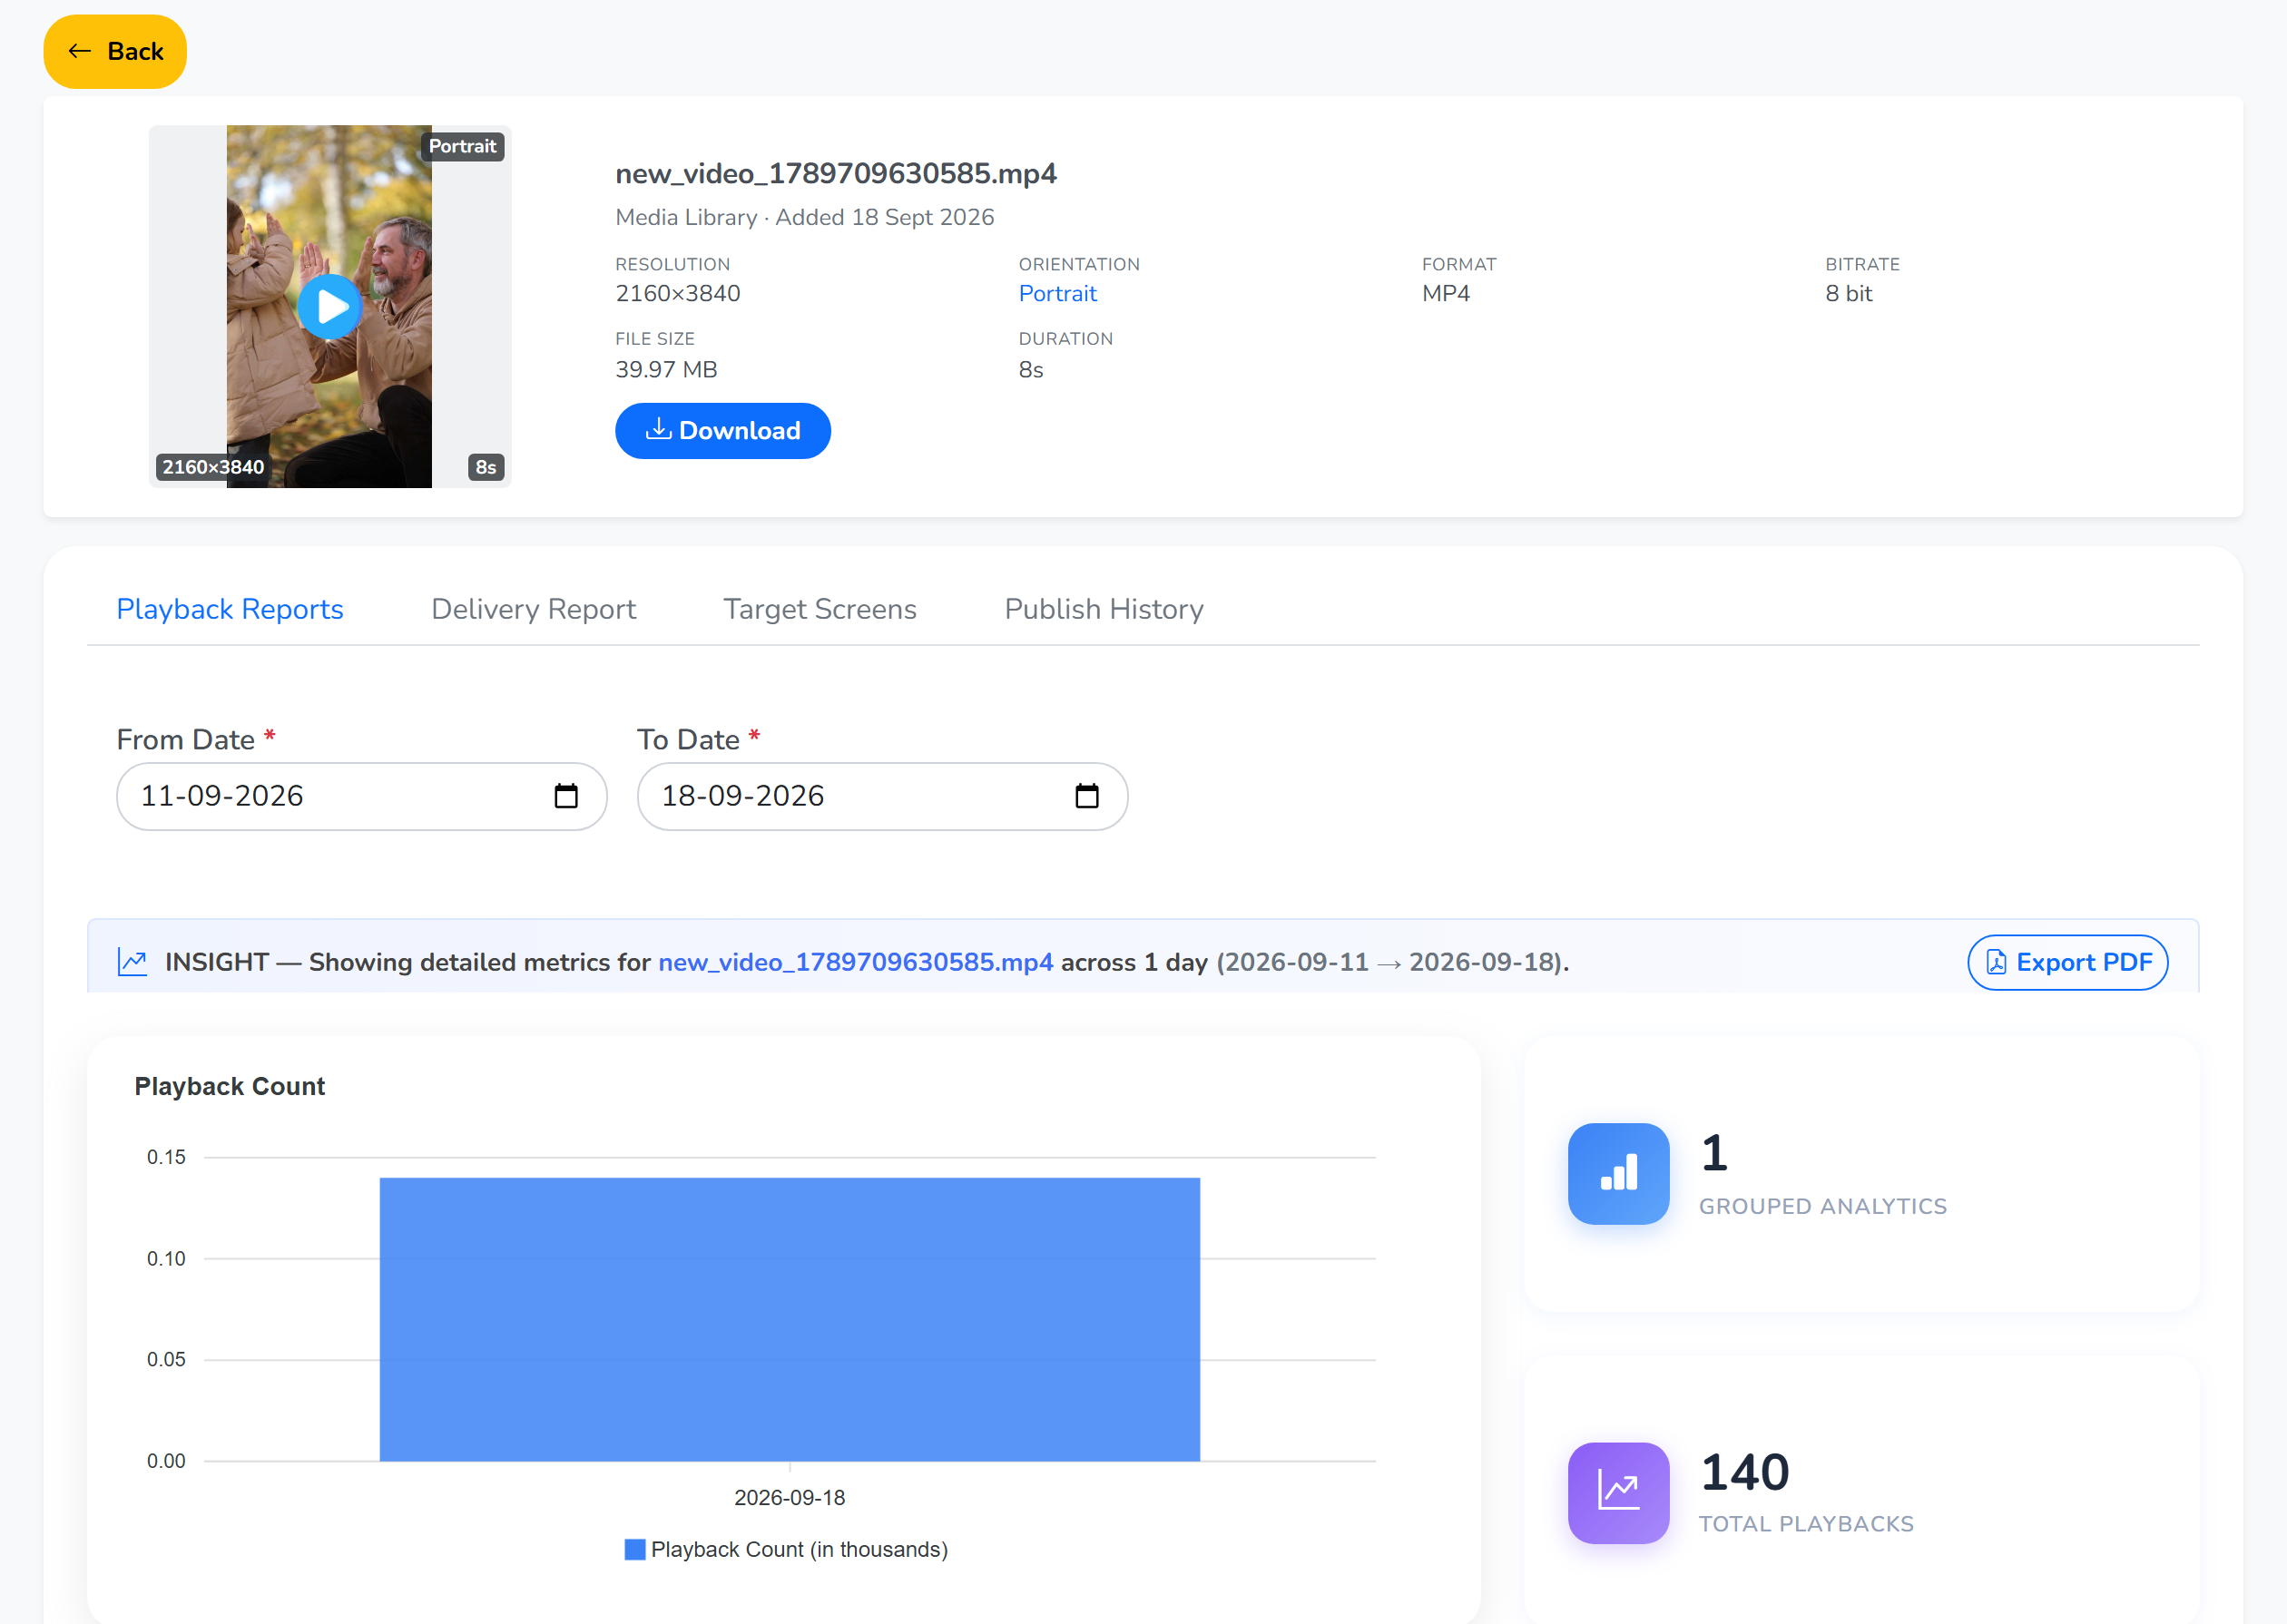 Four reportsA week by defaultHow many times it played
Playback Reports
Playback Reports counts the playbacks day by day and totals them beside the chart, then shows the share each screen took and the screens that played it most. The dates above the chart set the range, and the report saves as a PDF.
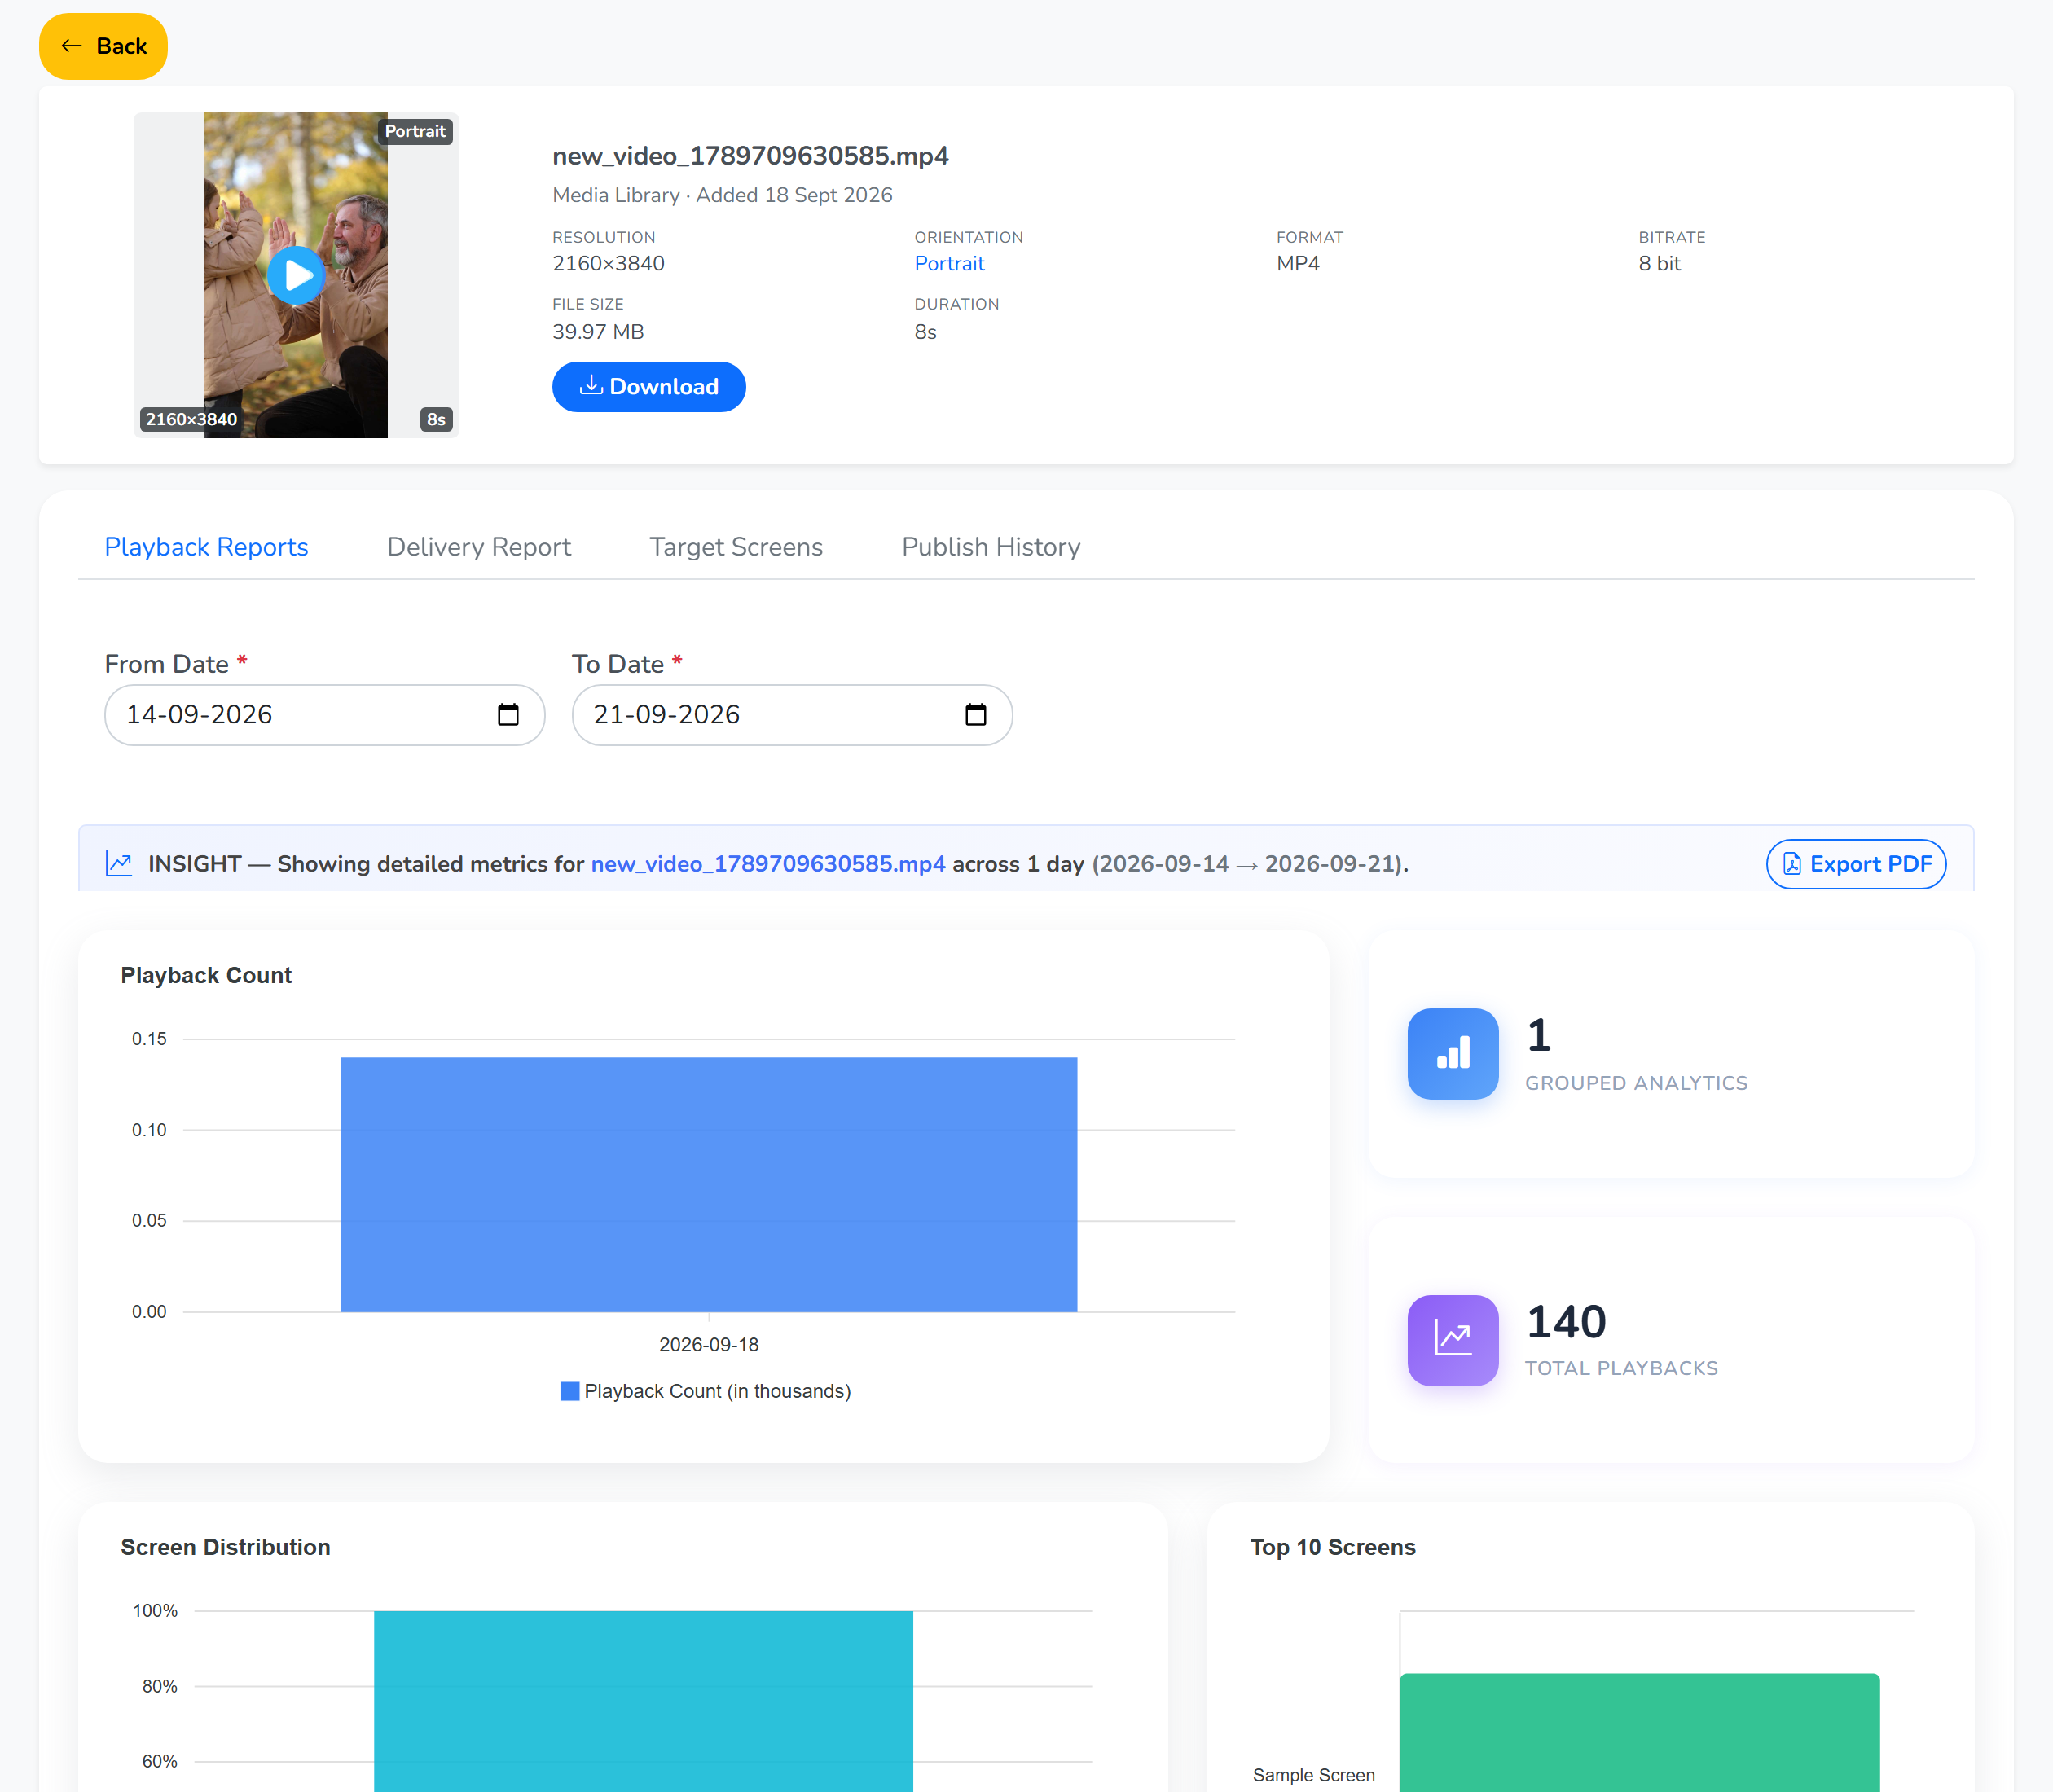 What the figures below cover
Delivery Report
Delivery Report covers the copy each screen holds. It counts the screens that finished downloading against the screens in the publish, shows how far the transfer has got, and lists each screen with a bar of its own. The list narrows to the screens that hold the file and to the screens still collecting it.
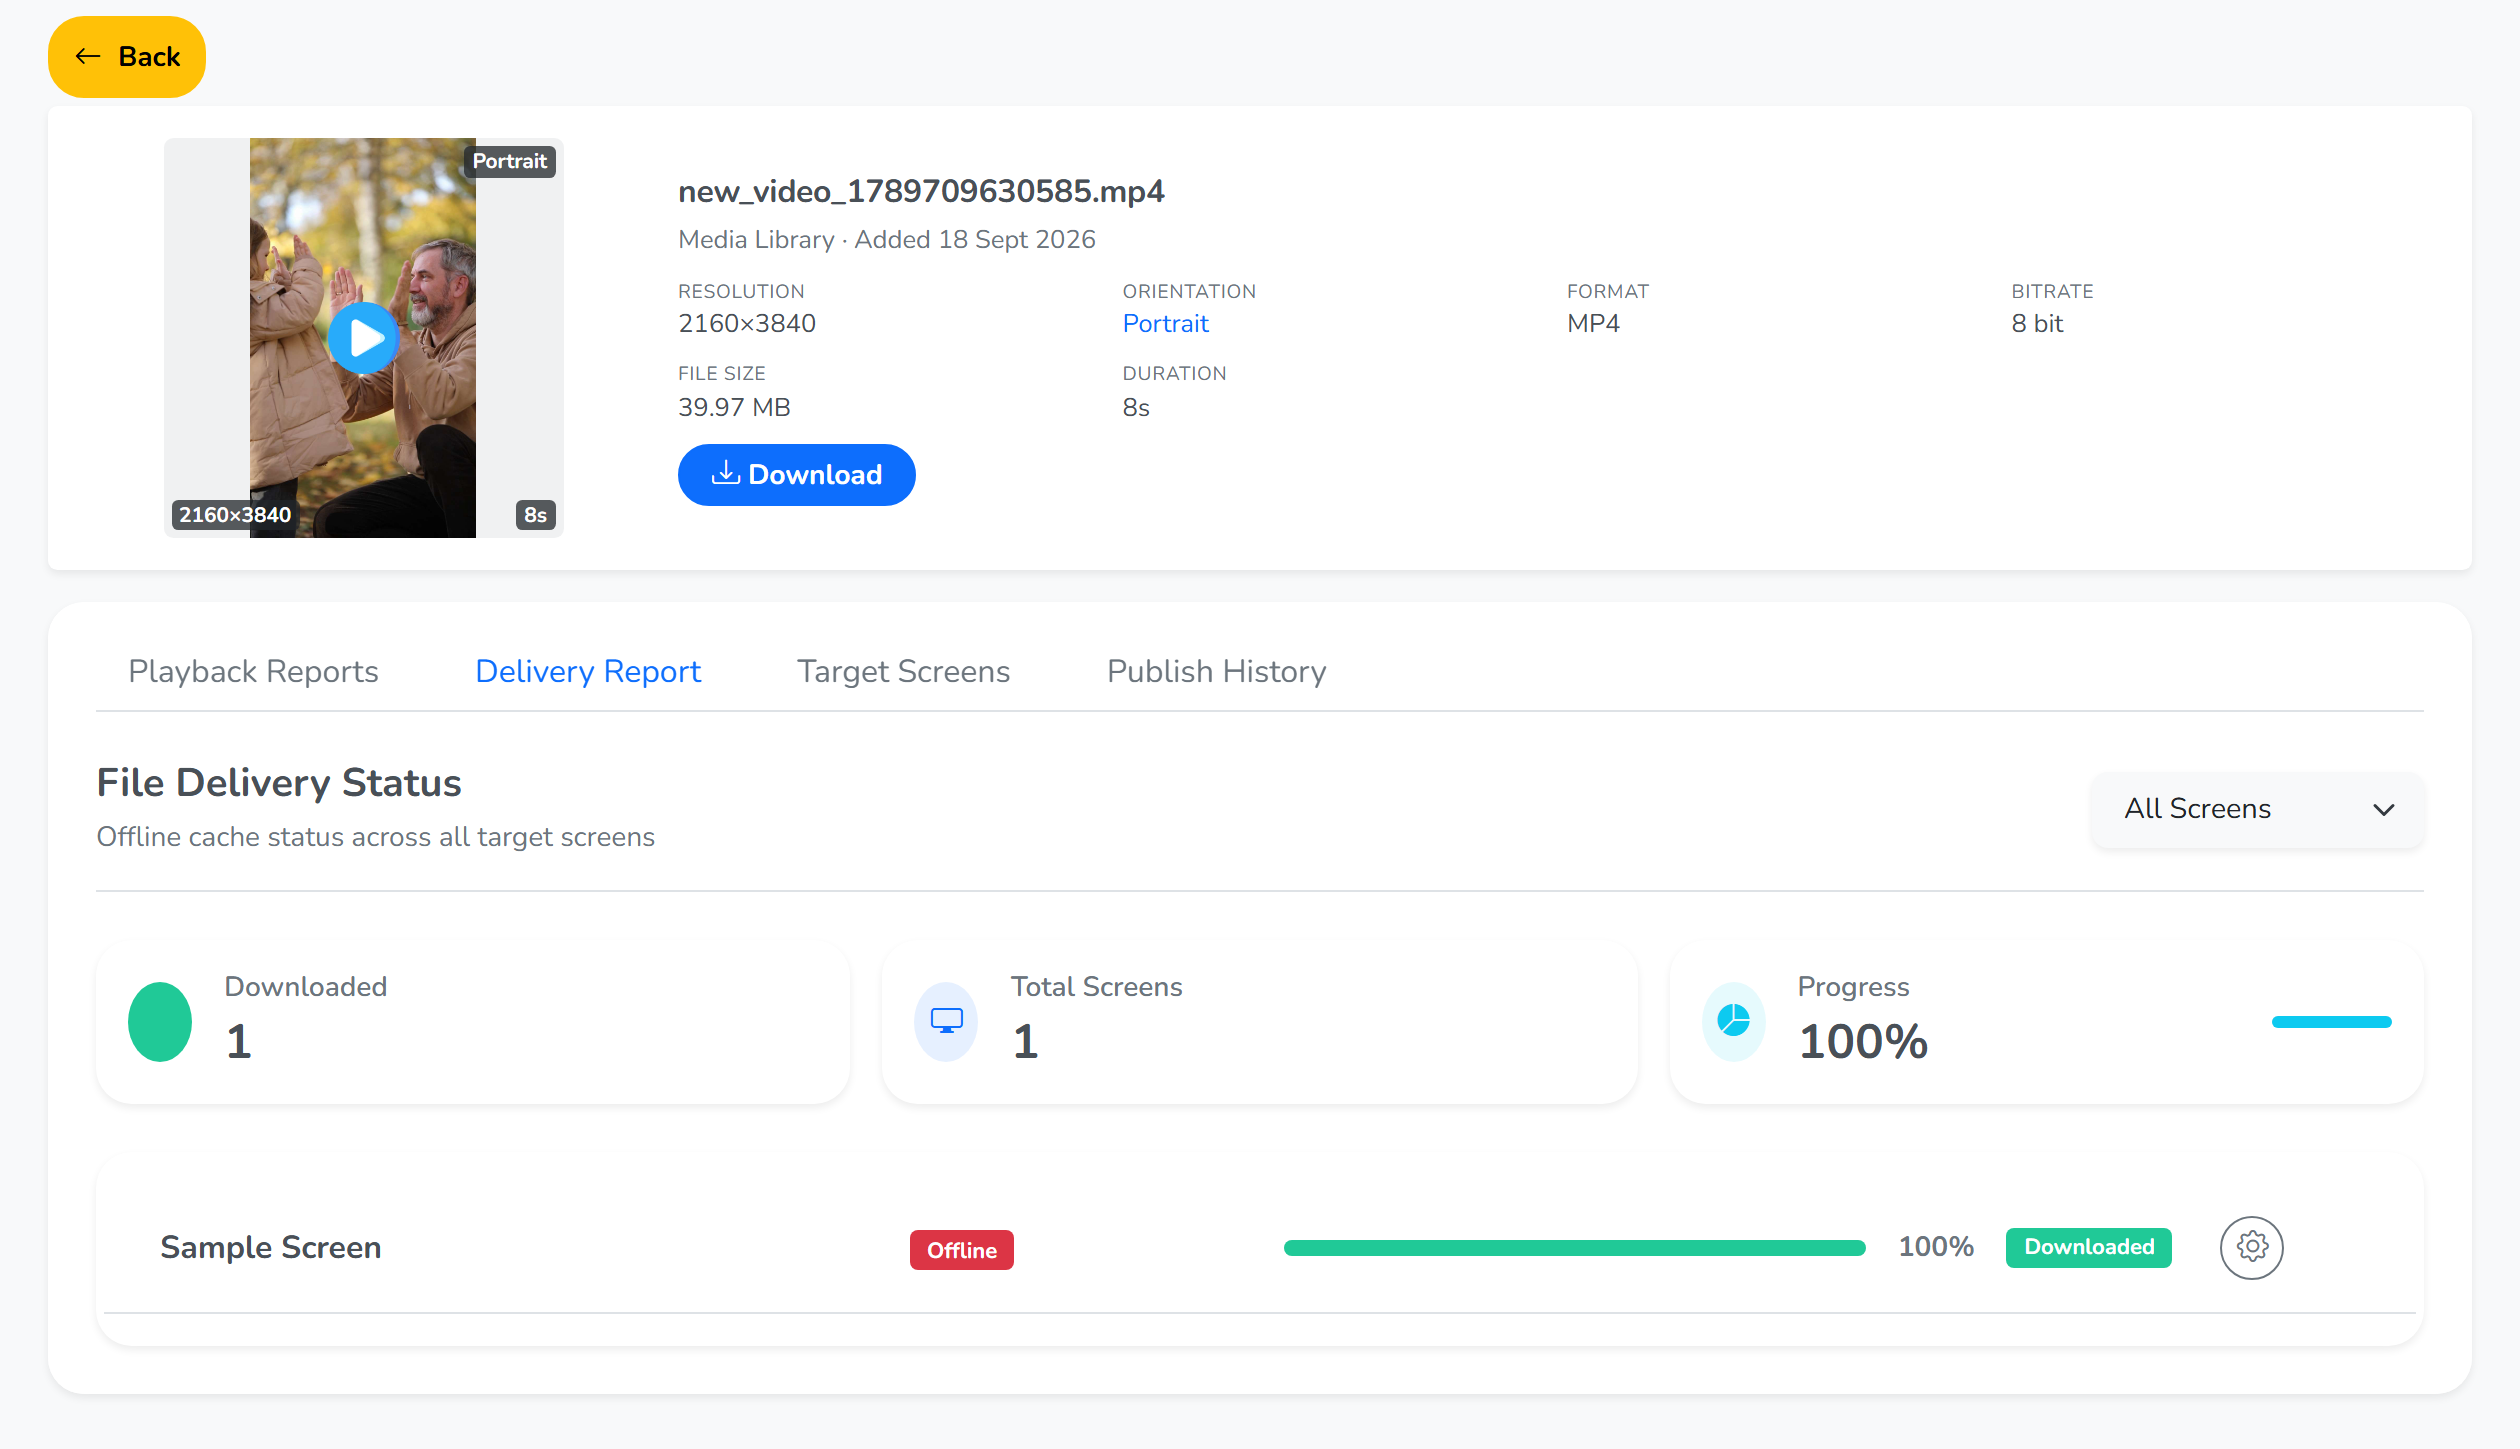 How much of it has landed
Target Screens
Target Screens names every screen the file reached, with its status and the time it last answered. Each row carries View and Unpublish.
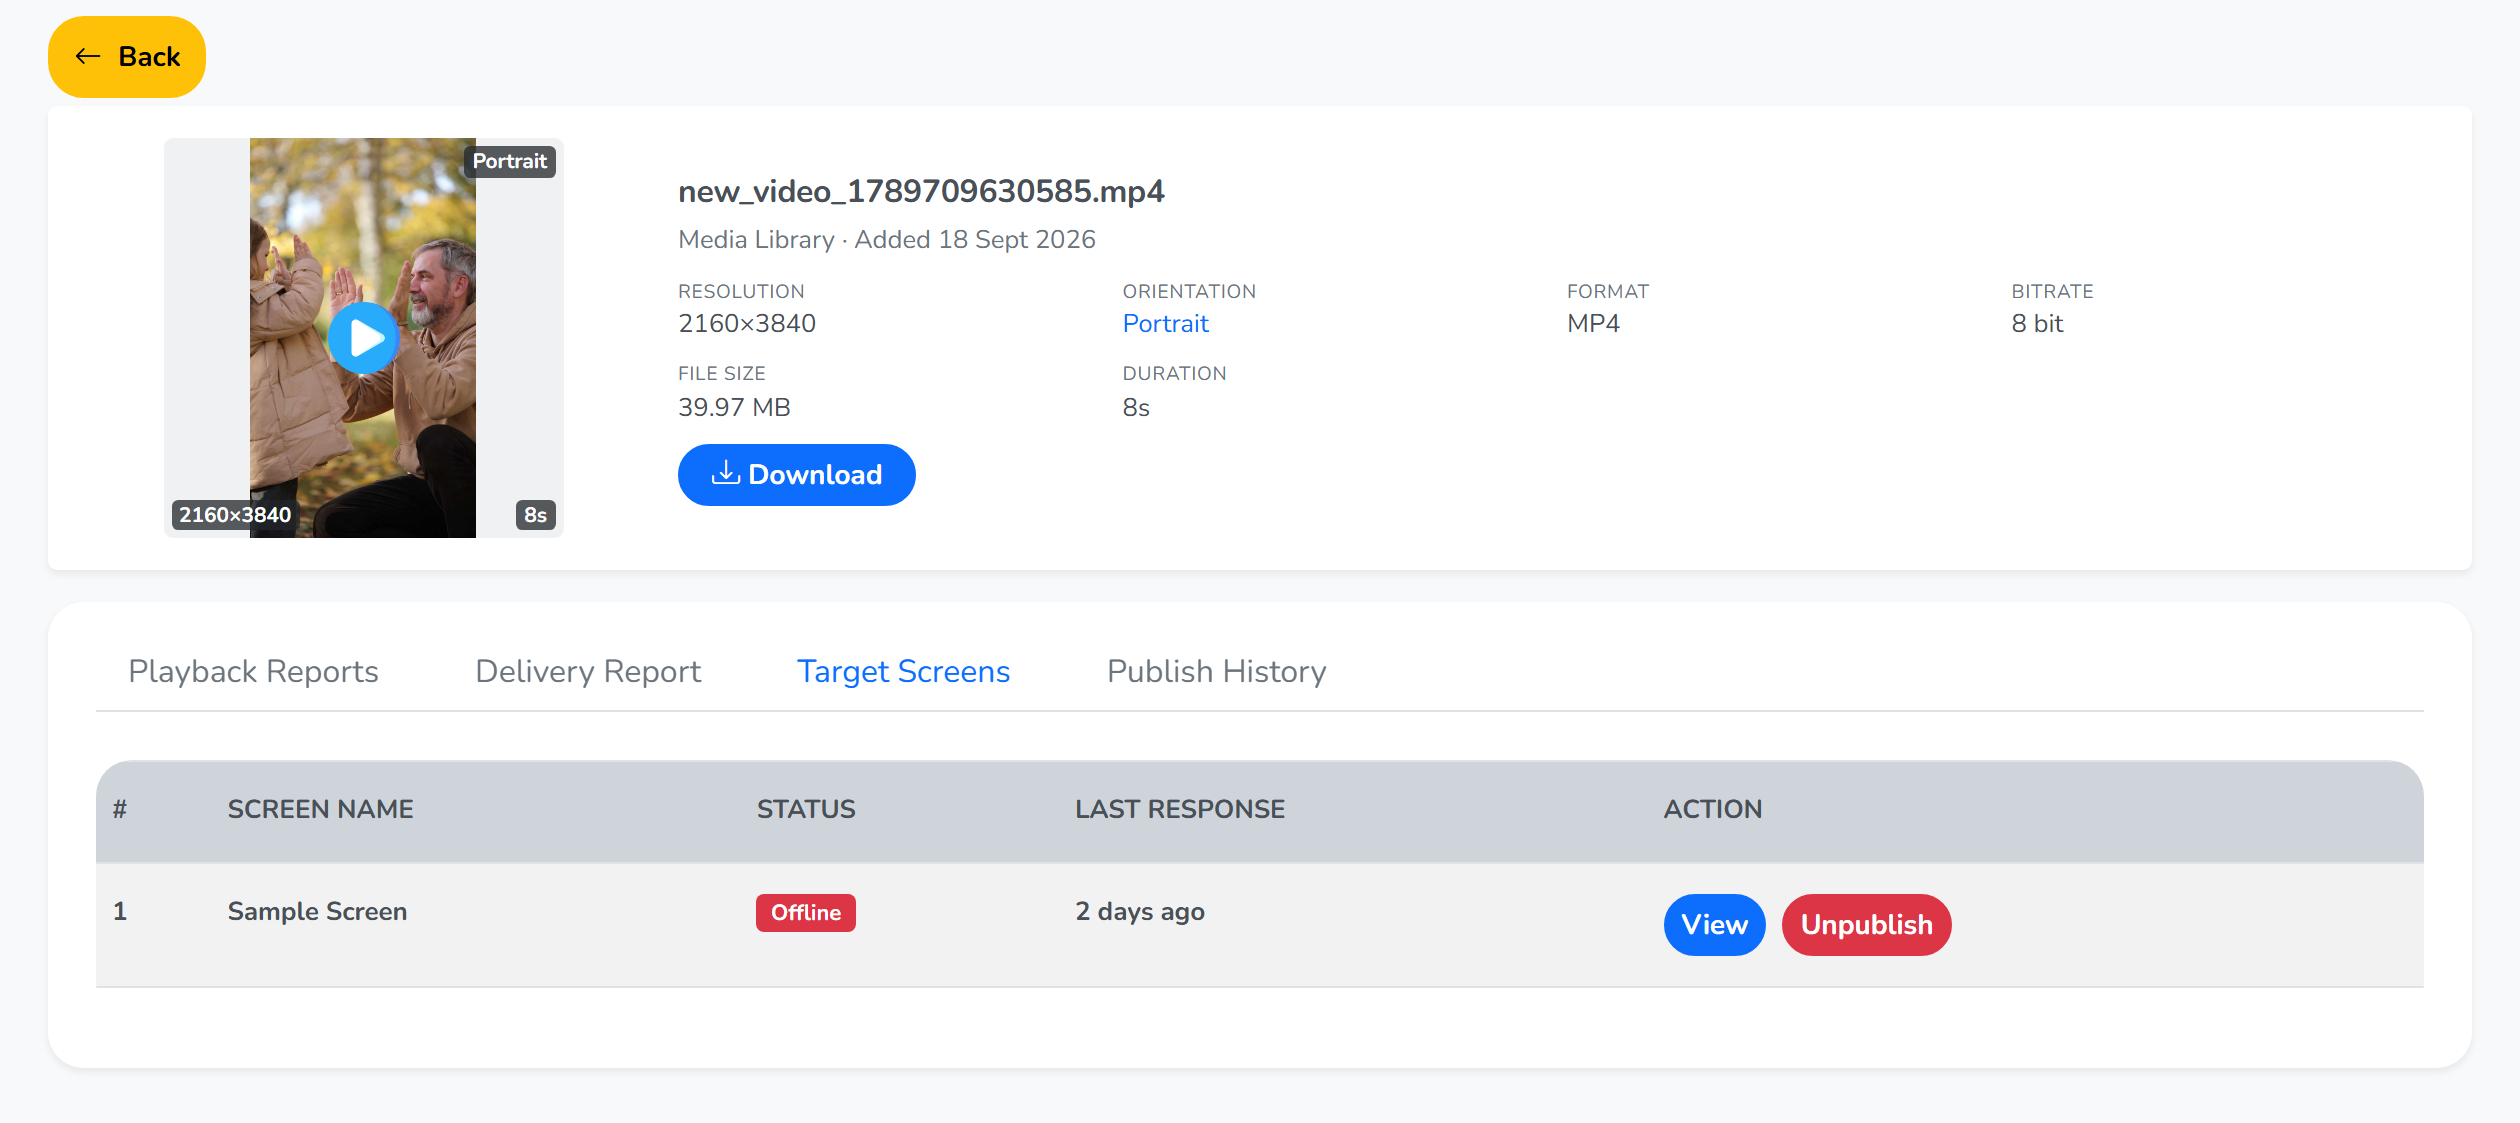 Takes it off that screen
Publish History
Publish History lists every push that carried this file, with the date, the number of files that went in that push, the screens it reached and the state it settled in. View push opens that publish.
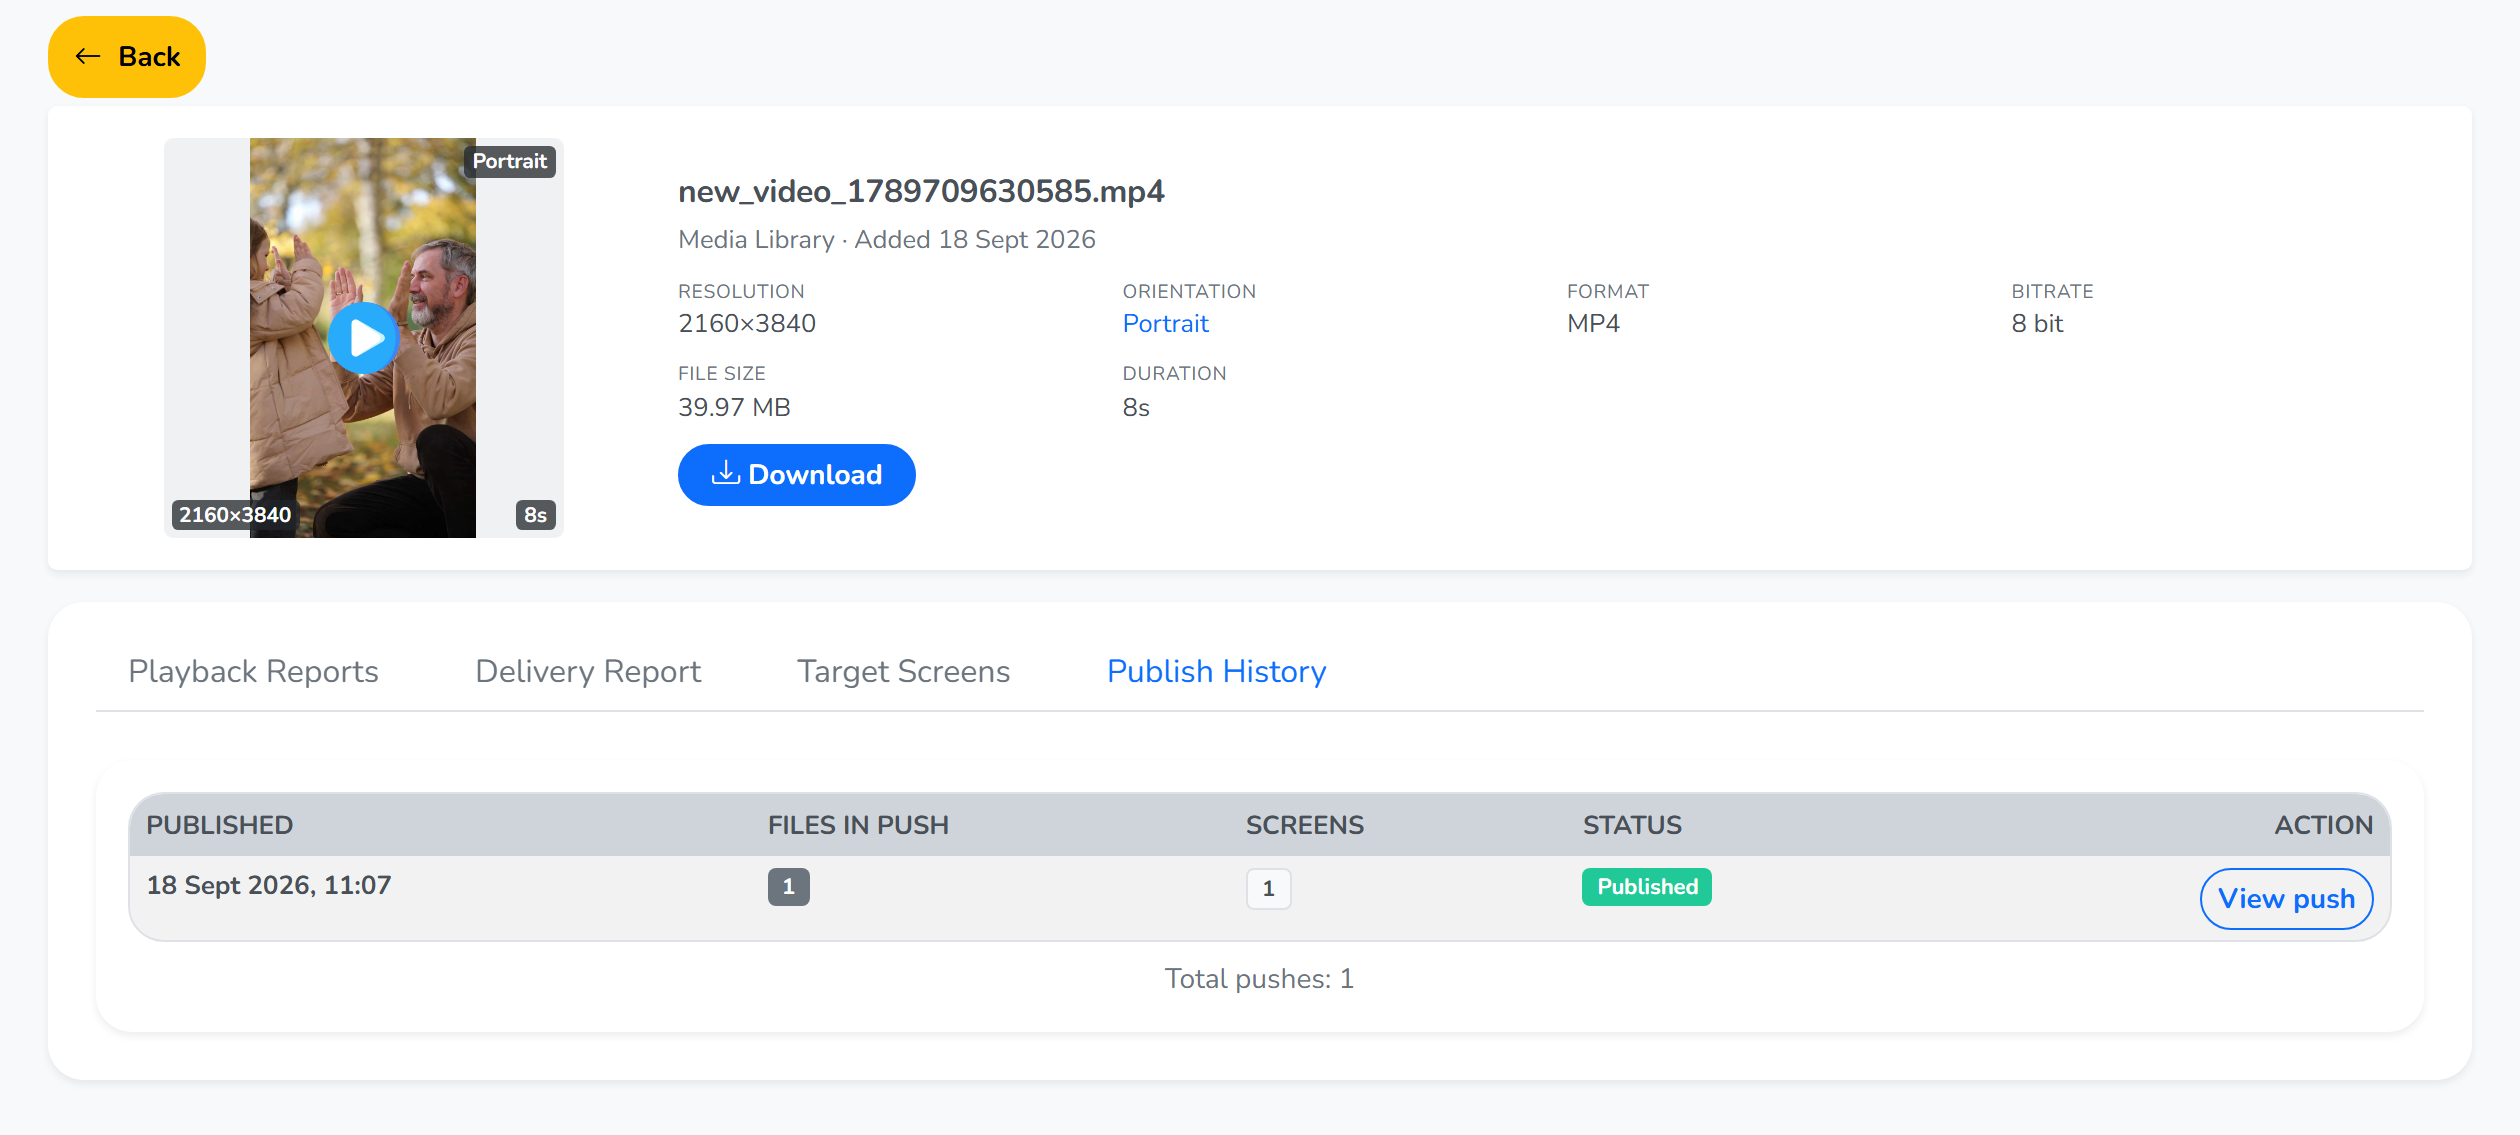 Opens that publish
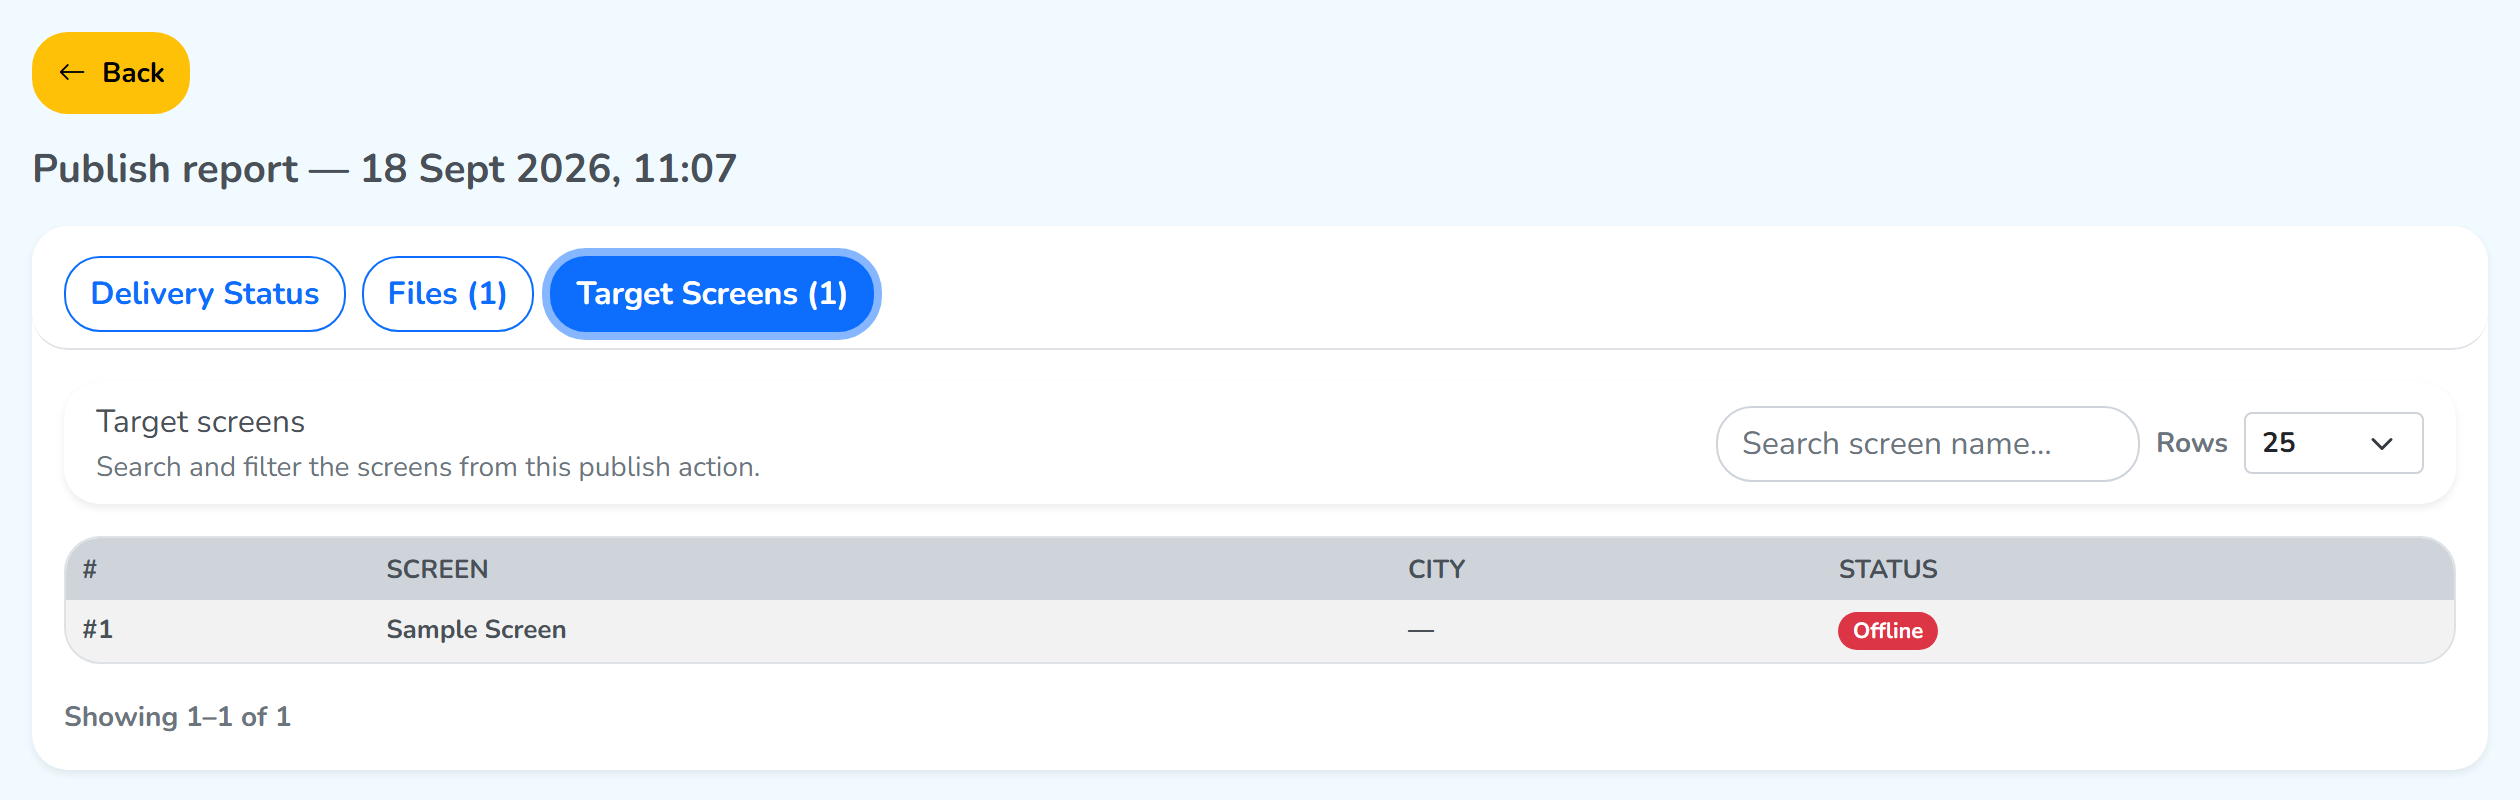
Target Screens for a publish
Target Screens, to the right of Files and with its own count, names every screen in that publish and the status each one is in.
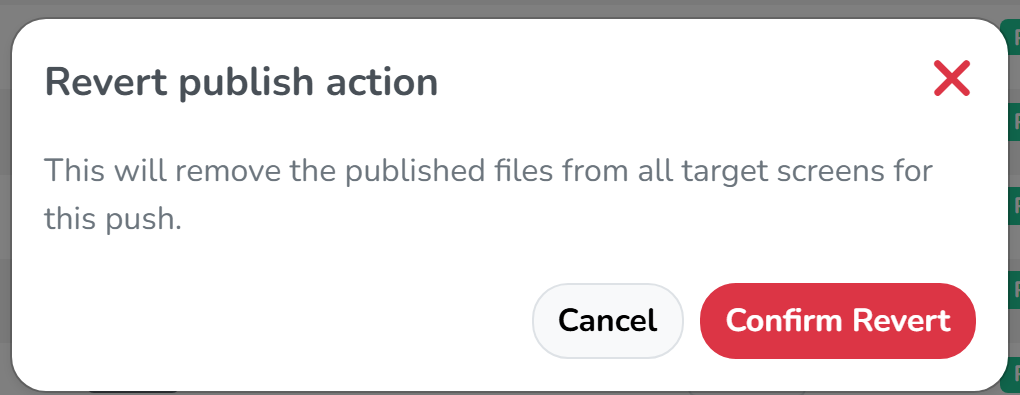
Revert in Media publish History
Revert warns you once, then takes the publish back off the screens it reached.
Create Design
+ Create Design opens a page of its own, where you make a file for yourself out of a template. The editor carries a redesign option that works with AI.
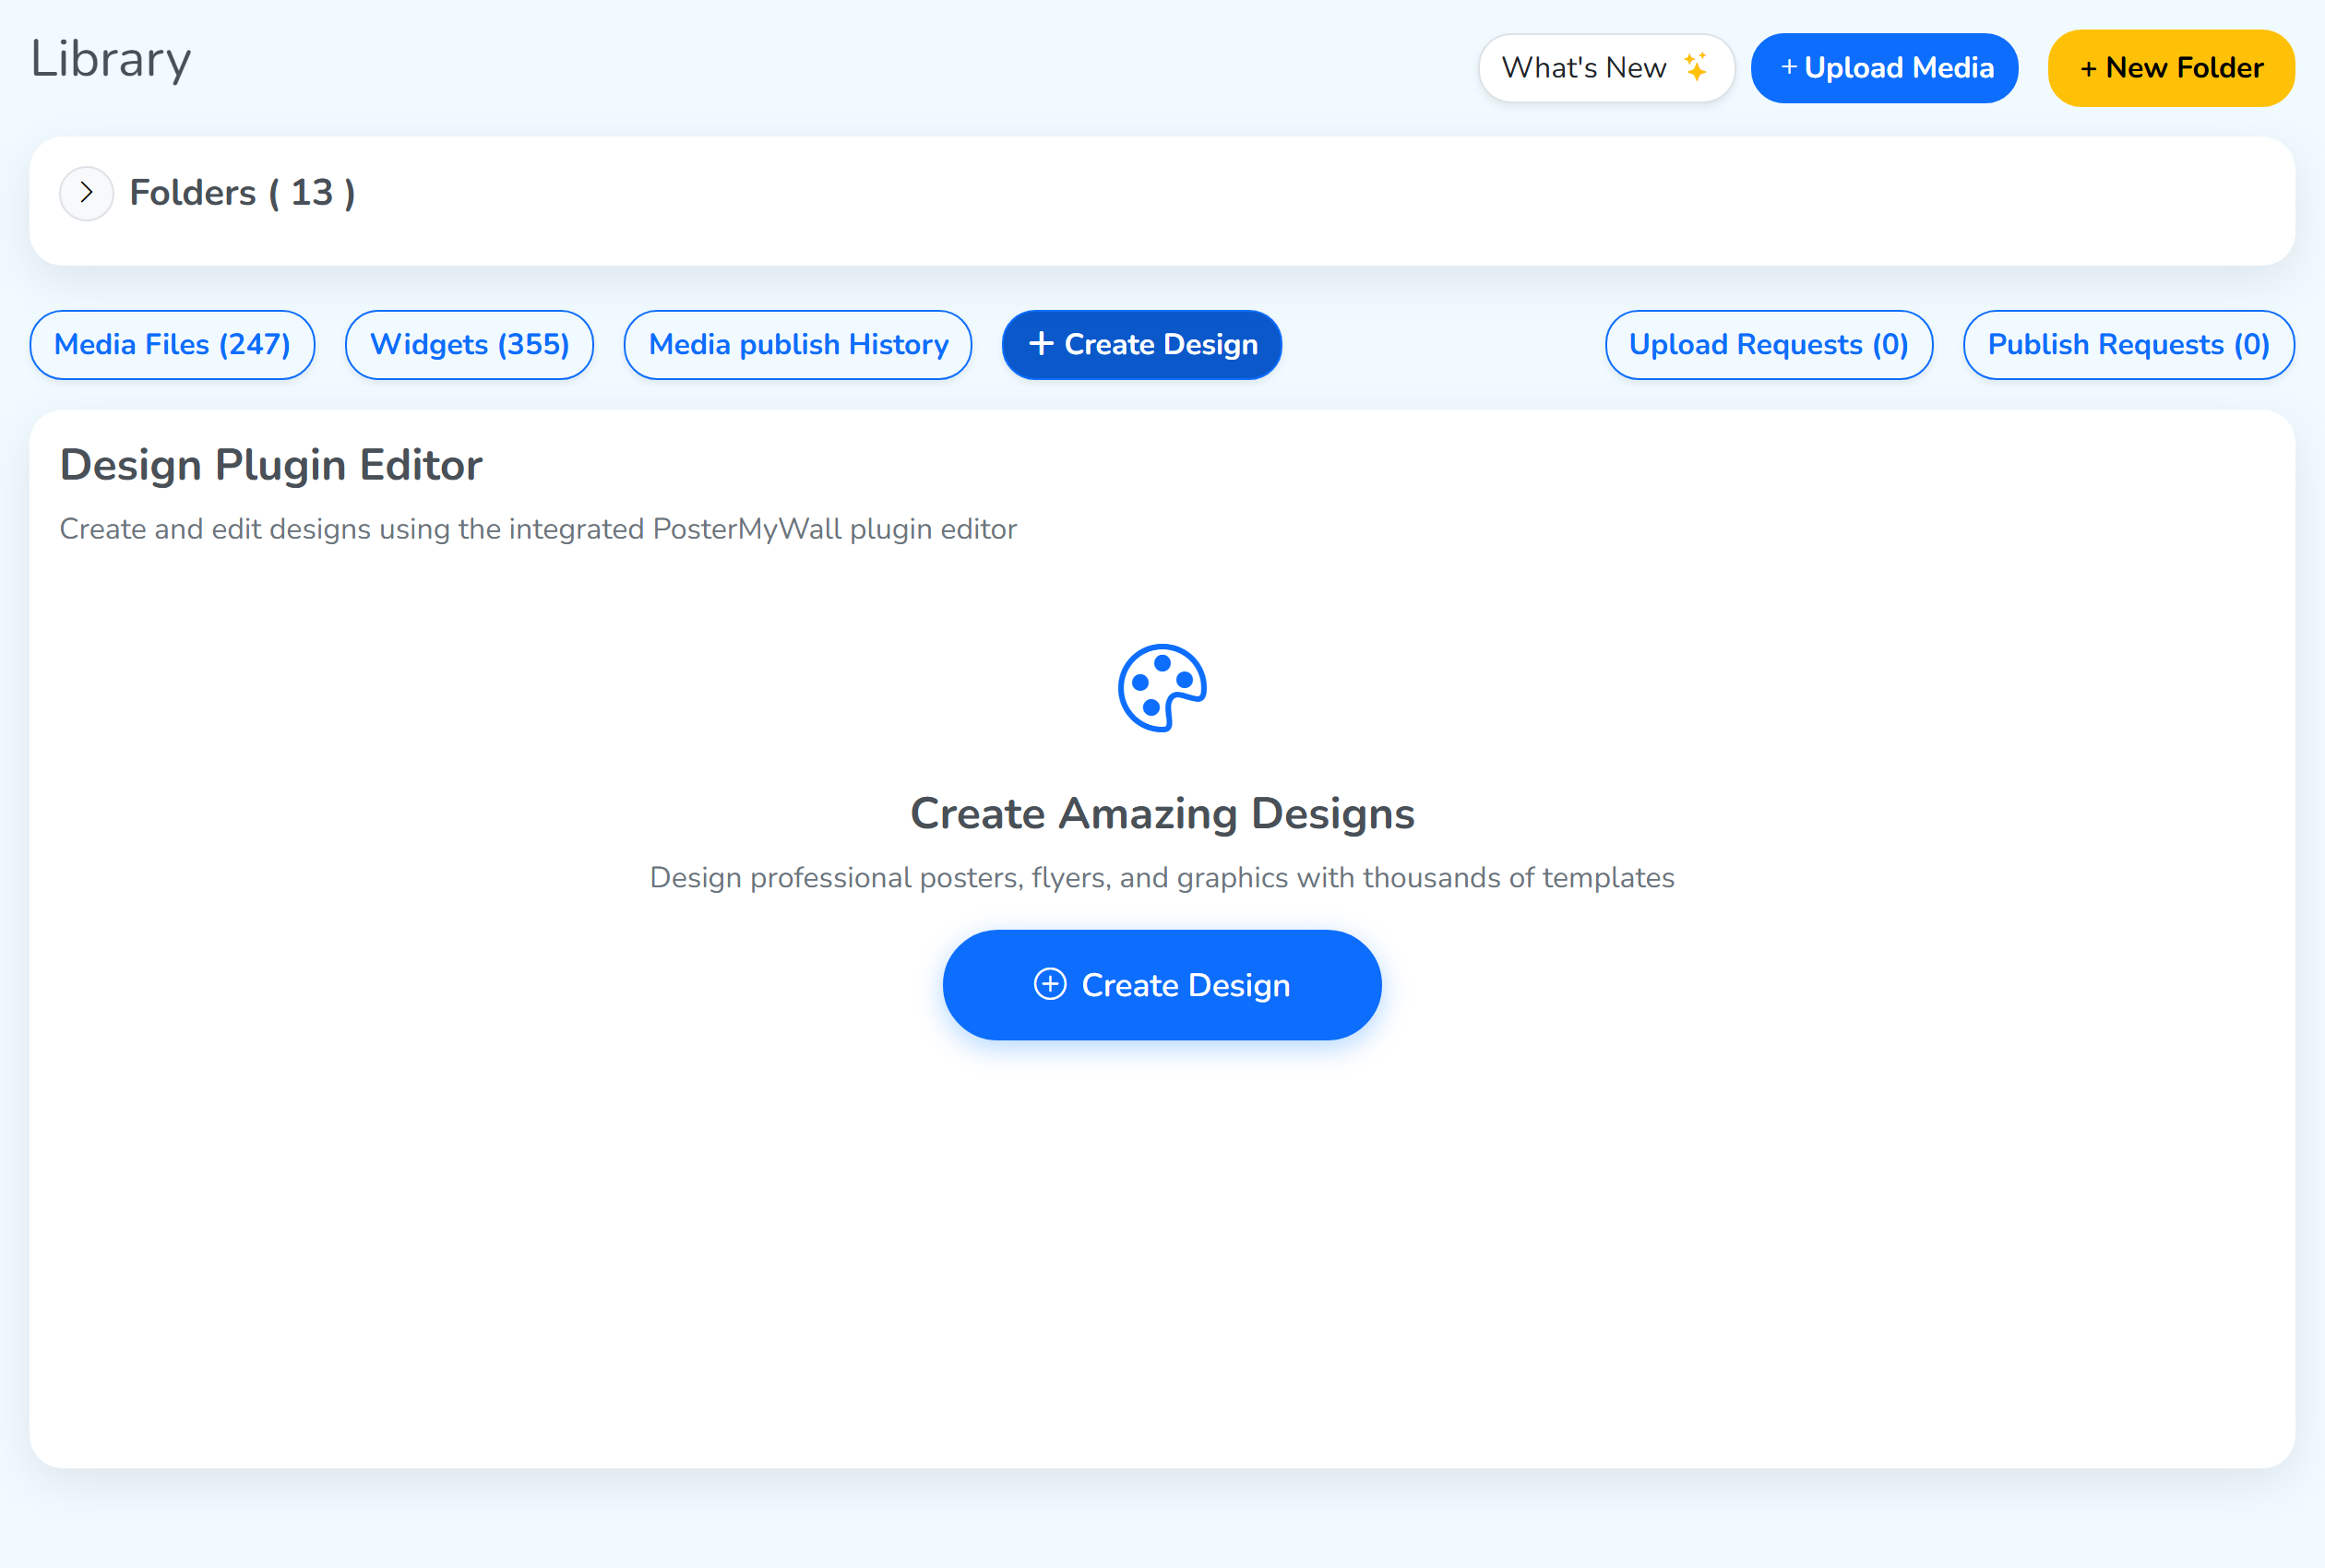 Opens the editor
Pick a template and click Edit Design, and an export option appears. Click it, then Download, and the finished file lands in Media Files.
Upload Requests
Upload Requests belongs to an advanced setting: accounts created under yours, holding maker or checker permissions. An upload request means a maker tried to add something to the Library, and it goes to the checker for review first.
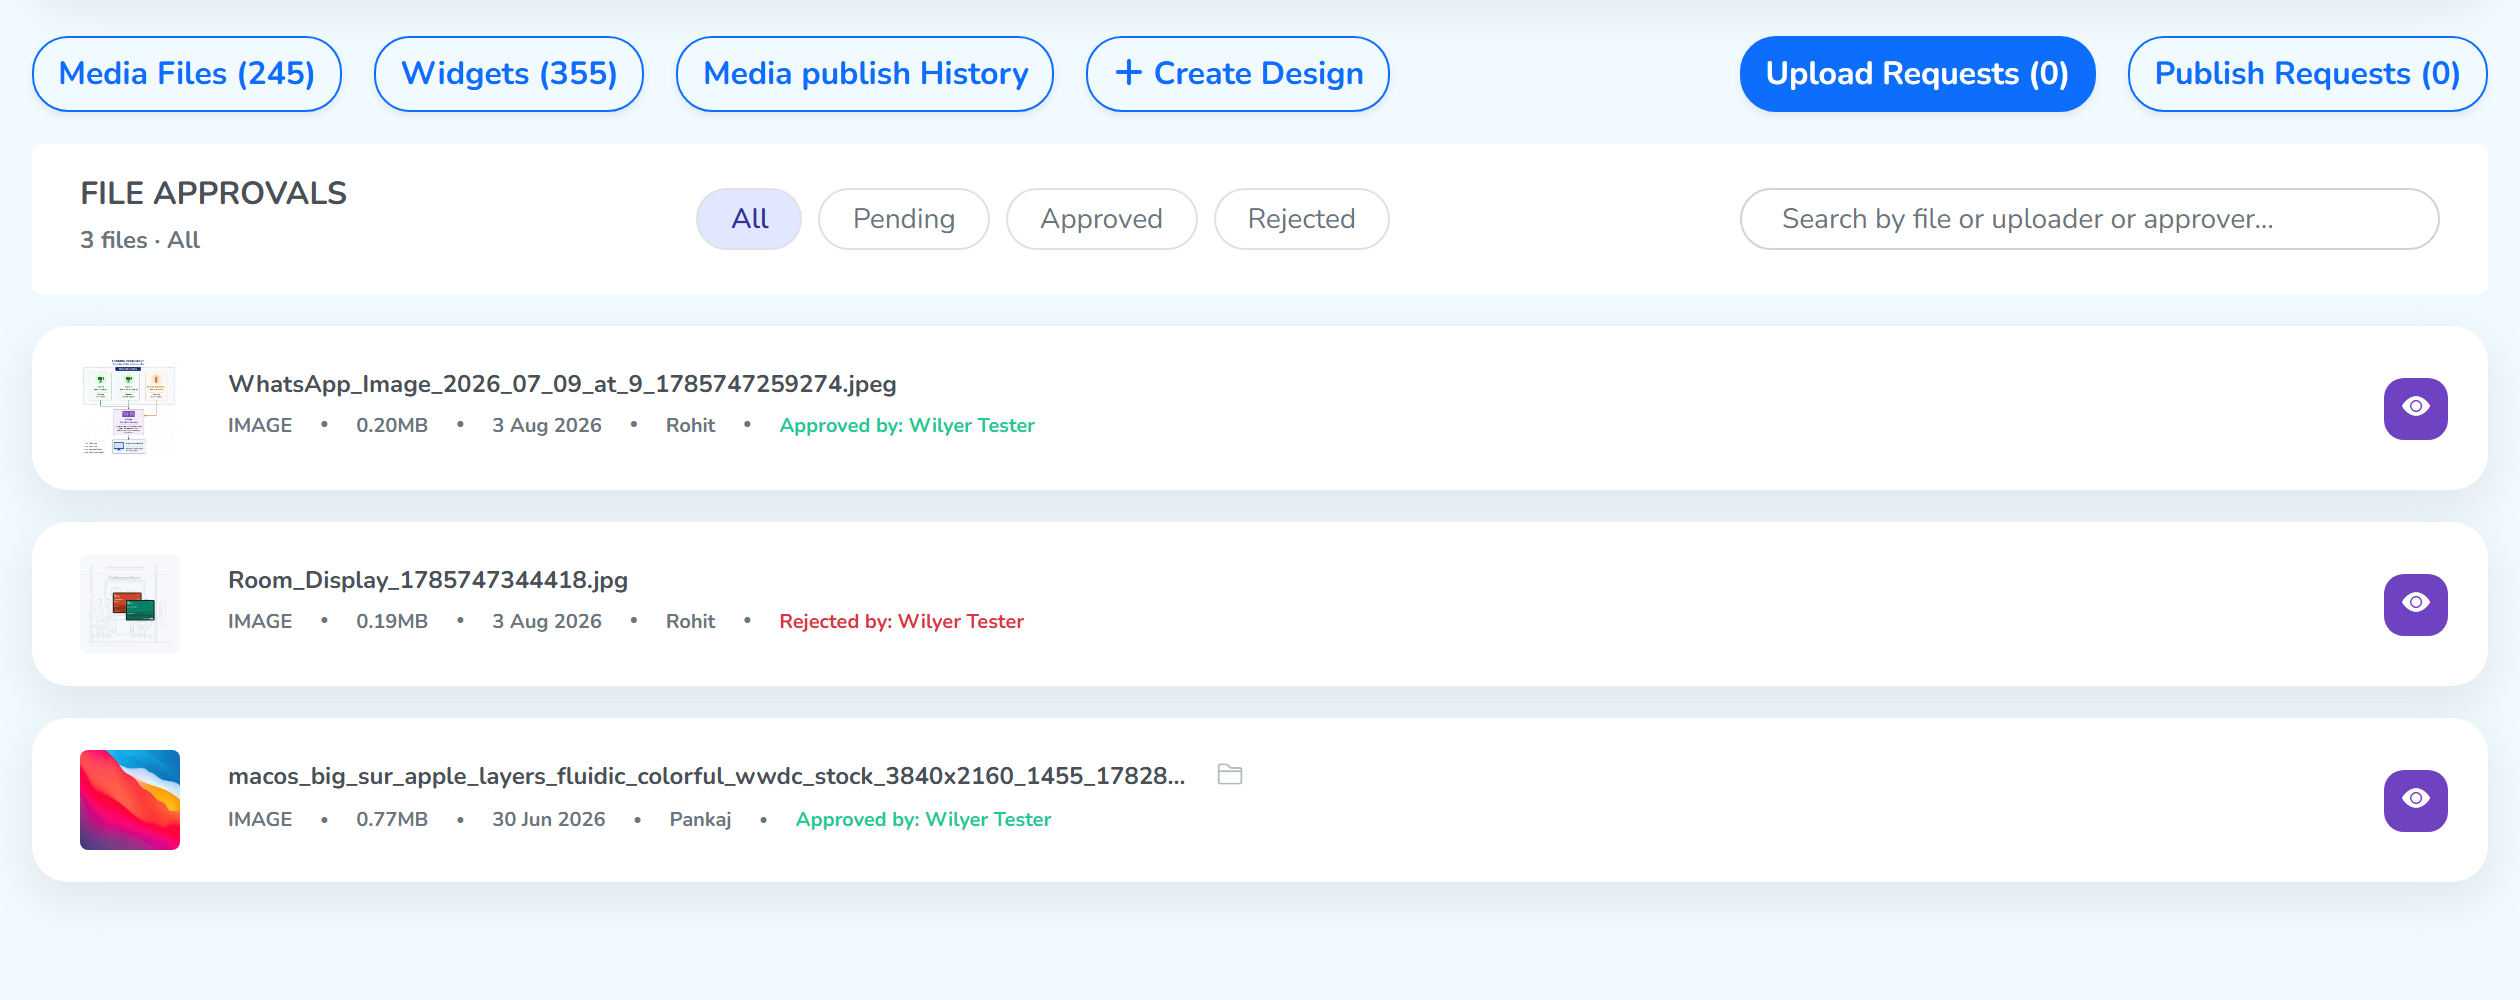
The panel opens on three sub-tabs. Pending lists each upload with its uploader, file, size and submission time, beside Approve and Reject buttons. Approved and Rejected keep every past decision for the audit trail, each row naming who approved or rejected it.
The approver needs to be in the same group as the uploader, or in a parent group above them, for a request to reach their queue. Placing at least one approver per group, or a shared parent group covering every group that needs approval, keeps every upload visible to someone who can act on it.
High-volume teams get one batched email summarizing several decisions in a window, rather than a separate email per upload.
Publish Requests
Publish Requests works the same way for a file published straight from the Library: a maker tries to put it on a screen, and it goes to the checker for review first. A playlist’s own publish goes through its own queue on the Playlists page; the Maker-Checker permission section walks through that one.
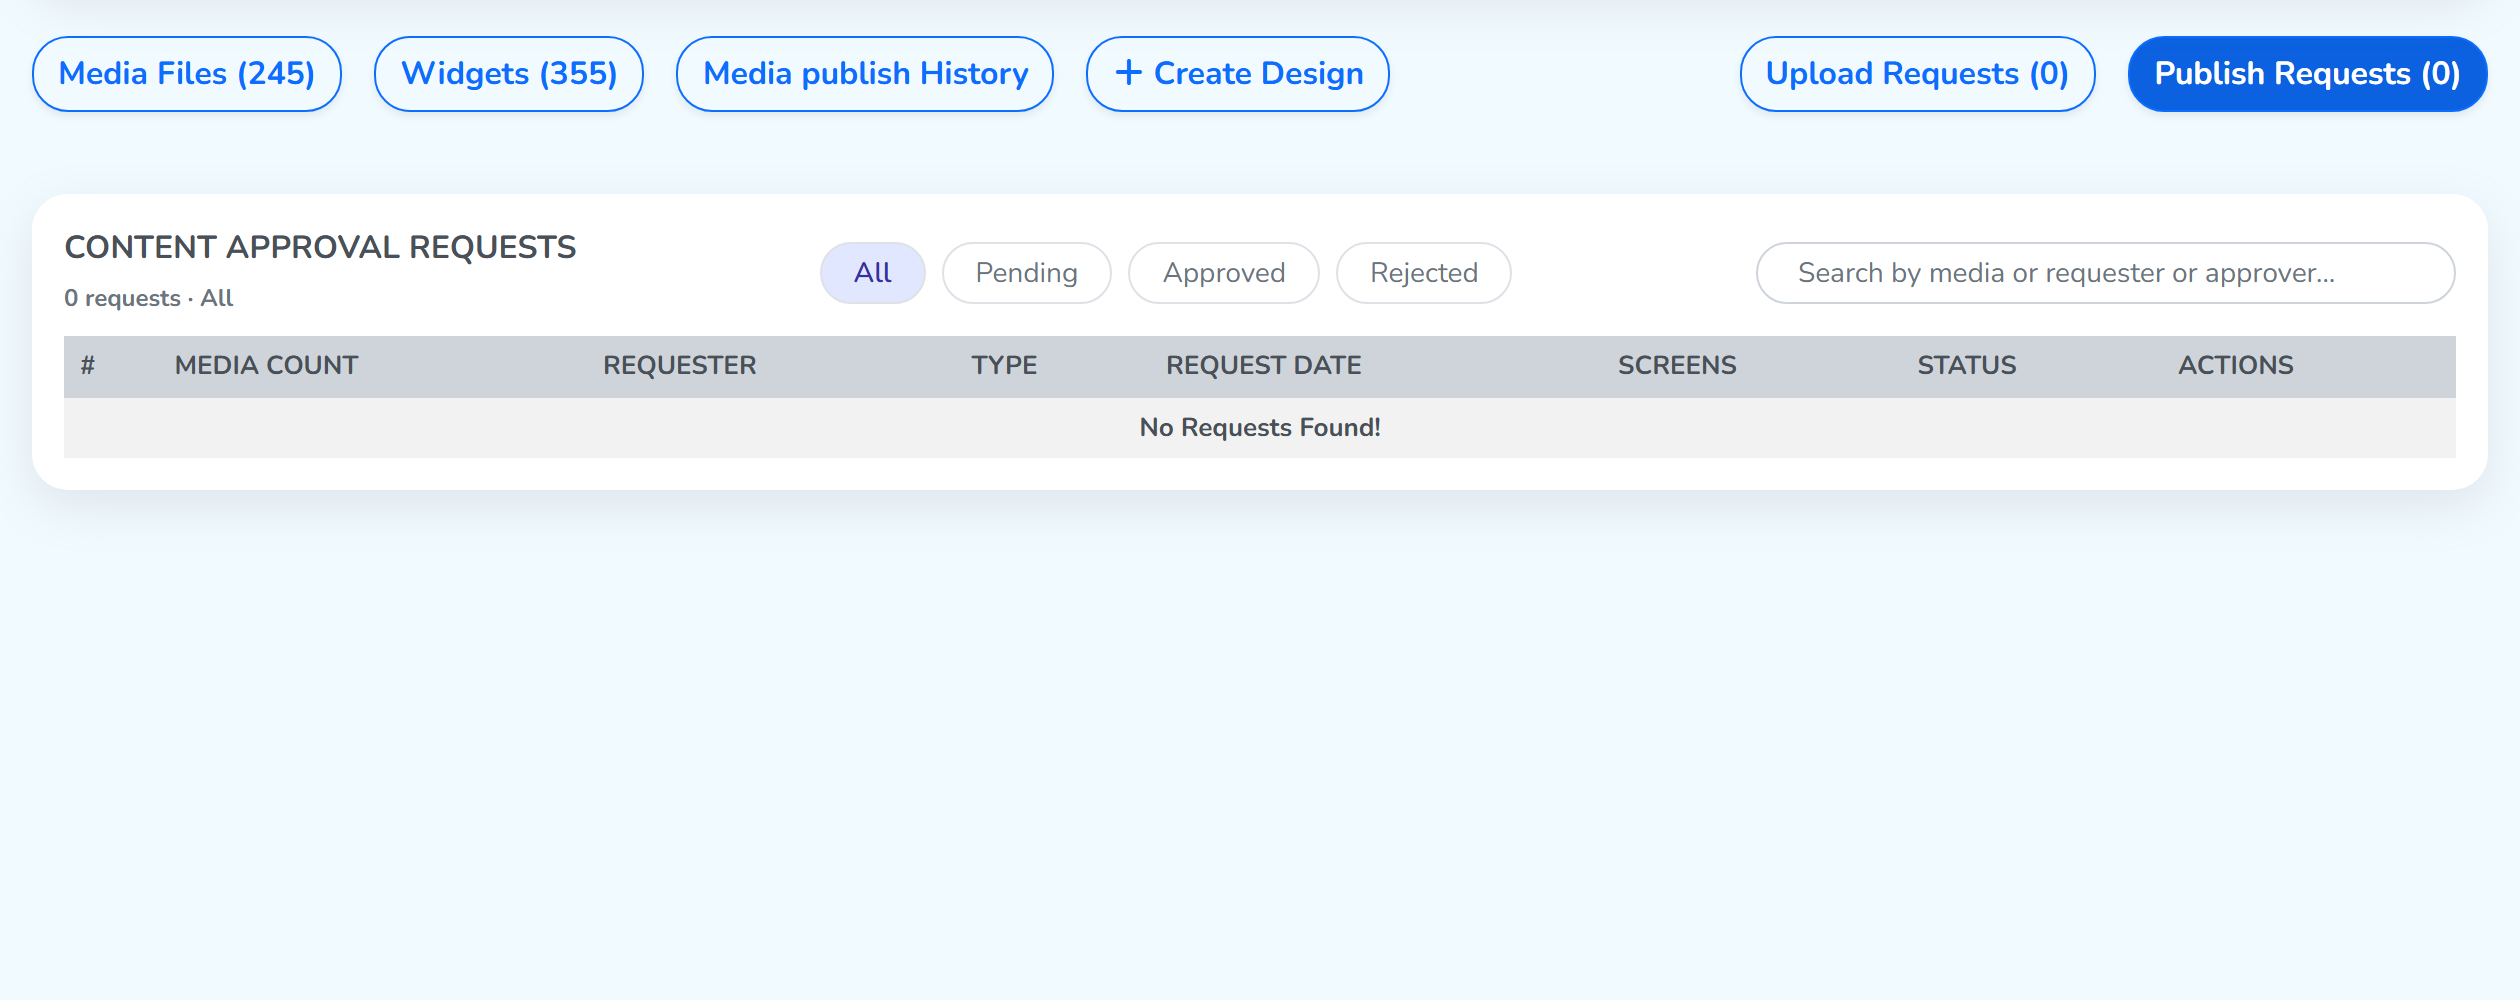
Since a publish request can bundle several media items aimed at several screens, each row carries its own set of columns: Media Count, Requester, Type, Request Date, Screens targeted, and Status, alongside the same review actions.
Roles & Permissions covers the permissions behind this maker-checker review flow.