Right Panel
We’ll cover this panel across two conditions, Layout Settings & Zone Settings.
No zone selected
When no zone is selected, the right panel shows Layout Settings for the entire tile.
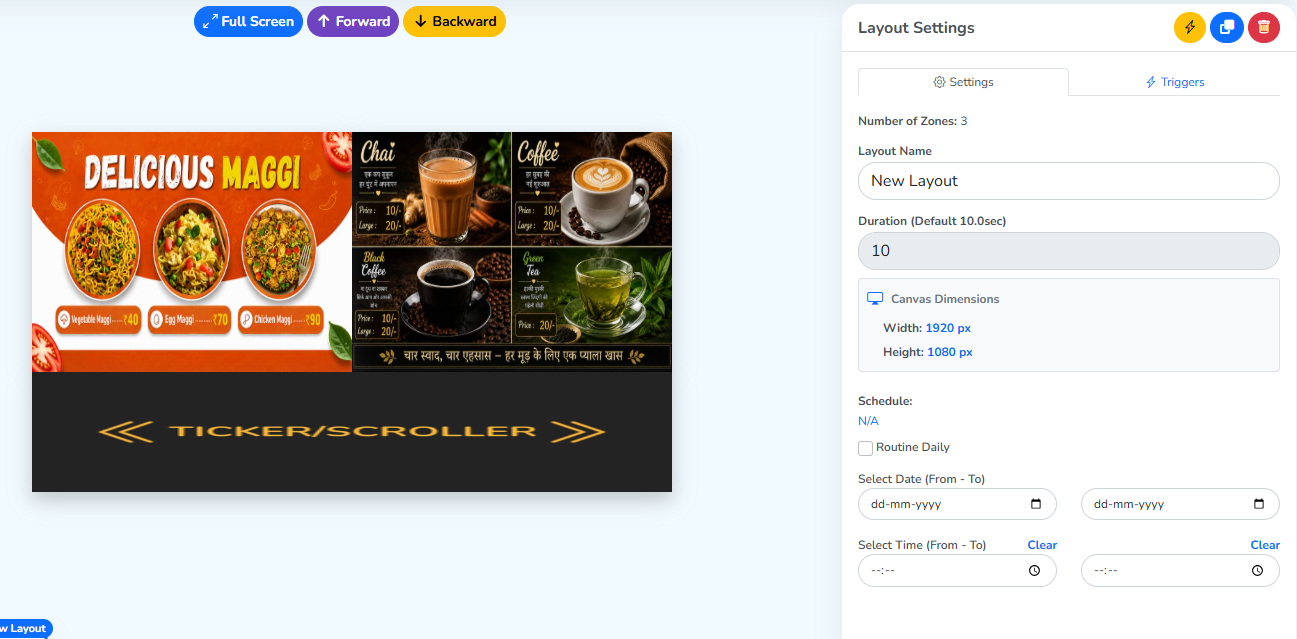
Layout Settings
Let’s understand each option here in detail.
Copy a layout
The blue copy icon creates one more of the same layout.
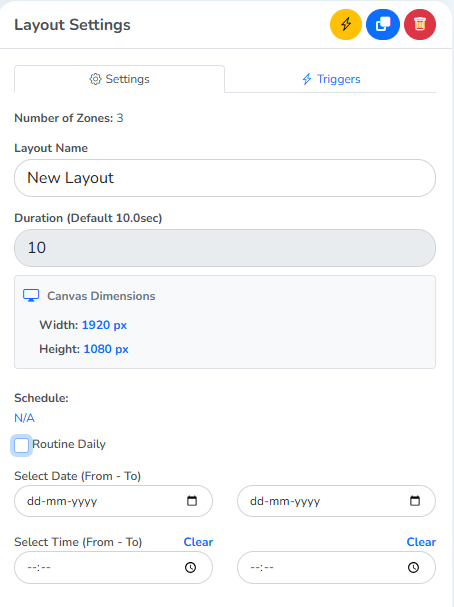
Clicking it adds a second, identical layout below.
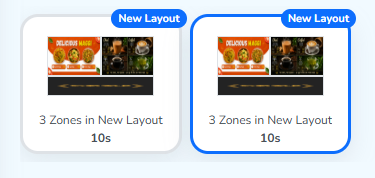
Delete a layout
The delete icon beside it deletes the layout tile. If there’s more than one, that tile is removed entirely. With only one layout, it just clears the changes made to it, and a blank layout stays.
Rename a layout
The Settings section renames the layout.
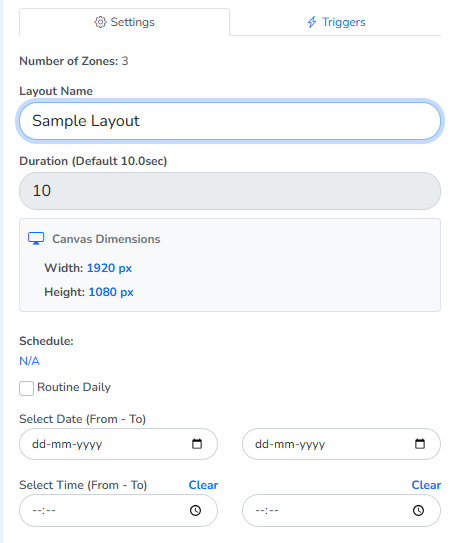
The new name also appears below the layout.
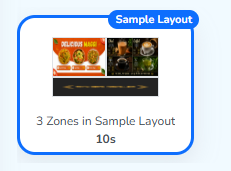
Duration and Canvas Dimensions
Duration and Canvas Dimensions are shown here too, but can’t be edited from this panel. Canvas Dimensions changes in The layout toolbar; Duration changes per file, in A zone selected.
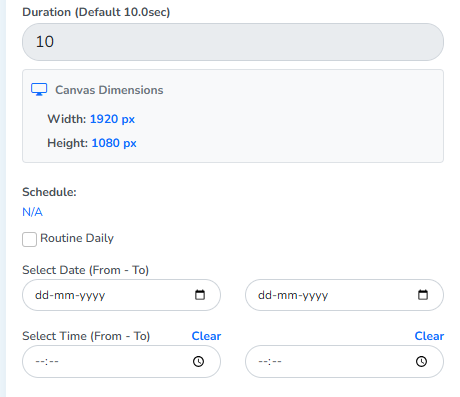
Schedule
The Schedule section below it stays editable here too.
A zone selected
When there are zones, files placed on the layout, the right panel shows Zone Settings, for whichever zone or file you select.
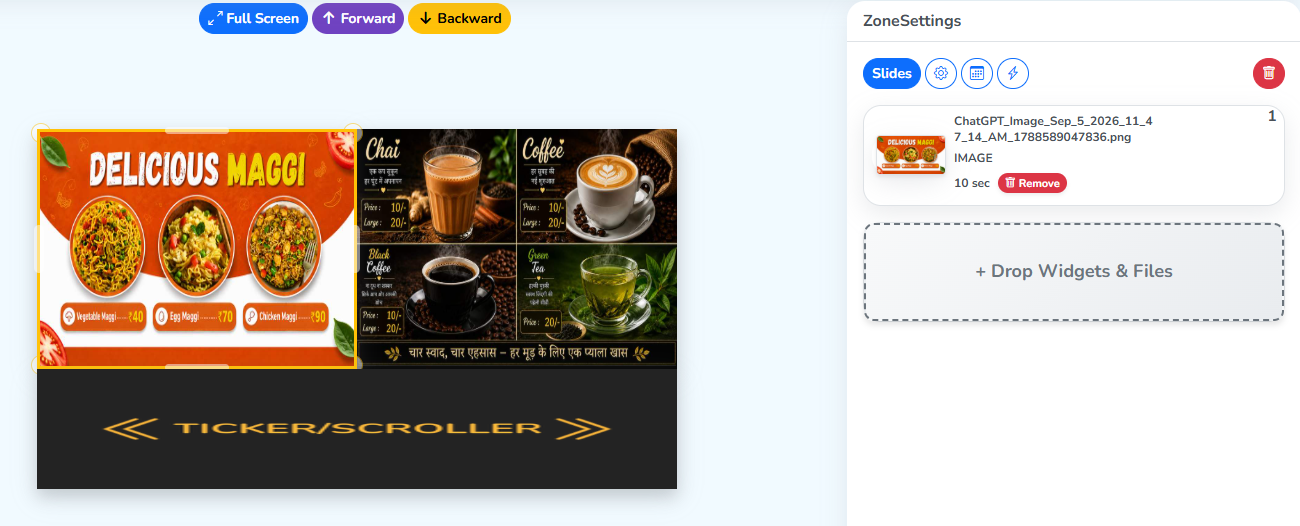 Delicious Maggi file is clicked on the layout
Zone Settings
Slides
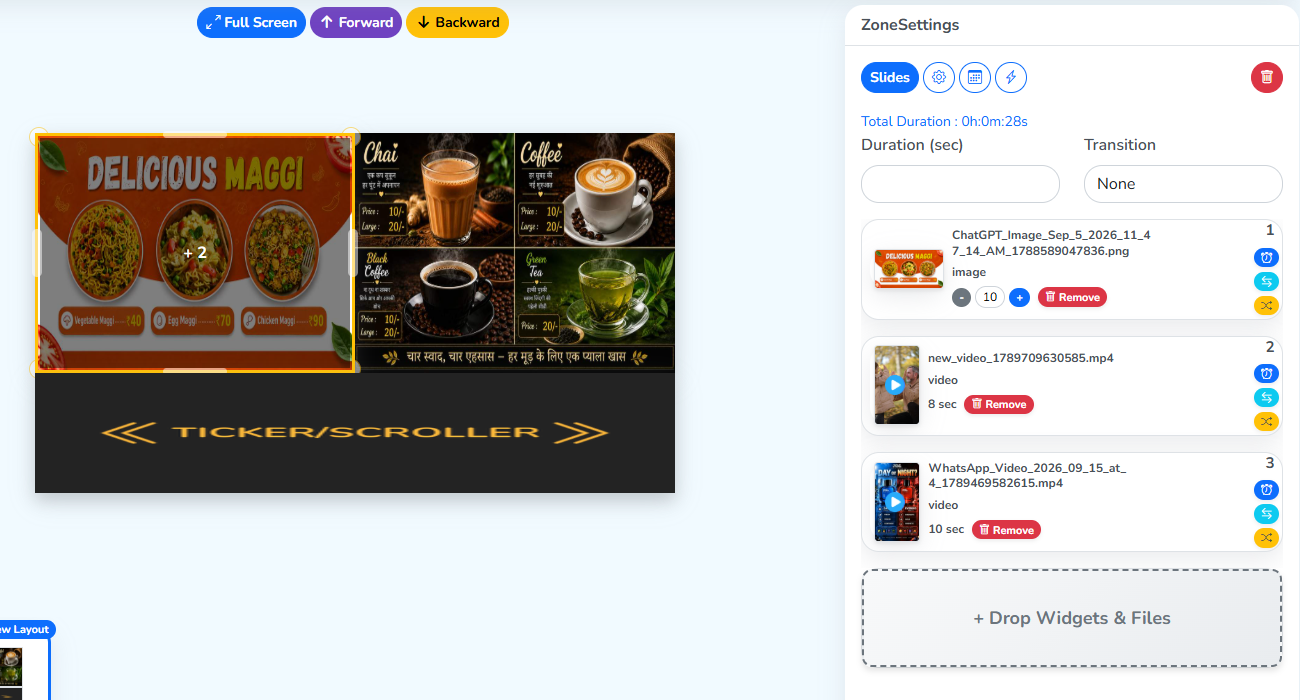
Slides shows the zone selected, with + Drop Widgets & Files below it to add more. This option lets user display multiple files in the same zone on the screen.
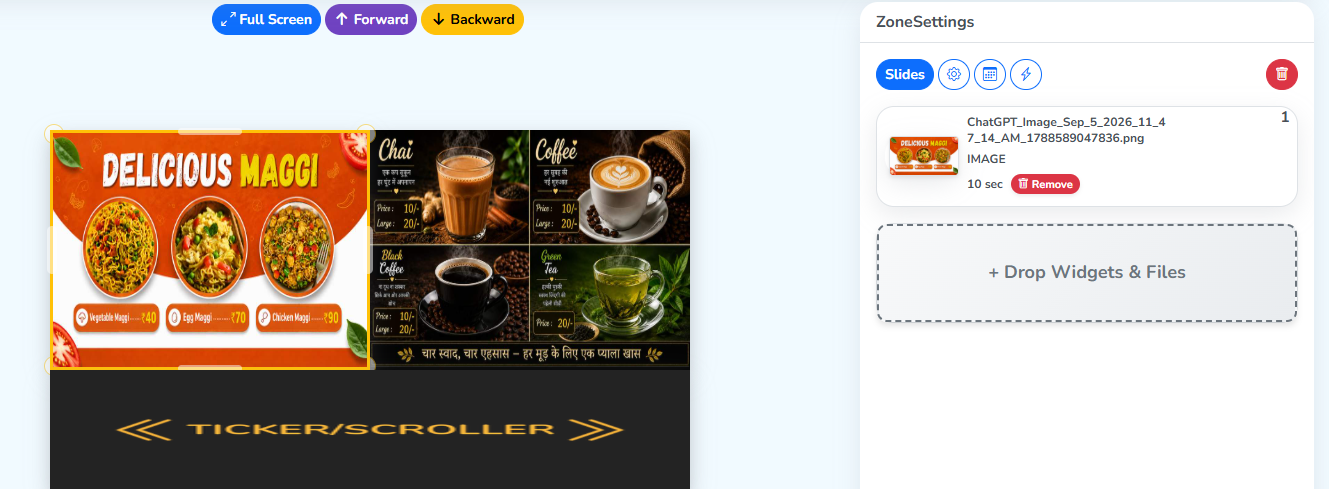
Clicking + Drop Widgets & Files opens this panel.
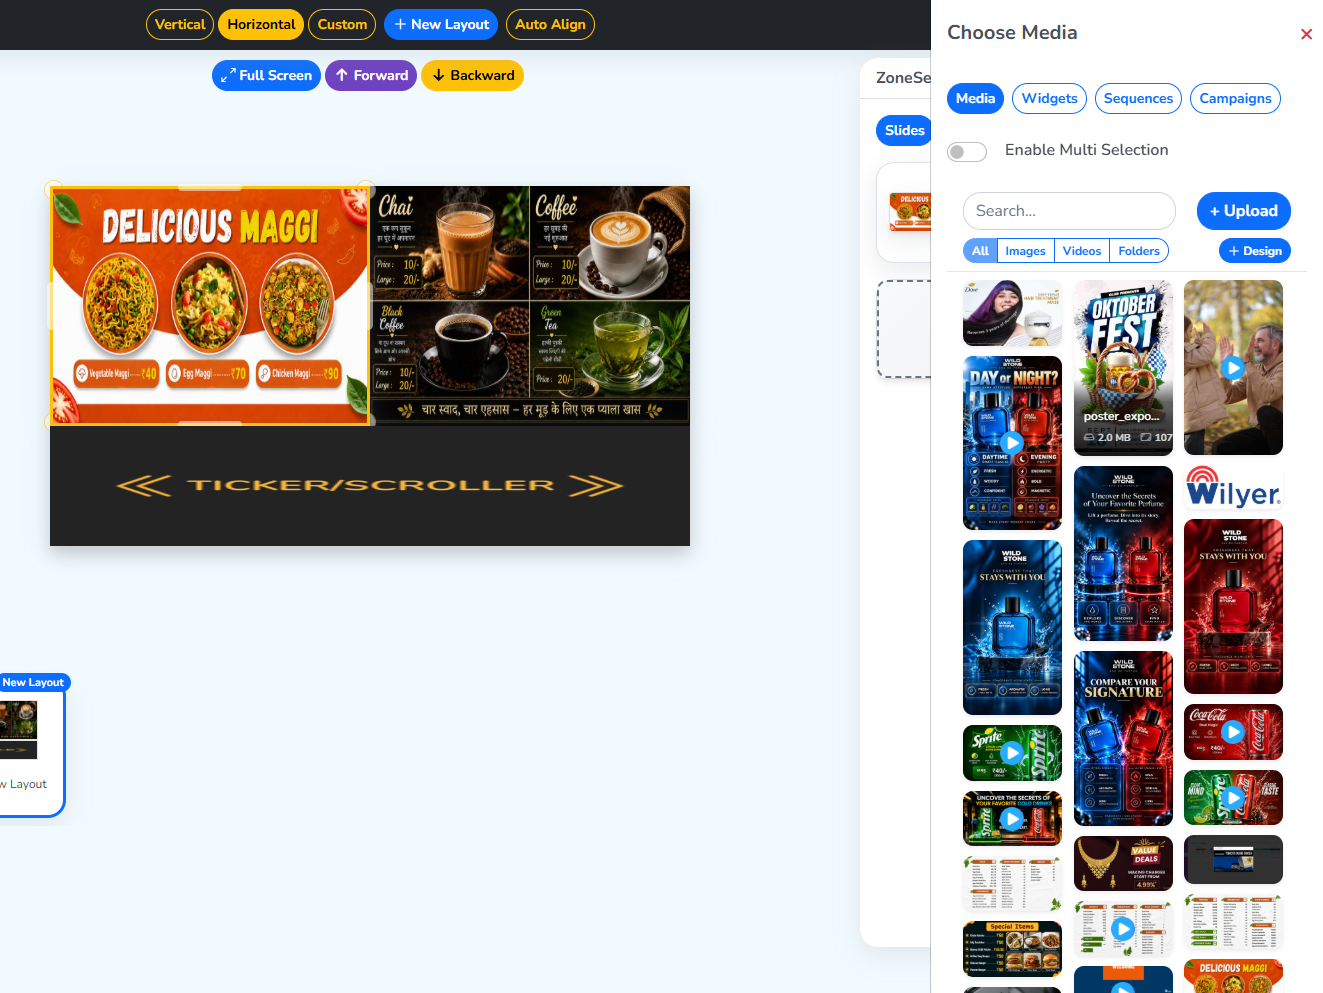
Enabling it shows a selection box on every file. Select as many as you need.
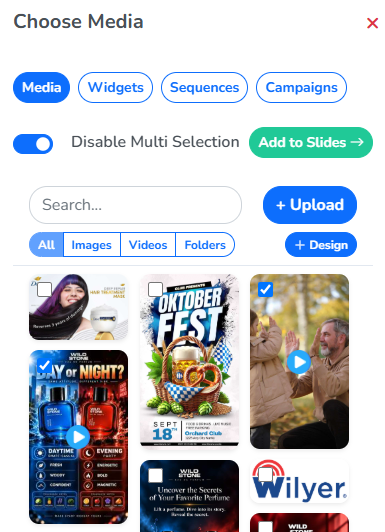
Clicking Add to Slides adds the selected files to Zone Settings. With a +n badge now on the selected zone, each file gets the same Transition, Duration, Replace, Change Position and Set Schedule options again, covered in File options in Active Media.
Settings option
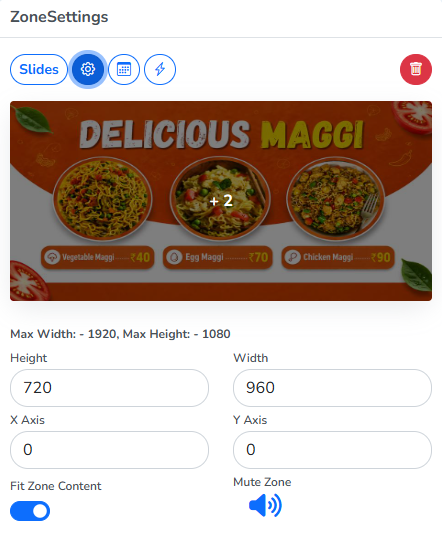
The gear icon fixes basic settings for the zone, its height, width, and left-right alignment, with X Axis and Y Axis fields. Mute Zone mutes it, if any file in the zone has sound.
Fit Zone Content – content can fit right in its zone here in the customizing panel, but still show at its own default resolution once it’s live on a screen. Turn this on so the zone keeps the size and position it holds in this layout.
The option beside it is Schedule.
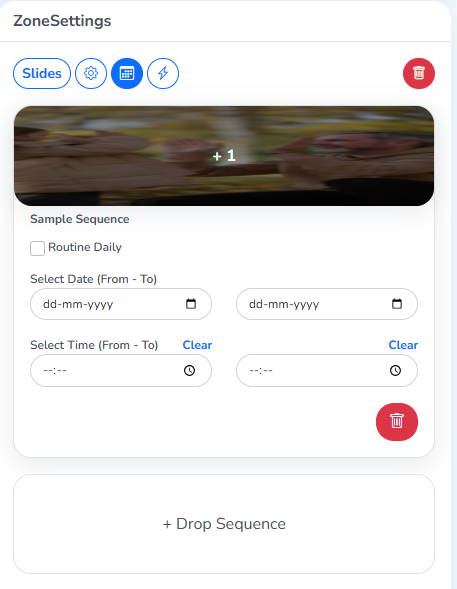
You can drag and drop a sequence here, and give it a schedule, for when that sequence should play in place of the selected zone. The bin icon removes the content it’s next to.
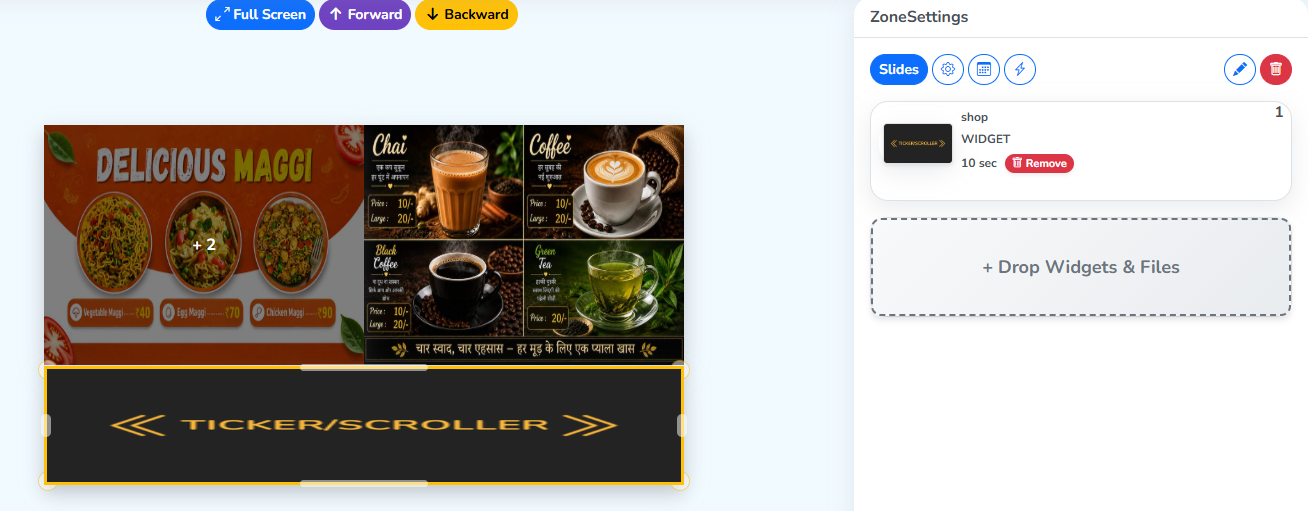
As a small case: when a widget is selected — here, Ticker/Scroller — an edit option also appears in Zone Settings.
Schedule document covers all the cases for schedule option in depth.